Ingredients
Formula
- 94 % Soy Wax
- 6% Essential oil blend
Recipe for one candle (200g)
- 188g Soy Wax
- 12g Essential oil blend
Equipment
- Candle jar(s)
- Candle wick(s) with sustainers
- Thermometer
- Newspapers
- Glue to secure wicks in jar
- Wick placeholder (if using cotton wicks)
- Stainless steel spoon to stir
- Pot to melt wax
- Pouring jug
- Non-permanent marker
Instructions
- Prepare your working area by laying down newspaper on a level surface.
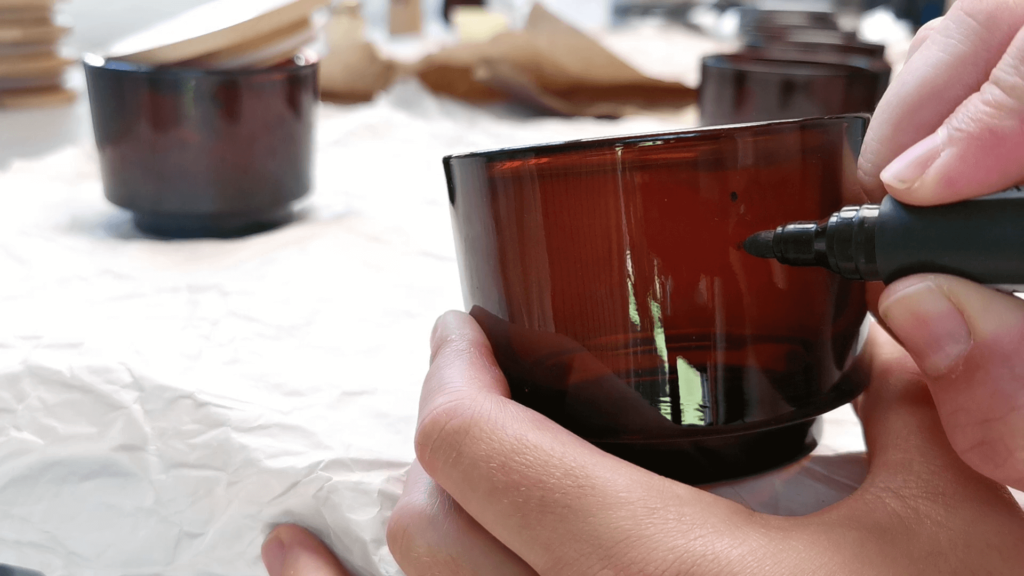
- Prepare your containers: Mark your container with a non-permanent marker. Place one dot to indicate the final fill level of your candle, and place another dot 1 centimeter below this fill line to indicate your first pour (before the top-up). Remember to consider the space that your lid takes up, and mark this with a dot as well.
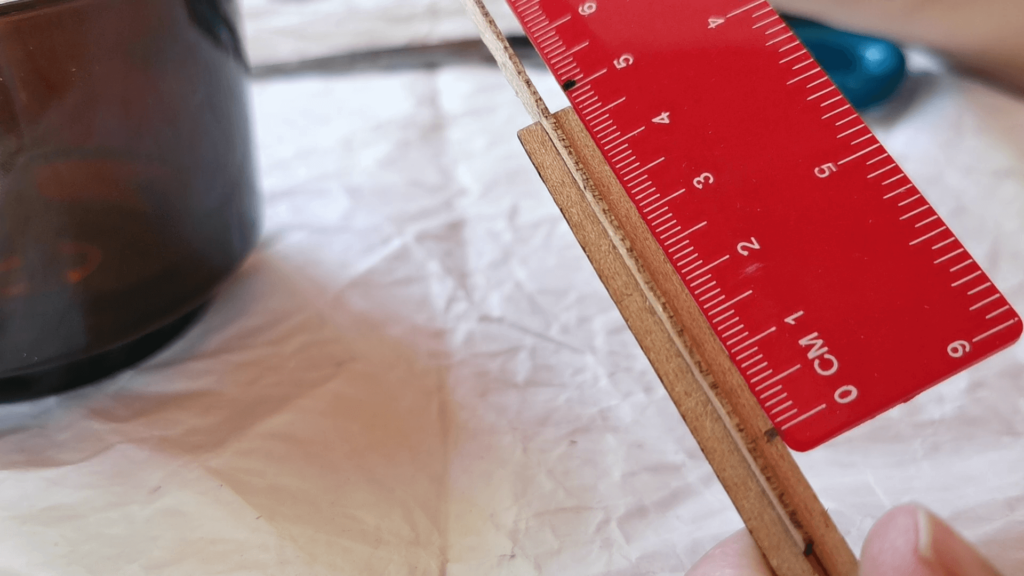
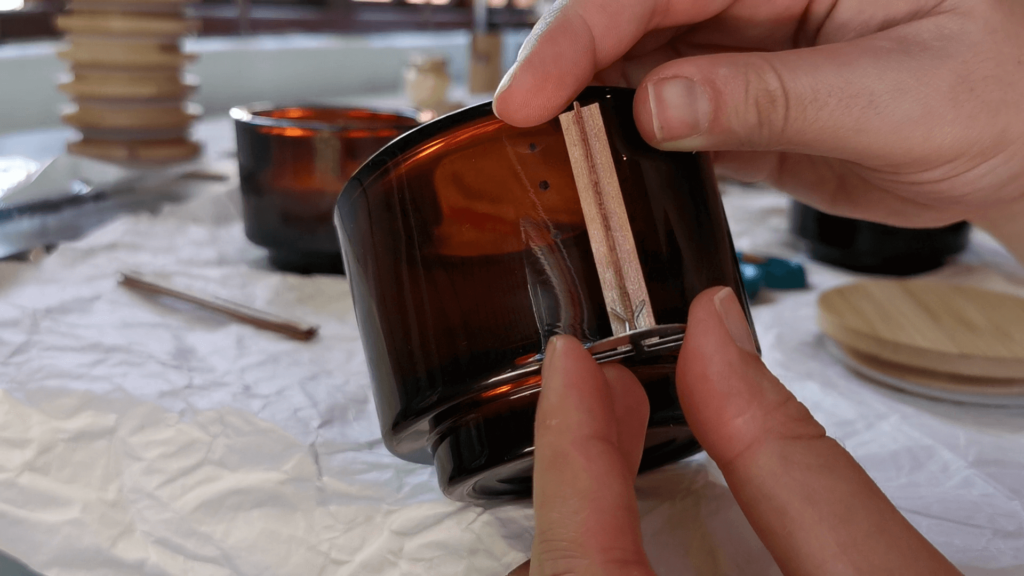
- Prepare your wicks: Determine & cut the correct length of your wick for your container. When determining the correct height, remember to consider the space that your lid will take up inside your jar. Secure the wick in the center of your container. I personally use melted beeswax as my adhesive, but you can use a glue gun or candle sticker as well. Notes for cotton wicks: You can cut cotton wicks later as the last step. You must secure the cotton string to stand upright. You can do this with a wick placeholder , clothes peg, or two ice-cream sticks placed side-by-side with the wick held in the center.
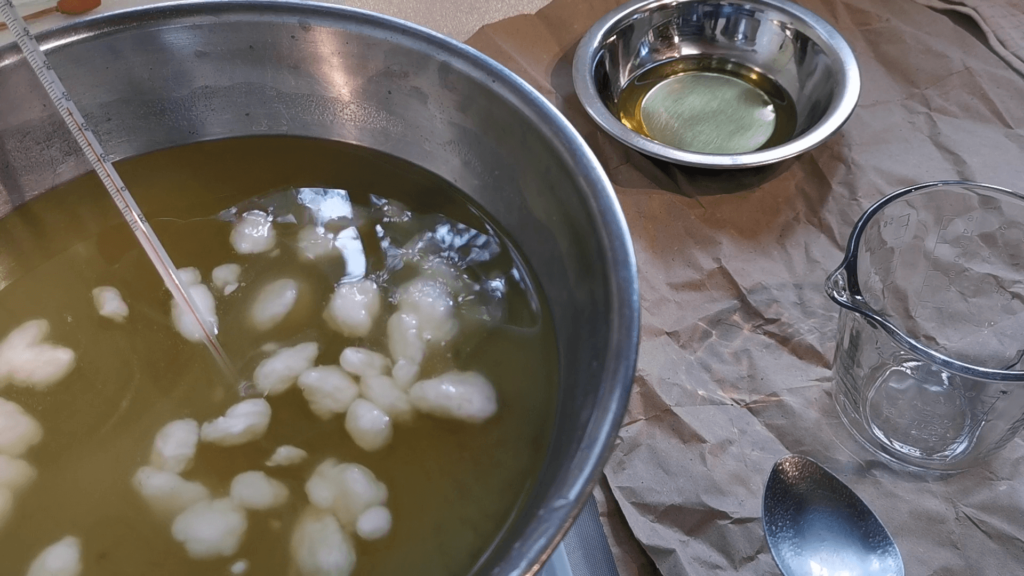
- Over a double boiler, melt the soy wax until all flakes have dissolved (about 65-70℃). Use a thermometer, and be careful not to overheat the wax over 80℃, because this can influence the setting and performance of the candle.
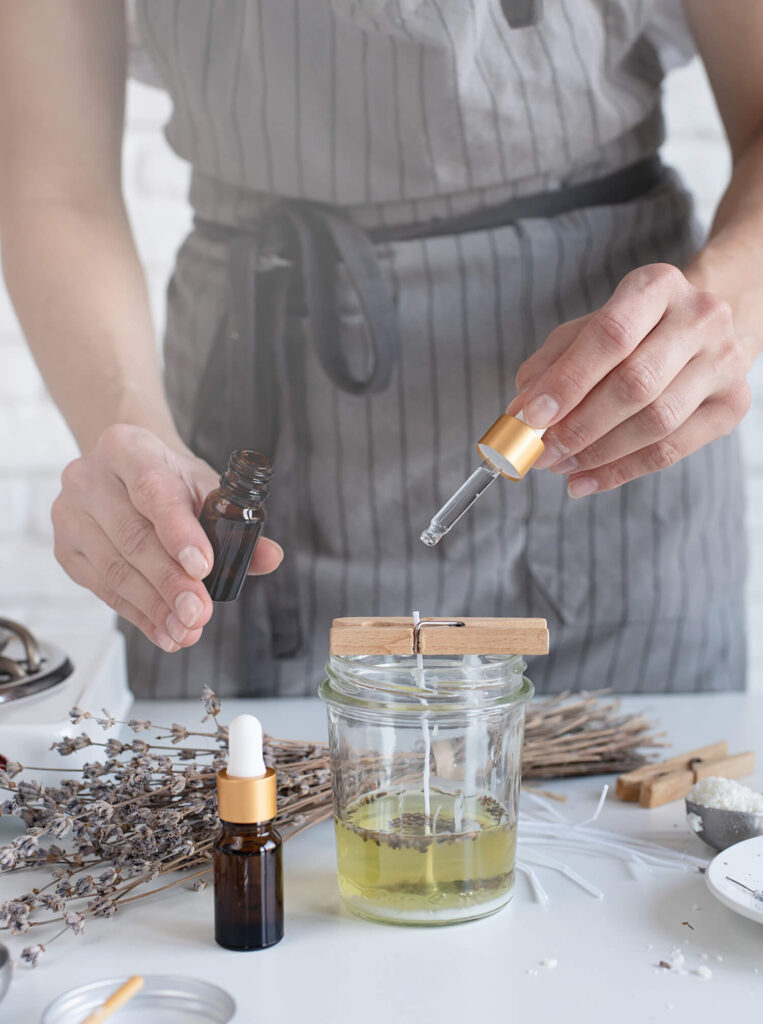
- Wait for the wax to cool down to 65℃, and then add your fragrance blend. Avoid stirring vigorously to prevent introducing air bubbles.
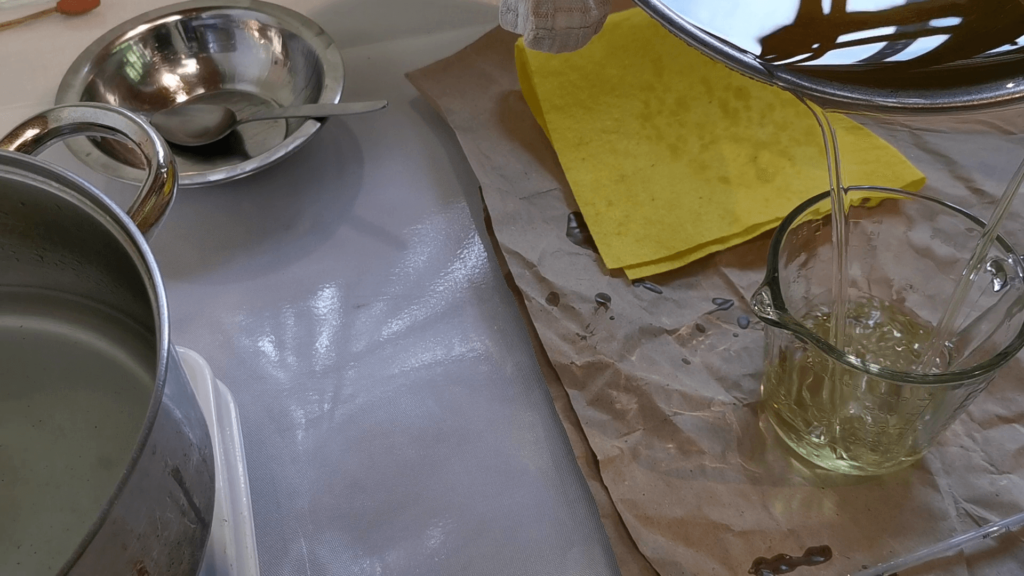
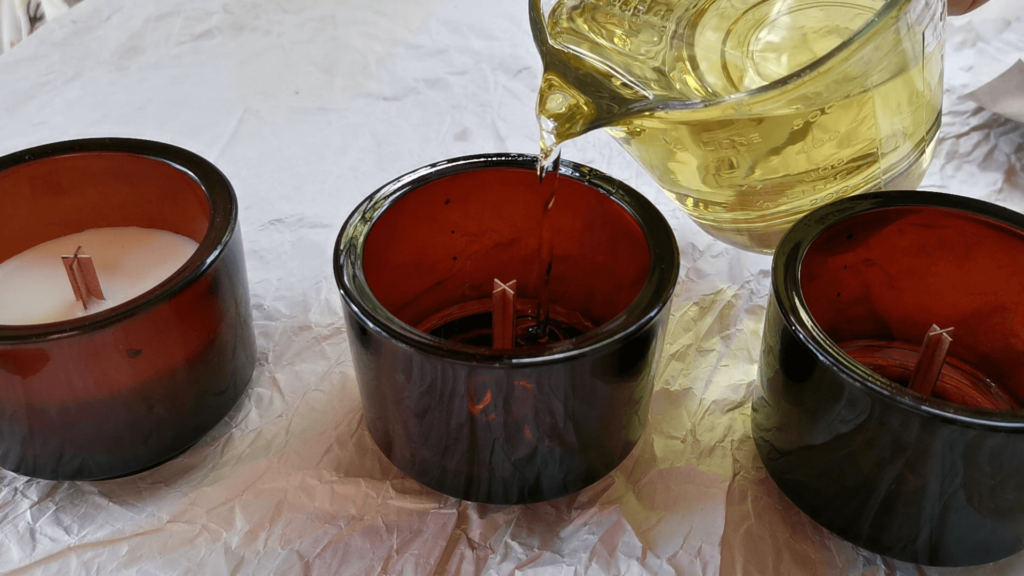
- Gently stir the molten wax mixture until it cools down to about 58-60℃, and then pour your wax to the first marked level which is 1cm below your fill line. The wax will have a slight cloudy appearance, but mostly clear. The pouring temperature is important, because pouring wax that is too cool will create cavities in your candle.
- Allow the candle to cool completely for 12-24 hours.
- Top-up: The next day, remelt your remaining wax and top-up your candle to the final fill line.
- Allow to cool completely before using.
Notes
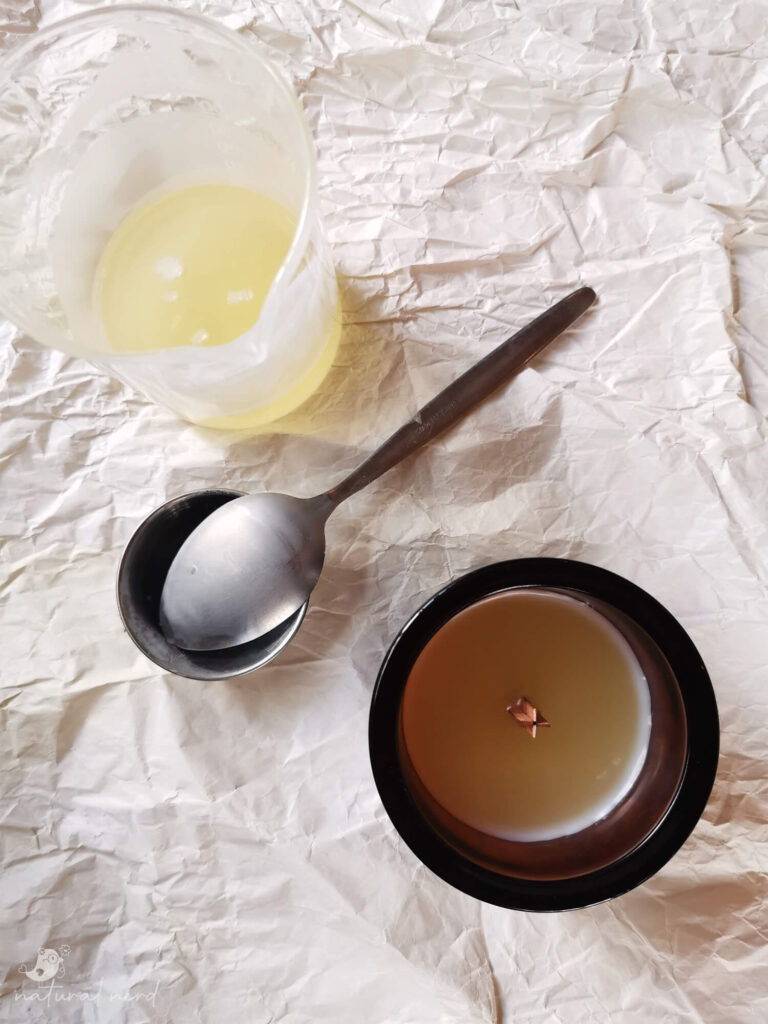
- Cleaning Tips: Heat & melt the wax on your equipment so that you’re working with oil instead. This makes it more manageable. Then you can wipe off the oil with paper towels, and/or wash in hot water so that it stays molten and rinses off easily with soap.
- Why top-up your candle? This time allows the candle to shrink, crater and create bubbles etc. You can fix any imperfections with your final pour. You can skip the top-up, and pour all your wax at once to the final fill line, but it may not look as smooth.
- How to make your own double boiler: You need a pot and a heat proof bowl/ beaker, or two pots (one smaller than the other). Fill the bigger pot pot with about 5cm of water. Once the water has come to a boil, place your other pot or heat-proof bowl on top of the pot with water. Leave the stove on a low heat. Place your ingredients in the smaller suspended pot, and wait for the ingredients to melt. It’s that simple. It’s the same concept as melting chocolate.
Substitutions
Candle-making is all about testing. Technically, you could replace the soy wax with another type of wax like bees wax, or create a blend of soy wax and coconut oil, or replace the essential oils with fragrance oils instead. This is all possible, but without guarantee.
Candle-makers constantly talk about conducting their own tests. In other words, they first make small batches in order to test how a fragrance or wax performs, take notes, and make adjustments until they have their perfect formula for their particular container or design. Feel free to do the same yourself, and download SA Candle Supply‘s complimentary testing sheet to start your candle experiments.
This recipe allows you the flexibility to be creative with fragrance – you can basically create your own aromatherapy fragrance blend. The important thing is to adhere to the 6% fragrance ratio. You may use less, but it’s not advised to use more with soy wax.
Cost & Shelf Life
Cost Price
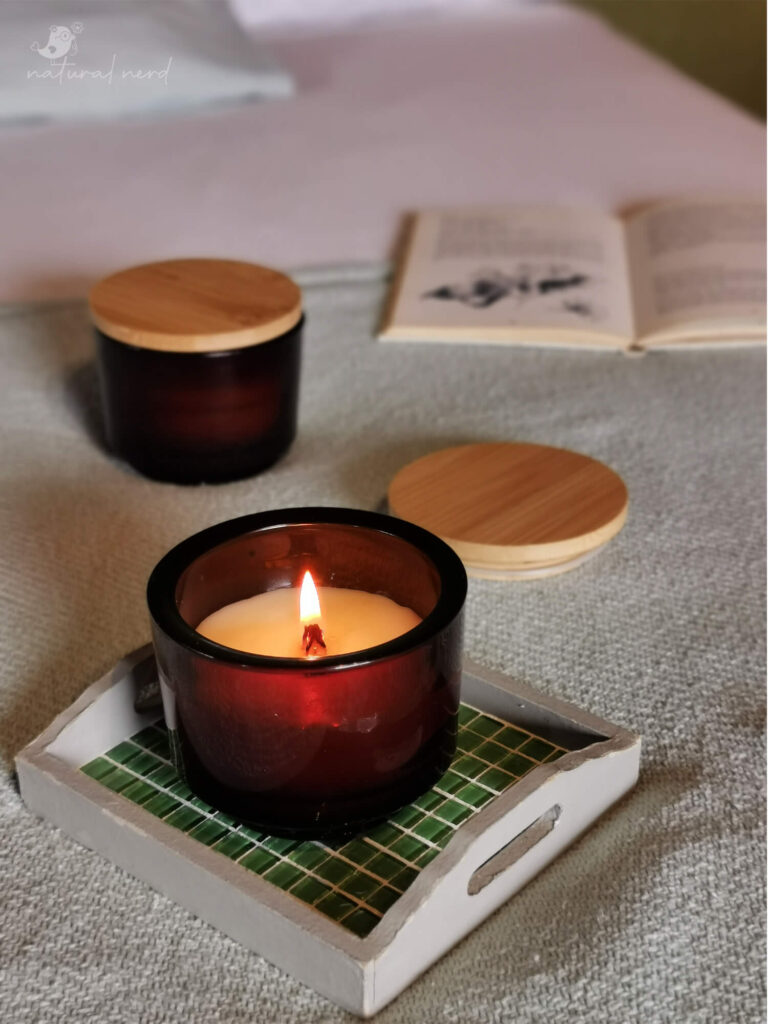
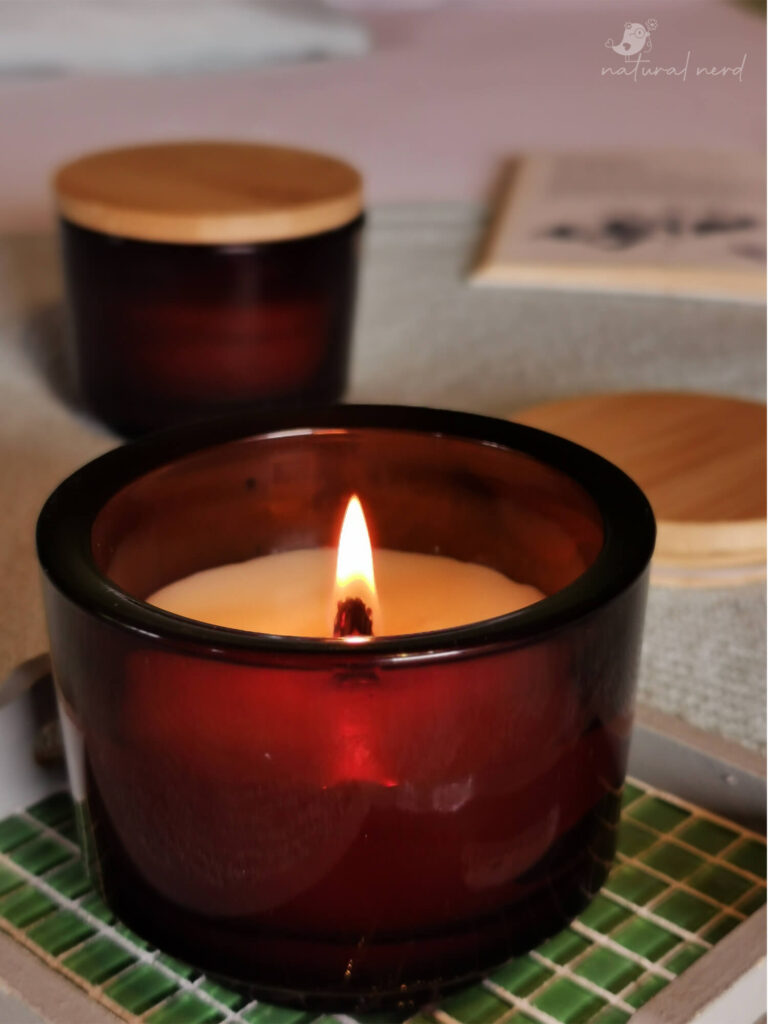
A fragrance-free version of this soy candle costs me R79 per 200g, which includes the cost of the wood wick, glass jar and lid pictured in this post.
With my fragrance blend of cinnamon and orange essential oils, this candle cost me R127 per 200g. This is significantly cheaper than buying a scented soy candle at an average price of R270 per 200g.
The cost can vary greatly depending on the essential oils you use for your fragrance blend. I recommend using a cheaper brand of essential oils for candles and soap, because you are literally burning or washing it away. Keep your expensive essential oils for skincare.
This is based on the retail prices of ingredients at the time of writing in 2023.
Shelf life: 2 years if stored away from direct sunlight and moisture.
Challenge
- Candle-making can get messy.
- Wax is tedious & difficult to clean from equipment.
Cherry on Top
- Cheaper than buying natural soy candles.
- Benefit from the aromatherapy of using pure essential oils.
- You don’t inhale petroleum derivatives (like paraffin).
Ingredients
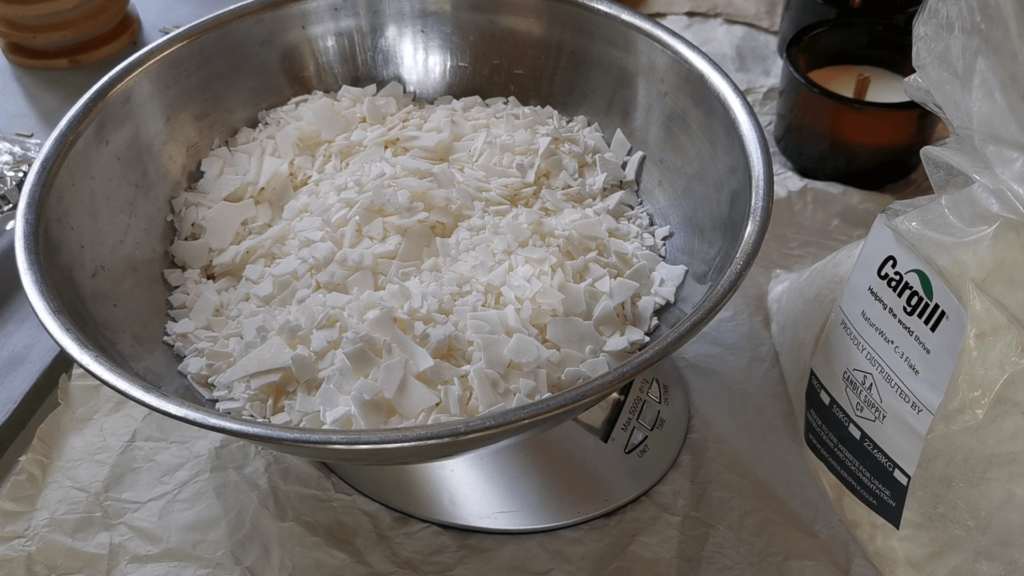
- Soy Wax: For best results, use a soy wax that has been formulated for candle-making. I mostly use Pure Soy 100 Wax, which is better suited to experienced candle-makers. Alternatively, you can use the cosmetic-grade NatureWax® C3 Natural Soy Wax which performs better for beginner candle-makers. Other soy waxes may require more testing and experimentation on your part in terms of burn time, fragrance throw and shrinkage. I find that it’s just easier to buy a soy wax that’s been tested for the purpose of candle-making already. (buy here)
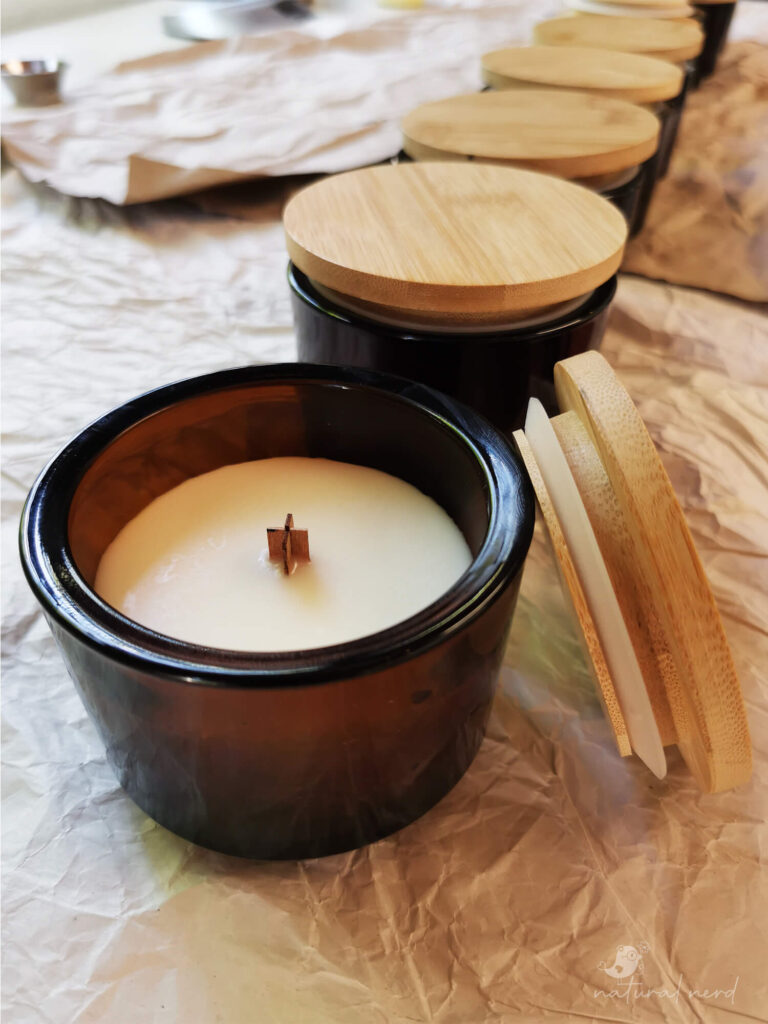
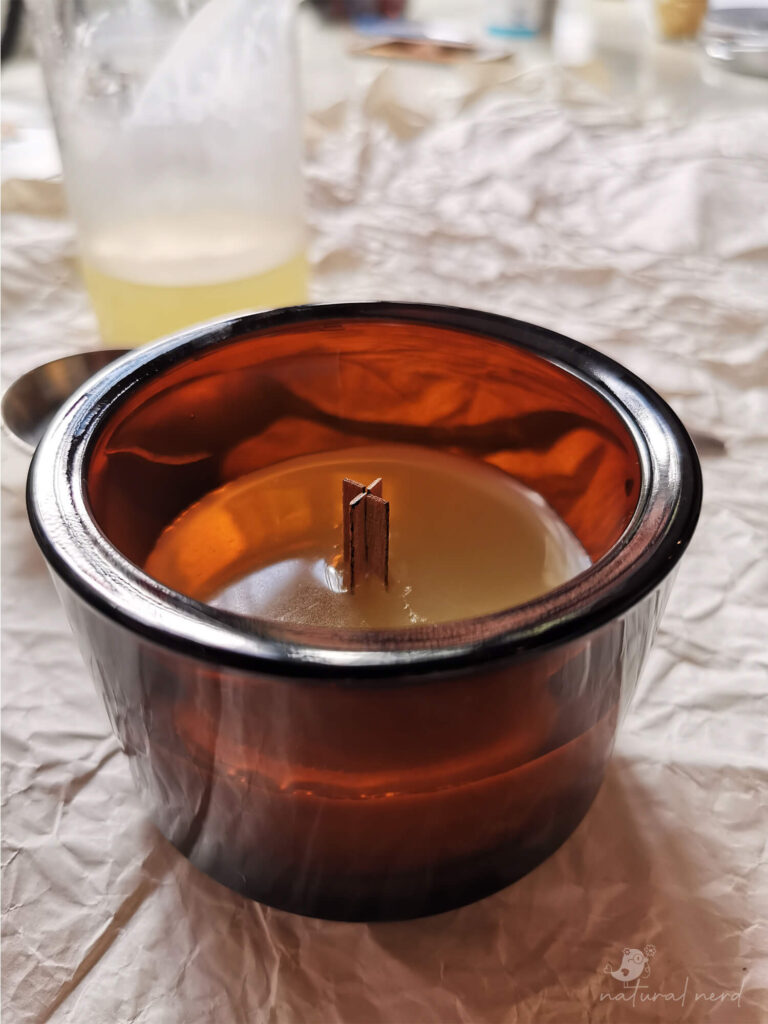
- Candle Wicks: You can use cotton or wood wicks. The most important thing to remember is to choose a suitable wick that is compatible with the size of your container, so that you get a good burn pool. Most suppliers provide wick guidelines based on the diameter of your jar. For example, according to my supplier, the small cross wood wicks that I used are suitable for a jar with a diameter between 55mm-75mm. (browse all wicks here)
- Candle containers: most heat-proof glass is suitable, but if you are unsure then buy a container that is specifically sold as a candle jar. I used the Aurora Amber Jar with the Aurora wood lid for my candles. (browse all jars here)
- Essential oils: Not all essential oils will work in candles (for various reasons) and they require testing, but they are the best natural option if they do work for you. However, if you want to use something with more guarantee, then I recommend buying fragrance oils that have been tested & formulated for candle-making. Although, fragrance oils may not be natural. SA Candle Supply Co. claims that their Frais Fragance Oils are cruelty-free and free of parabens, phthalates and silicone, but that doesn’t mean they’re natural either. You decide. (buy essential oils here)
Recommended Retail Option
If you don’t want to make it yourself, then consider buying Soylites Aromatherapy Candles which are handpoured and proudly South African. These candles are made with GM-Free soybean wax and a blend of pure essential oils for fragrance.
Which essential oils did you use to create your aromatherapy fragrance blend? Let me know in the comments below.

