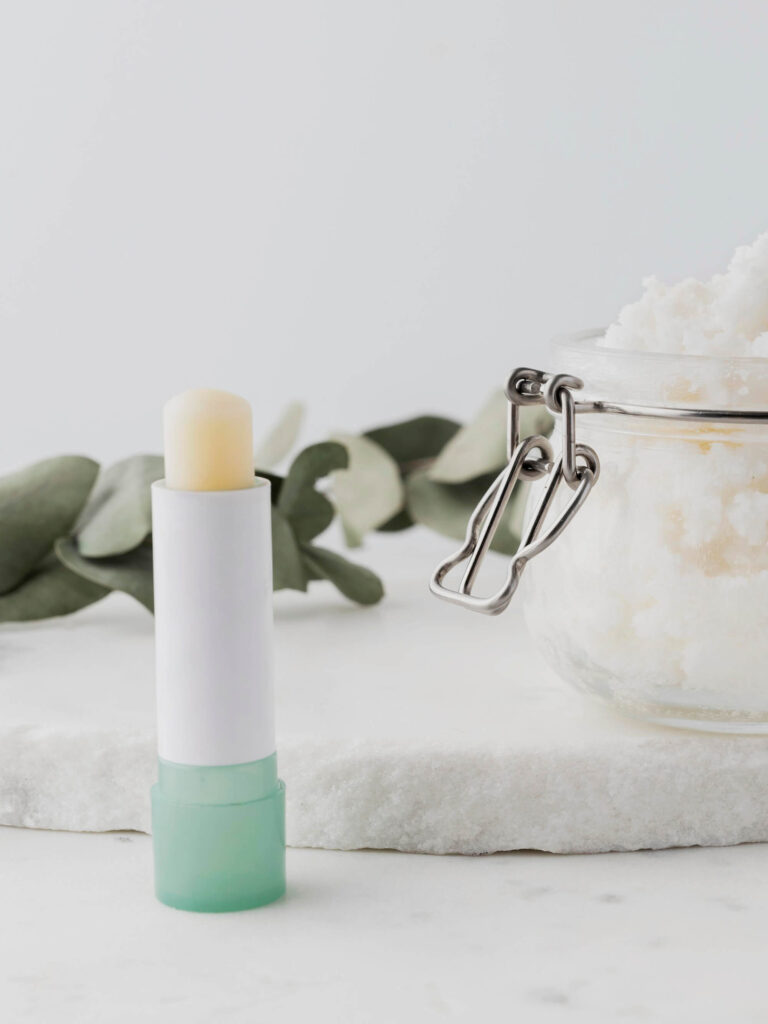
This nourishing lip balm makes a great gift. Just find a pretty little tin or jar – et voilà – a luscious lip balm for under R10, and ready in just under 5 minutes. If you’d like to spice it up a notch, you can make a tinted lip balm, which is just as simple. The method for making lip balm is only a fraction more complex than mixing, it just involves melting and then mixing. Easy enough? Give it a try and let me know how it turns out in the comments below.

Beginner’s Lip Balm
Ingredients
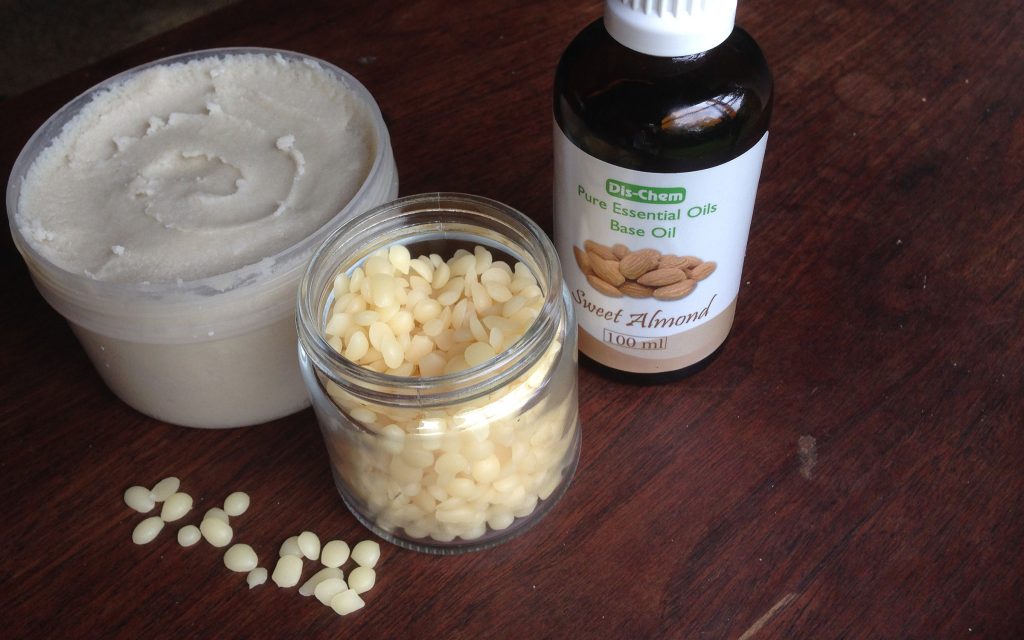
- 5g Unrefined shea butter
- 5g Sweet almond oil
- 5g Natural & unrefined bees wax (Vegan substitute: Soy wax)
- 2 drops Essential oil for flavour (optional)
Instructions
- Makes 15g (about three standard lip balm roll-up tubes).
- In a double boiler, melt the bees wax and shea butter first. If you have solid bees wax chunks (instead of pellets), grate the bees wax so that it melts quicker.
- Add the sweet almond oil, and mix until all ingredients are melted.
- Remove from heat.
- OPTIONAL: If you want to flavour your lip balm, add 2 drops of an essential oil that you think would taste nice. I personally recommend peppermint or orange.
- Transfer into your container/s immediately before the balm starts to solidify.
- The mixture will harden as it cools. If the mixture starts to harden before you get the chance, reheat the mixture until it melts again. Be careful not to overheat the ingredients, in order to preserve the beneficial nutrients. You just want the ingredients to melt, not boil.
- Allow to cool completely before using (+/- 15 minutes).
Notes
- How to make your own double boiler: You need a pot and a heat proof bowl/ beaker, or two pots. Fill a pot about half way with water. Once the water has come to a boil, place your heat-proof bowl on top of the pot of water. Leave the stove on a low heat. Place your ingredients in the suspended bowl, and wait for the ingredients to melt. It’s that simple. It’s the same concept as melting chocolate.
- If you are making this lip balm just for your personal use, why not reuse one of your old lip balm containers, rather than buying new ones? It’s cheaper, and better for the environment.
- I prefer a fragrance free lip balm, but you could add scent by adding 2-3 drops of your favourite essential oils. I would suggest peppermint, vanilla, or orange essential oils, as they smell and taste fantastic (not that you will be eating your lip balm, but you never know who might surprise you with a kiss!)

Recipe Variations & Substitutions
My general guideline for a beginner’s lip balm recipe is to use equal parts of a butter, wax and oil. So you can simply combine one part of any butter (eg. shea butter, cocoa butter, avocado butter etc.), with one part of any wax (eg. bees wax, carnauba wax, soy wax etc.) and one part of any liquid carrier oil (eg. olive, sunflower, grapeseed, sweet almond etc.). Therefore, the recipe is 1 part butter: 1 part wax: 1 part oil. That should simplify things for you in terms of what you can substitute. So the recipe I’ve shared above is just my personal favourite combination of butters, waxes and oils.
Cost & Shelf Life
Cost price: R6.76 for 15ml (that’s equivalent to 3 standard lip balm tubes).
Lasted me about: 3 months using every morning & evening.
Estimated shelf life: 1 year if stored away from direct sunlight and moisture.
*Costs accurate at time of writing, and based on the best retail prices I’ve found.
Challenge
You have to work quite fast if you want to fill a roll-up tube before the balm starts to solidify. Also, it may get messy, because roll-up tubes are not leak proof. TIP: Drop a few drops of melted bees wax to the bottom of the tube so that it creates a waterproof barrier when it’s cooled, which will prevent leaks when you actually pour your balm.
Cherry on top
The cost price of this lip balm works out to be a tenth of the average price of lip balm in stores (Eg. Labello goes for about R28 for 5ml, whereas this recipe costs about R3 for 5ml).
Ingredient benefits
- Unrefined shea butter: provides essential fatty acids and nutrients required for collagen production. Softens skin and reduces wrinkles (buy here).
- Bees wax: moisturises and retains moisture in skin for longer by forming a protective barrier on the skin. (buy here)
- Sweet almond oil: Moisturises and nourishes cracked lips, and vitamin E content is anti-ageing and treats sun damage (buy here).
Not sure which brand to buy, and where to buy it? My shopping guide may help you. Are you new to essential oils? Please read how to use them safely.
Which oils, butters and waxes do you prefer to use in your natural lip balm recipe? Please share in the comments below.

Great website! cant wait to try out this recipe, just ordered my beeswax today
Thank you Deborah. I’m happy you like my site =) Good luck with your lip balm. Although, it’s so simple you really don’t need any luck. Let me know how it goes. Quick question, if you don’t mind me asking, where did you order your beeswax?
I really enjoy your blog! Does the beeswax need to be unrefined? I’ve only managed to find refined beeswax in health shops.
Hi Janet. Thank you for your comment, I’m glad you enjoy my blog 🙂 To answer your question, no, the beeswax doesn’t have to be unrefined. This is just a preference, since unrefined is a more natural form. Refined beeswax will still work in all recipes. All the best with this recipe! Regards, Christina.
I’m going to try this lip balm – thank you for sharing. One thing I’m not sure about is, if using the stick tubes do you just pour it in and will it set and roll up ok?
Hello Moz. Yes, you can just pour it in, and it will set and roll-up perfectly. A little may leak at the bottom while the oil is still hot liquid, but the leaking stops very quickly as the balm hardens around the bottom. When I do it, I pour the oil in, and put it in the fridge to get it to cool down faster. Alternatively, you can seal the bottom where there is a gap between the twisting knob and the container. Just seal it with some tape, and then pour, and it won’t leak at all. But otherwise, it sets and rolls up exactly the same as any lip balm.