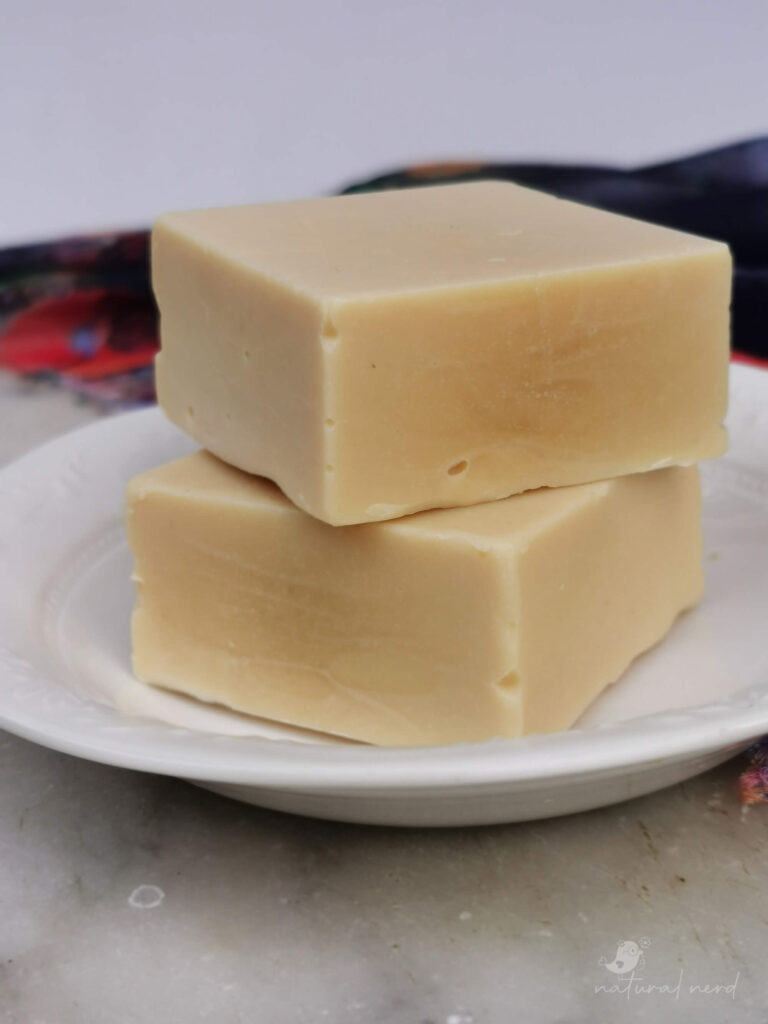
When my father-in-law presented me with a cup of fat taken from his oxtail stew, I accepted the challenge to turn this into what’s traditionally known in South Africa as “Boereseep” (Translation: Farmer’s soap). Although I personally prefer plant-based soap recipes, my students often ask how to make soap with animal fat – either because they are farmers, have access to animal fat scraps or they simply have memories of their grandmother’s soap-making.
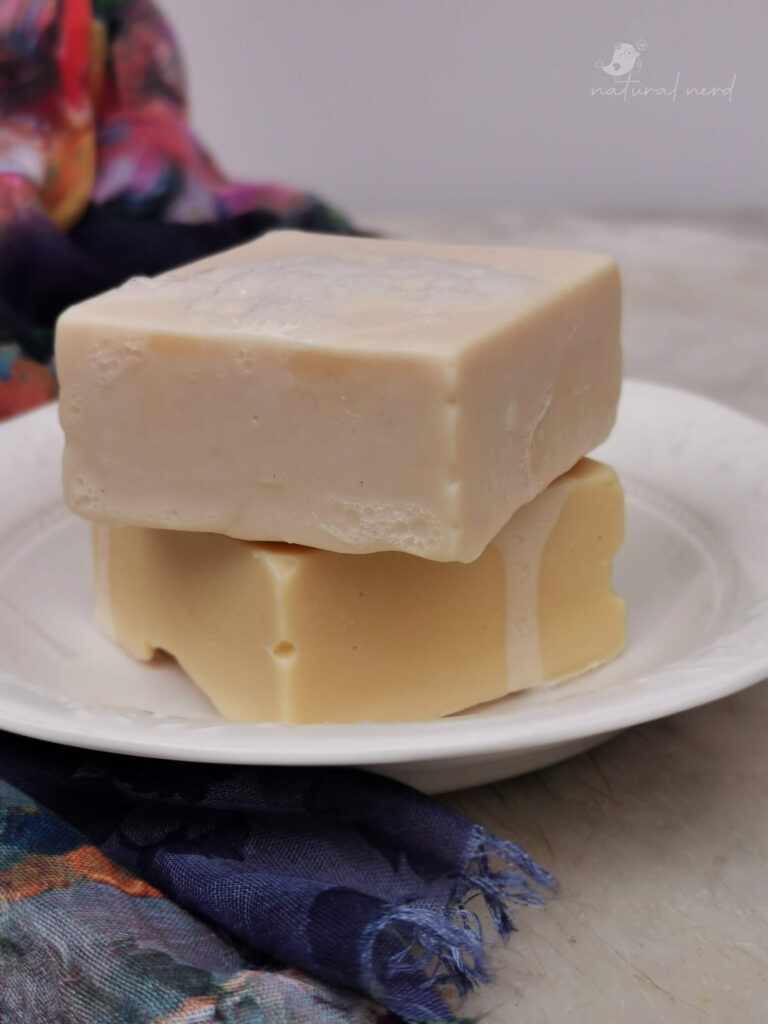
If your grandmother made soap, she either collected the oil and fat from each meal into a jar, or she rendered the pure fat scraps from the butcher. This recipe attempts the former – using tallow fat collected from a meal. Except, I’ll skip the part where your grandmother used firewood ashes for the lye.

If you’ve never made your own soap bars from scratch (with lye), please stop right here. This recipe assumes that you have basic soap-making knowledge. First, please read my beginner soap bar recipe, so that you will know all the safety precautions to take. You’ll also benefit from the more detailed instructions and step-by-step photographs. For more in-depth lessons on formulating your own soap recipes, enrol in my soap-making course.
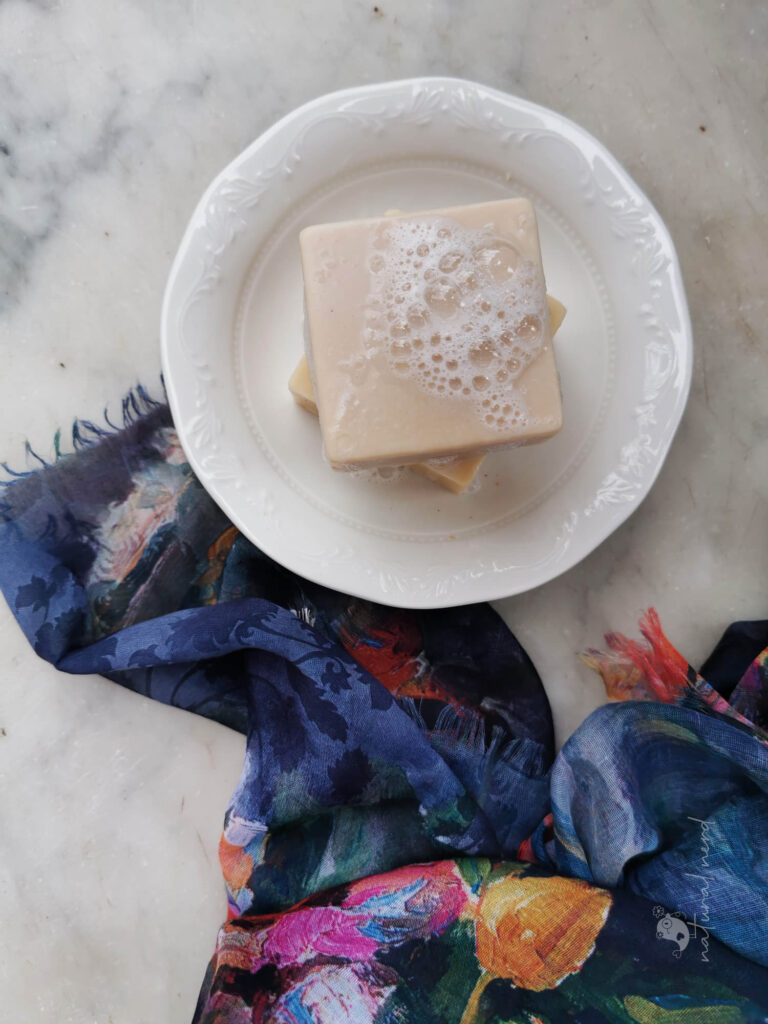
Old-Fashioned Farmer’s Soap
This makes about 200g of soap, which is roughly 2 bars.
Ingredients
For the Soap:
- 64g Water (at room temperature)
- 22g Caustic Soda
- 150g Beef Tallow
Equipment & Tools:
- A kitchen scale
- Coffee filter paper / cheese cloth
- 2x heat-proof glass bowls or PP/HDPE plastic containers.
- Stainless steel pot for soap mixture (minimum capacity: 500ml)
- Electric blender
- Stainless steel spoon
- Soap moulds (silicone/ PP or HDPE plastic)
- Towel
- White vinegar for cleaning any spills
- A cloth soaked in white vinegar for cleaning
- Protective gloves
- Protective glasses & long-sleeve clothing
Instructions
- Prepare tallow fat: Heat the tallow fat until melted and hot.
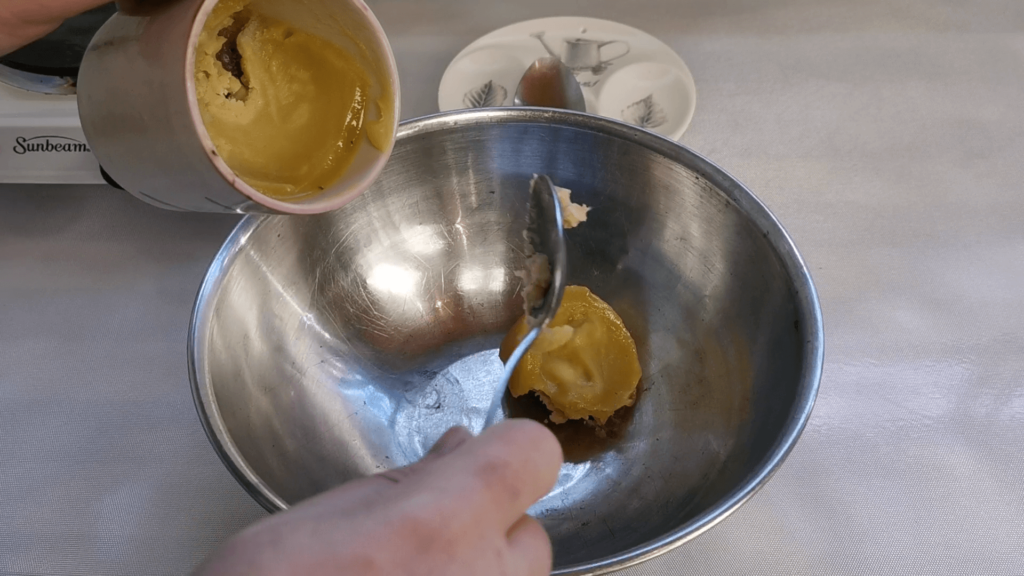
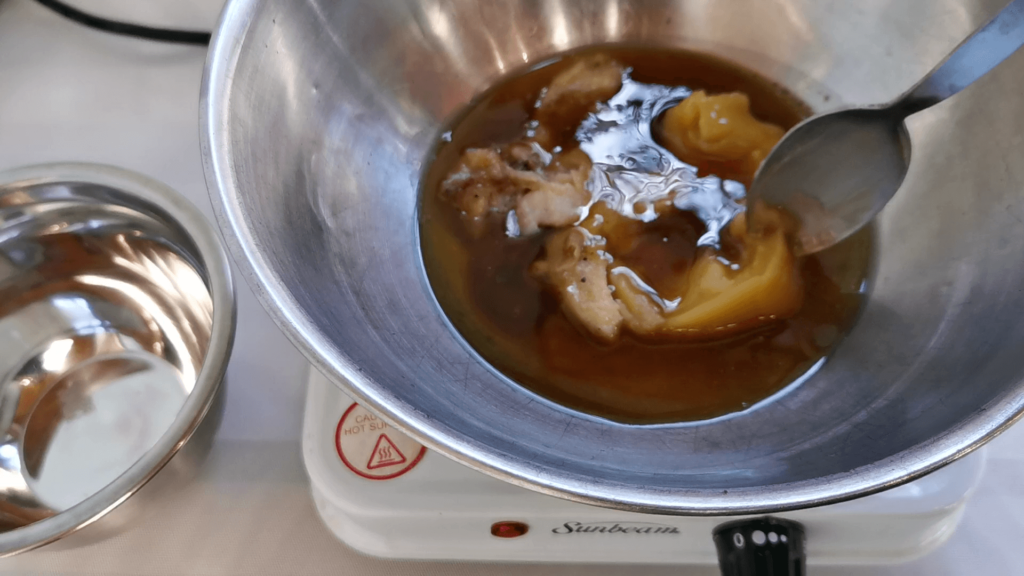
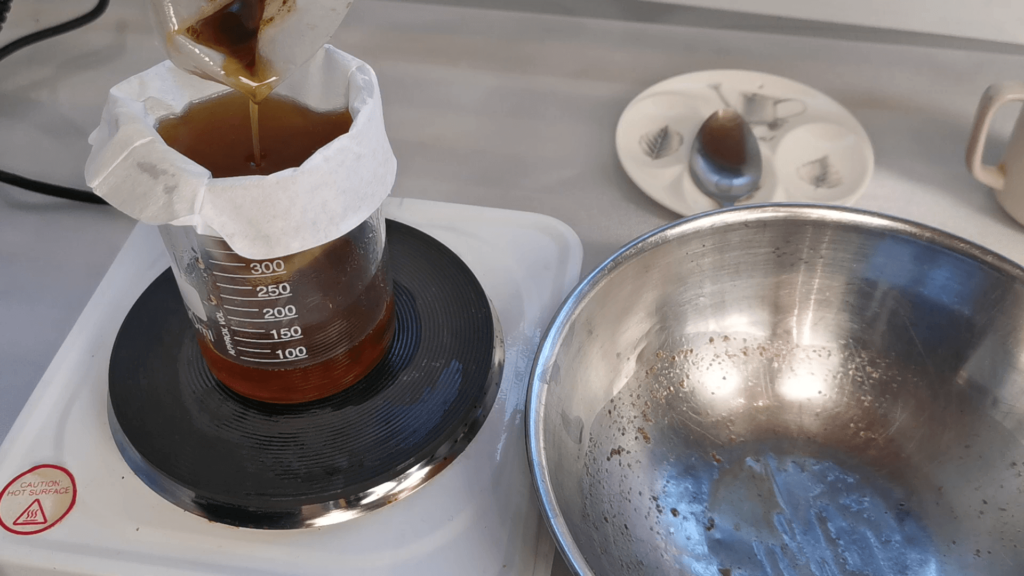
- Strain fat: Then strain the hot liquid through coffee filter paper to remove all unwanted food stuffs. If you use fat collected from a meal, there is bound to be small particles of meat and spices floating around that need to be removed. You may have to use more than one filter paper when the first one gets clogged, or when the fat cools and hardens. I used two filter papers. Just transfer fat from the old paper, remelt and pour into new filter paper. To keep the fat warm & liquid, I placed it on low heat when it started cooling down again. The rising steam helped to keep the fat in the paper warm enough to keep dripping. You could also place it in a hot water bath. This step won’t apply if you use pure rendered fat.
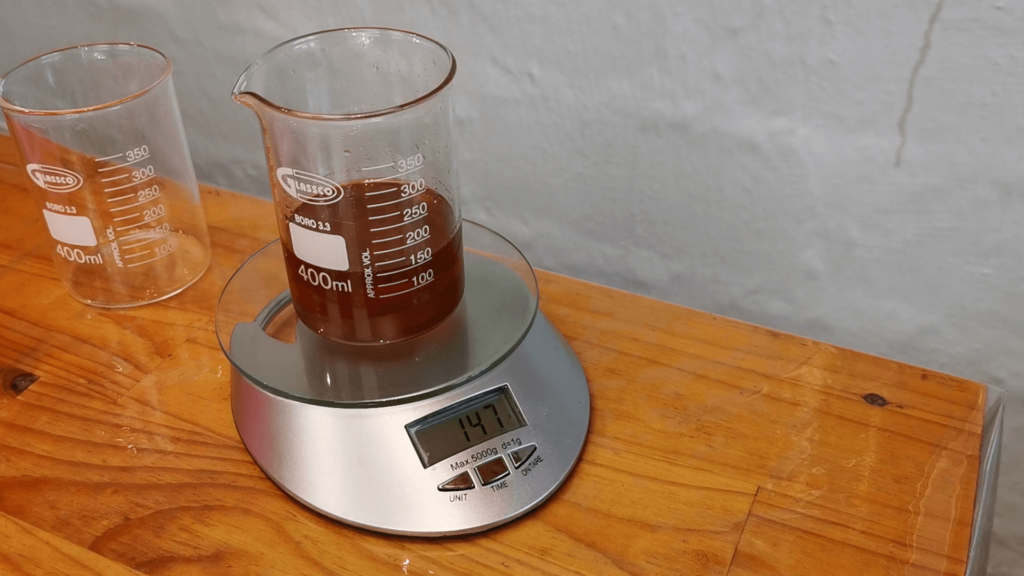
- Measure strained fat: After straining, determine the weight of the fat that you actually have prepared. Measure out the amount you need for this recipe into a stainless steel pot, and store the remainder in a sterilised jar that is labelled with the date & contents for up to 6 months.
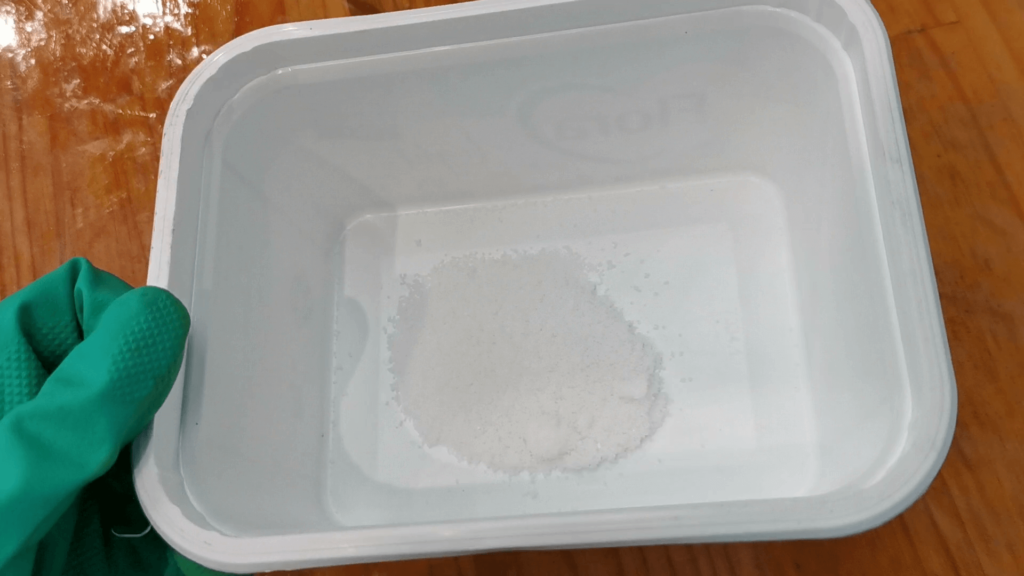
- Measure out remaining ingredients with a scale: Measure out the water and the caustic soda separately into two heat-proof glass or PP/HDPE plastic containers. Don’t use other plastics, they will melt/ burn. Only PP and HDPE plastic works with lye.
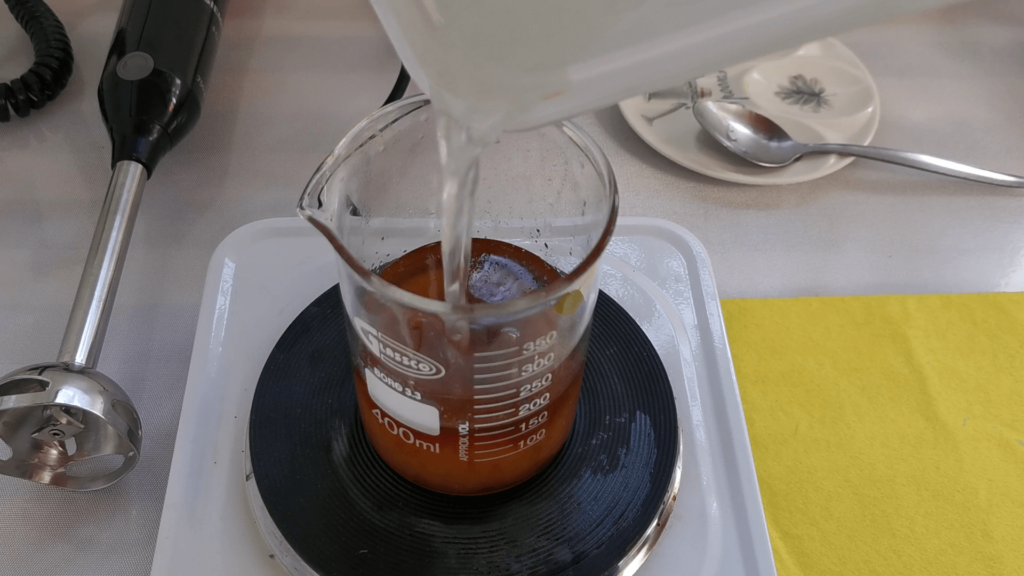
- Make the lye solution: Slowly add caustic soda to water (NOT the other way around). Do this in a well-ventilated area. Outdoors away from any pets is best . Do not inhale any of the fumes from the reaction. The solution will be murky and it will become hot, this is normal. This solution is known as lye.
- Start heating the fat: Heat the fat in a genuine stainless steel pot. Do not let it get to boiling point, this is way too hot. If you have a thermometer, the ideal temperature for the fat is 50°C.
- Combine lye with the warm fat: Once the lye solution is clear and all the caustic soda crystals are dissolved, remove the fat from the heat and add the lye mixture to the fat into the stainless steel pot.
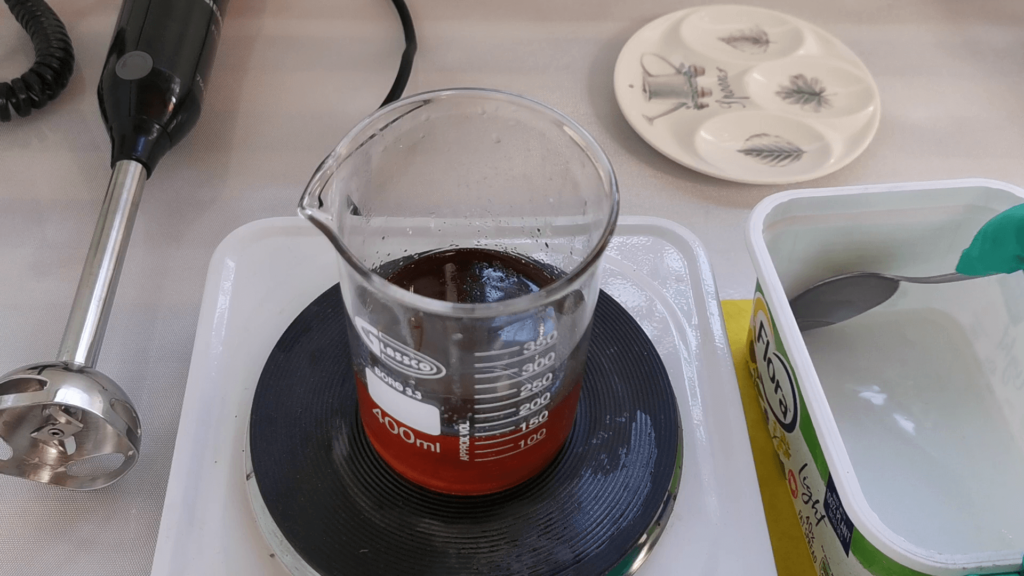
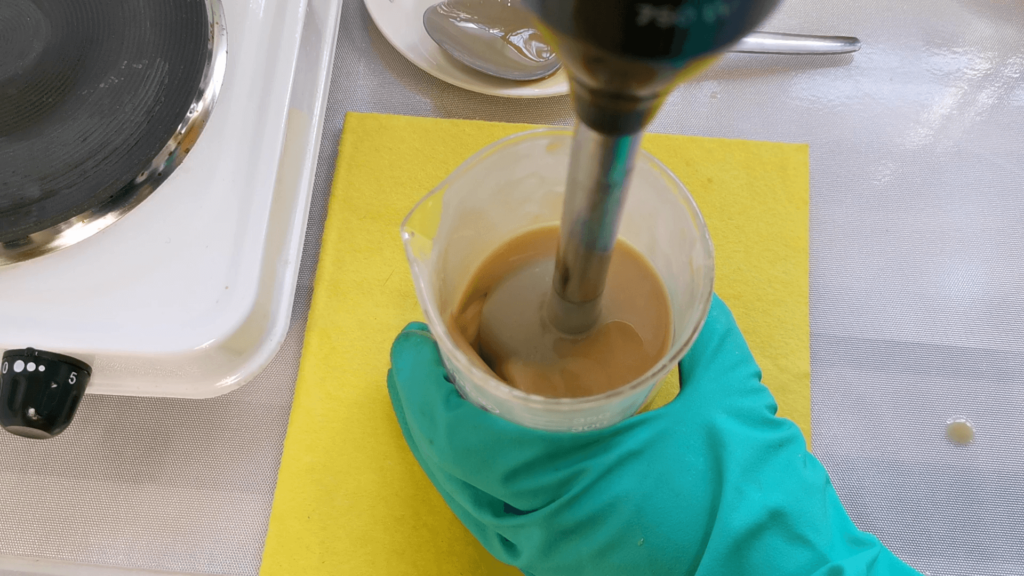
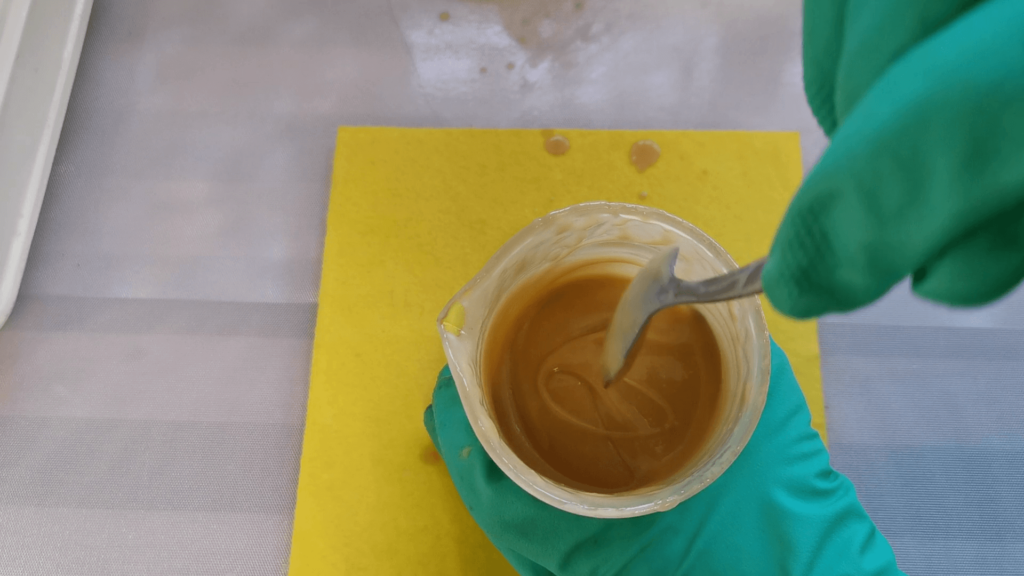
- Blend until trace: Once off the heat, alternate between blending the soap batter with an electric blender and manually stirring with a stainless steel spoon. Blend for 5 minutes, stir for 1 minute intervals. Do this until you reach trace. This can take a long time with tallow. It took me 30 minutes to reach trace with this small batch using an immersion blender!
- Add your additives (optional): For this size batch, I’d recommend about 2-5ml of essential oils, and 1 teaspoon of herbs or powders.
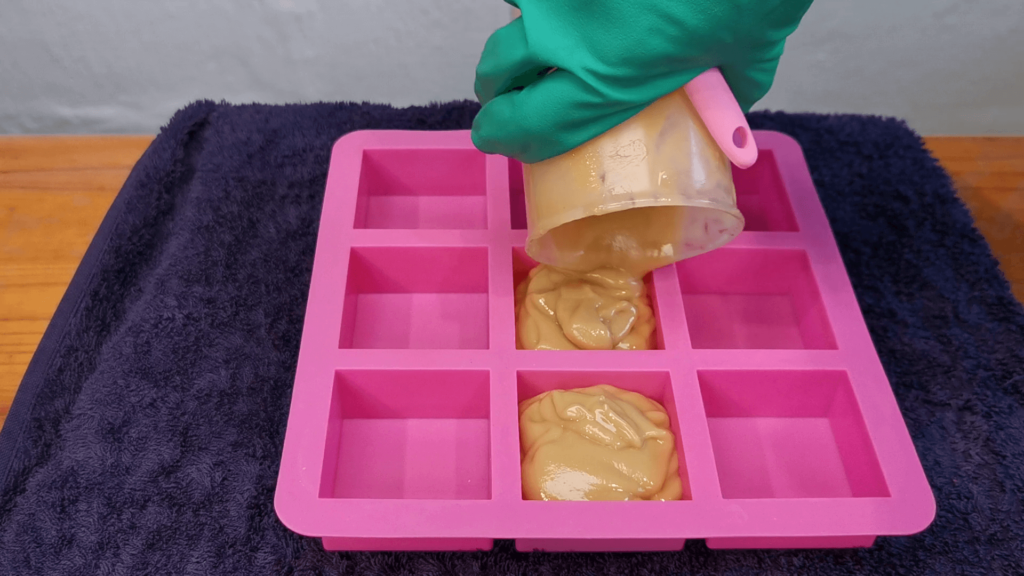
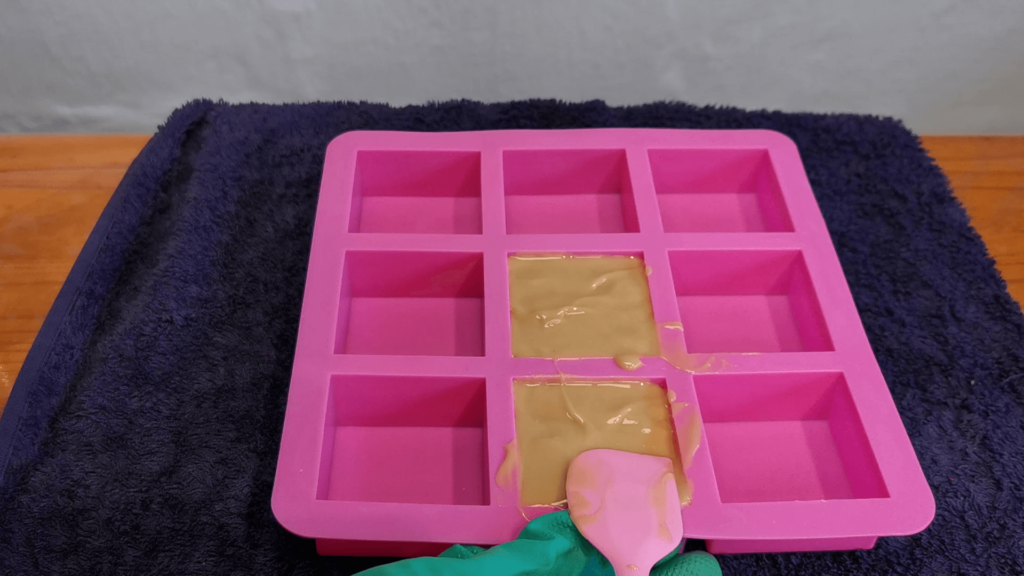
- Pour into mould: Lay a towel flat underneath your mould (for insulation at the bottom), and pour the soap mixture into your mould.
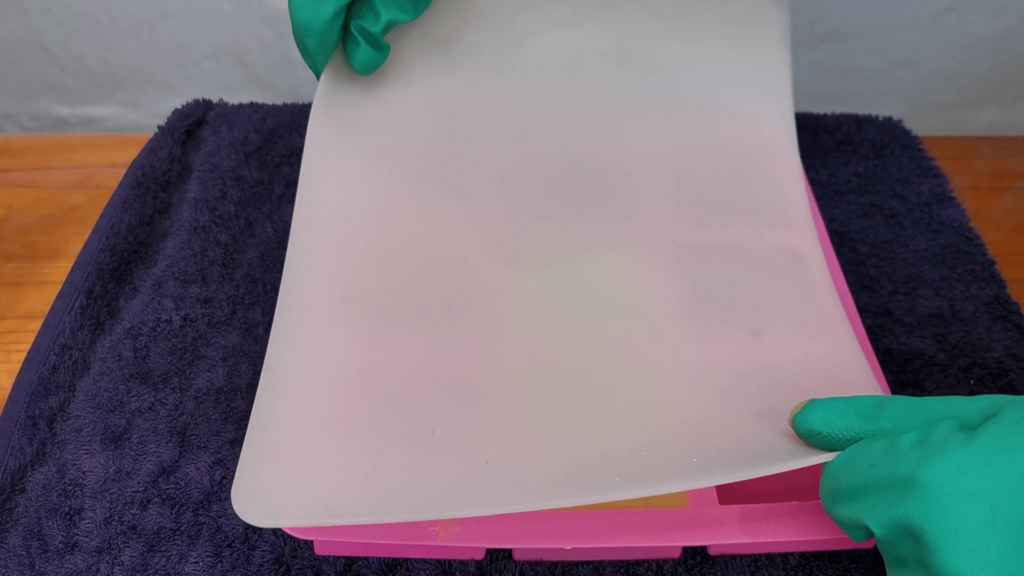
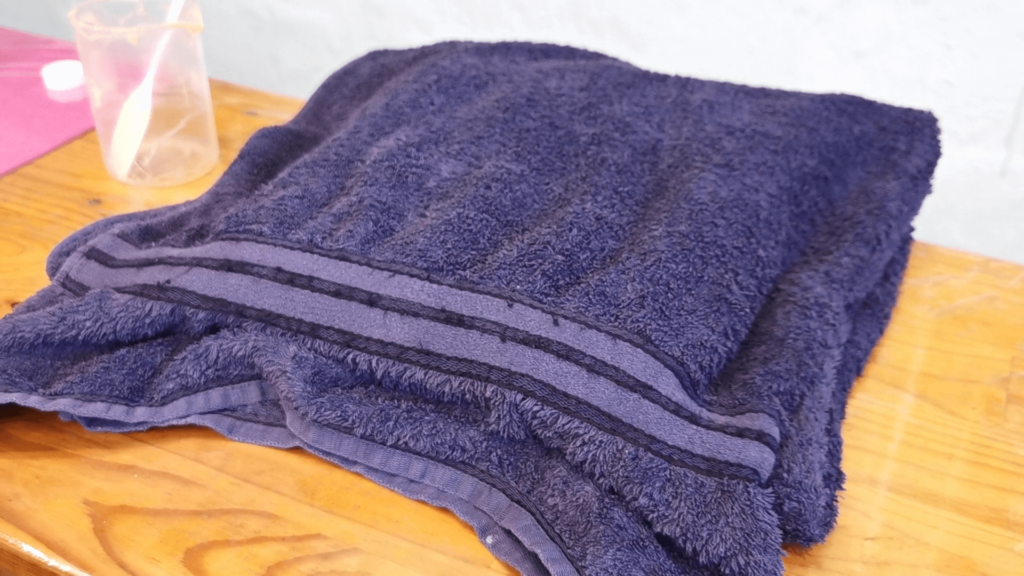
- Insulate your soap: Place a lid or piece of cardboard over your soap mould to protect the top, and then wrap the towel around your mould to insulate it overnight.
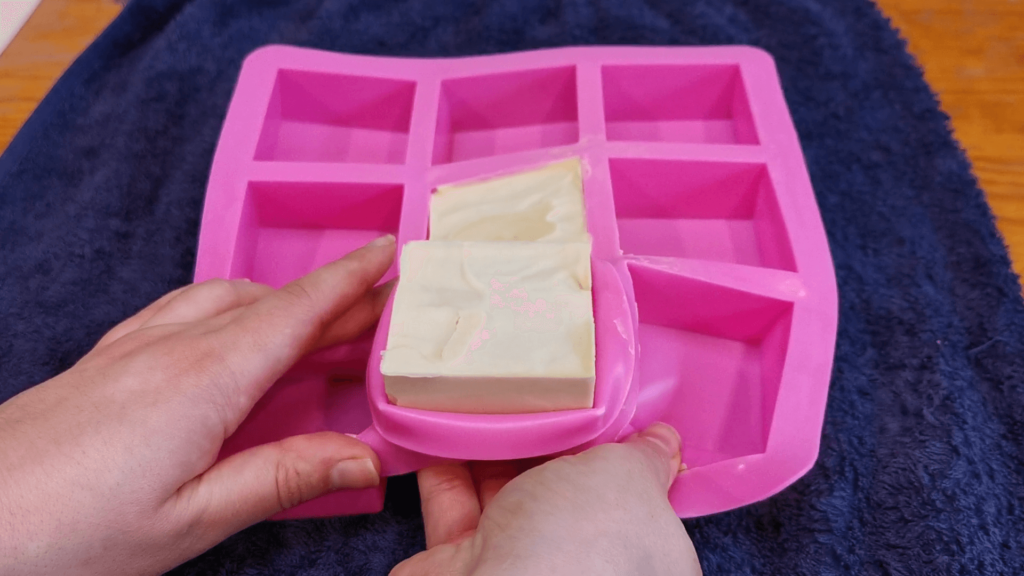
- Unmould & Cut soap: If your mould requires the soap to be cut into bars, do this after 24-48 hours. Cut your soap with a stainless steel knife.
- Let your soap cure: Place your bars in a well-ventilated area, away from direct sunlight and allow them to cure for a minimum of 1 week until it is safe to use; 3-6 weeks for best results; and 6 months for the hardest & longest lasting bars. Remember to turn them occasionally (every week is good), so that each side gets exposure to the air.
Notes
- Scaling the recipe: You can multiply the quantities in this recipe to make a larger batch.
- Scale is necessary: This recipe is like chemistry. Unfortunately, there’s no compromise and you have to use a scale to measure everything by weight.
- Safe Plastics: Only certain plastics are resistant to caustic soda/ lye. Make sure that you use PP or HDPE plastic. Check the label and if you’re not sure which type of plastic it is, then don’t use it! Use heat-proof glass instead. Check that the glass is microwave and dishwasher safe.
- Calculator inputs: This recipe uses a 3:1 water-to-lye ratio, and a 0% super fat. Don’t know what this means? Consider enroling in my soap-making course & learn how to use soap calculators to formulate your own soap recipes.
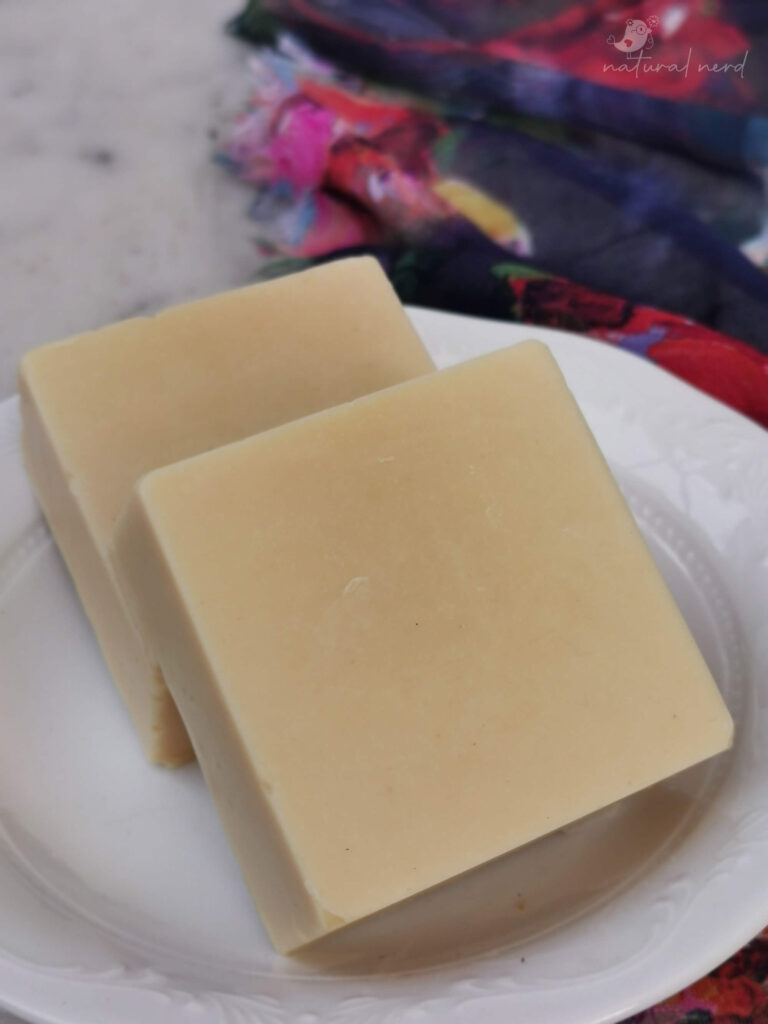
- This recipe has been formulated to be multi-purpose. It can be used for both skincare and household cleaning. I’ve made sure that there is no extra fat floating around in the soap bars (i.e. zero percent superfat). Everything turns to soap in this recipe.
- Why do I alternate between blending and stirring? Tallow soap commonly produces “false trace” which looks like trace, but if you wait a minute, you’ll see that it’s not trace. The batter returns to liquid instead of remaining like a thicker, pudding texture. True trace won’t become liquid again. True trace only continues to thicken. If you stop blending at false trace, your soap will likely separate and not set. When the pudding texture is there to stay, you’ve reached a true trace. To see what trace looks like, refer to the photos in my beginner soap bar recipe.
- Over-blending: You can over-blend soap to the point of curdling, which is why I alternate to make sure that I stop as soon as true trace is achieved. If you over-blend and your soap starts to curdle, don’t worry. Just keep blending while on low heat until it becomes a very thick, unworkable paste and scoop this paste into your moulds. This is a hot process soap, which doesn’t look as smooth and pretty, but it’s totally safe and usable.
Substitutions
You can use any type of tallow for this batch size, it doesn’t have to be from beef. Tallow is also sourced from sheep, goats and deer. Based on my calculations, you can also substitute other animal fat like lard (sourced from pigs), goose fat and chicken fat. The soap properties will be slightly different for each (i.e. some harder / softer / more bubbly etc.). However, you must stick to beef tallow if you’re going to make larger batches. The minuscule differences in lye amounts are negligible when making this small batch size (i.e. 1g or less). But if you start scaling up, then those become very big differences! You’ll have to re-calculate for larger batches with different animal fats. You cannot substitute with plant oils, rather refer to my beginner soap recipe or my multi-purpose soap recipe for that. Animal fats have a different fatty acid profile, and therefore require a different amount of sodium hydroxide for the saponification reaction to occur. When it comes to soap-making, you just cannot substitute oils, because every fat has a different profile.
Cost & Shelf Life
Cost price: R1.72 per 100g soap bar, or R3.43 for entire 200g recipe. Remember, the tallow was “free” and so is the tap water (kinda).
Lasted me about: 2 weeks using every day (one bar).
Shelf life: 2 years if stored away from direct sunlight.
Challenge
- Stew Fragrance: The soap does have a mild oxtail aroma, which is not great. I did expect this, but I wanted to make a plain soap bar on my first attempt. Next time, I will definitely add essential oils to mask the fragrance. Masculine base notes will work best to overpower it like: cinnamon, clove and aniseed etc.
- Straining is time consuming: It takes quite a bit of time to strain the fat before you can use it, especially because it re-solidifies as it cools. So you may have to re-melt multiple times depending on how much fat you’re using. I had to re-melt twice for two bars. I’ve heard that using a cheese / muslin cloth is quicker than coffee filter paper, but the filter paper is better for catching more unwanted bits.
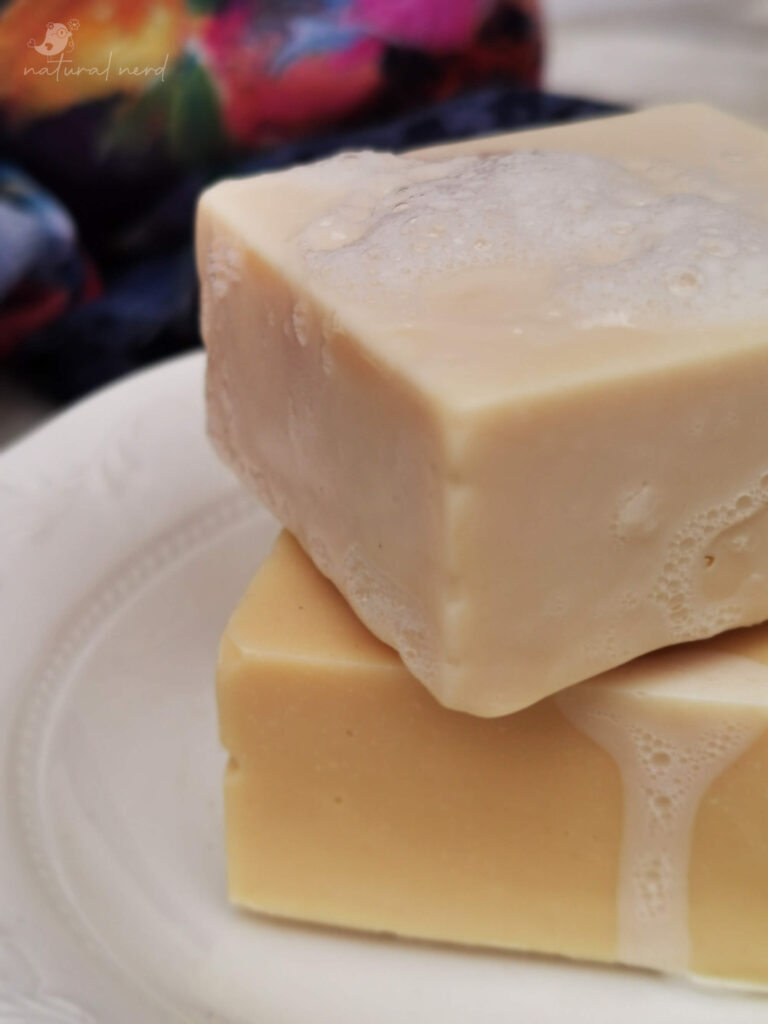
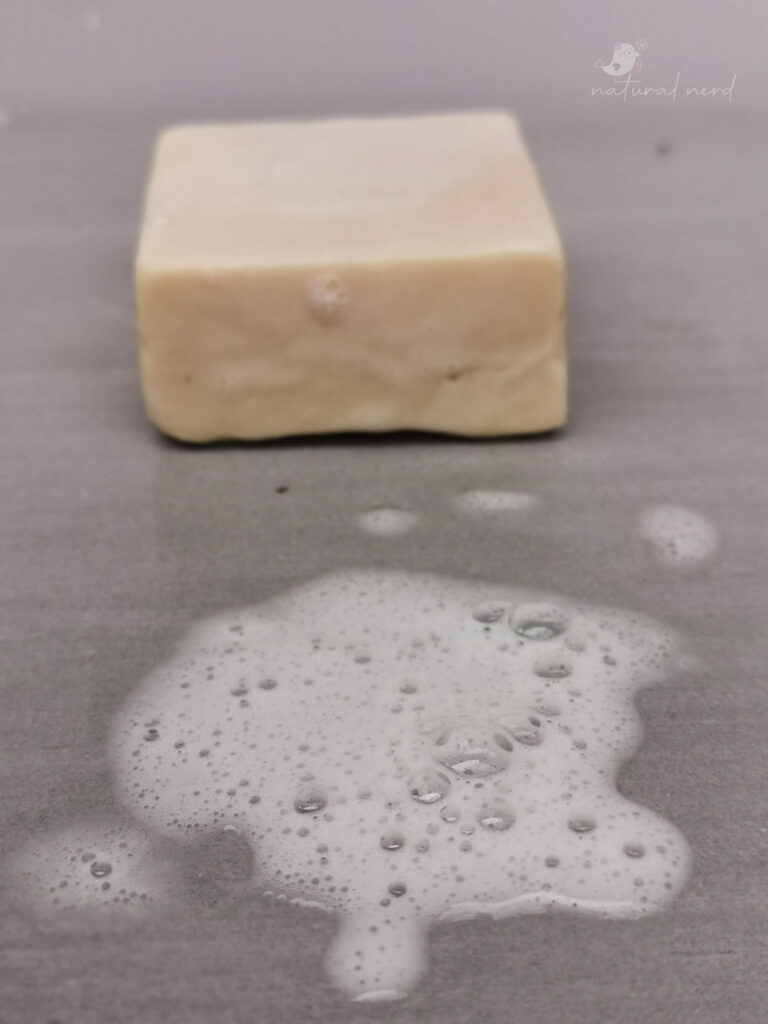
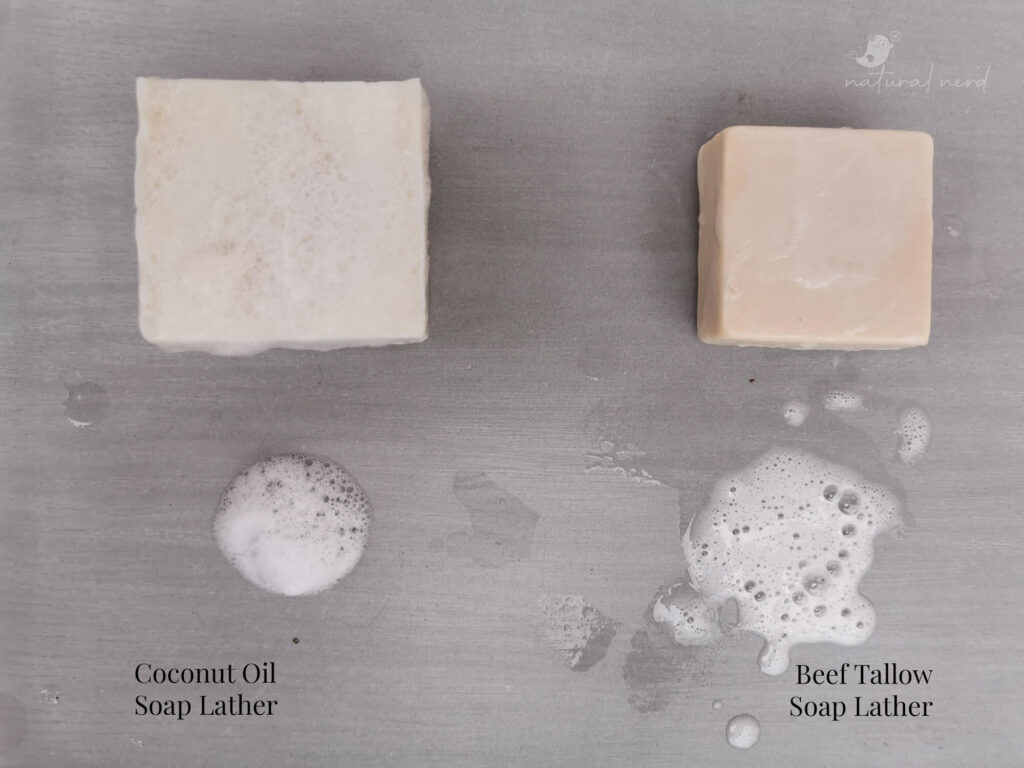
- Poor lather: There are bubbles, but they are very flat and fine. This is more of a creamy bar. The lather is poor compared to the fluffy, voluminous bubbles of a coconut oil soap.
- Goo-Factor: This is the kind of soap that becomes soft and “smooshy” when not stored in a proper soap dish that allows the bar to drain excess water and dry between uses.
Cherry on Top
- Cheapest soap: If you use the fat from your dinner/farm and tap water, this works out to be the cheapest soap recipe there is! I’ll never buy tallow, so for me it will always be a free ingredient.
- Long lasting: Tallow produces a hard bar of soap. It will last longer than castile soap, and similar to a coconut oil soap. The longer you let it cure, the harder it will get and the longer it will last.
- Creamy & conditioning soap: This soap produces a more creamy lather than coconut oil soap. If you prefer luxurious creaminess, then this is the soap for you.
- Save money & reduce waste: Making use of the fat from your meals for soap-making is super frugal.
Ingredient Information
- Caustic soda: is also known as sodium hydroxide (NaOH), which most people know as drain cleaner. It is a highly alkaline substance (pH 14) used to dissolve fats in drains, and saponify oils into soap. Although it is a hazardous chemical, in the soap-making process it is necessary to convert all oil into soap. When measured accurately, there will be zero caustic soda in your final soap bar. The final products of the chemical reaction are sodium salt, glycerine and soap. This is why it is safe in natural soap, but it should be used with caution. i.e. Water + Caustic Soda + Oil —> Salt + Soap + Glycerine. (buy here)
- Tallow: is an animal fat most commonly sourced from bovine (cattle), but can also be sourced from other domestic or wild ruminants like sheep, goats, deer, buffalo, elk, moose and caribou etc.
a note on sustainability
I’m expecting some criticism from vegans for this recipe, but I’ve made up my mind to post it anyway. After much thought, I’ve decided that in a world where people still eat meat and farm animals, making tallow soap is actually sustainable. Hear me out. We don’t farm animals in order to make soap. The animal fat is actually considered a waste product, and therefore using it is less wasteful. Collecting the fat from animal-based meals is also pretty resourceful. I won’t buy tallow from a cosmetic supplier to make soap or anything else, but if I was a farmer, I would totally make use of the whole animal. Given the choice between commercial palm oil (which causes deforestation), and my neighbour’s stew fat – I’m going to choose the stew fat. I totally support that kind of resourcefulness.
Let me know how your tallow soap turns out. Did you render the pure fat, or also collect it from a meal?

You really needed to wet render that fat first to clean it.
Thank you Liz. This was an experiment for me. I had never heard of wet rendering before – but now I do. Just Googled it. I’m sure that extra step of refinement will make a difference to the fragrance & clarity. I’ll do that next time, and I do recommend the extra step to anyone reading this comment thread.