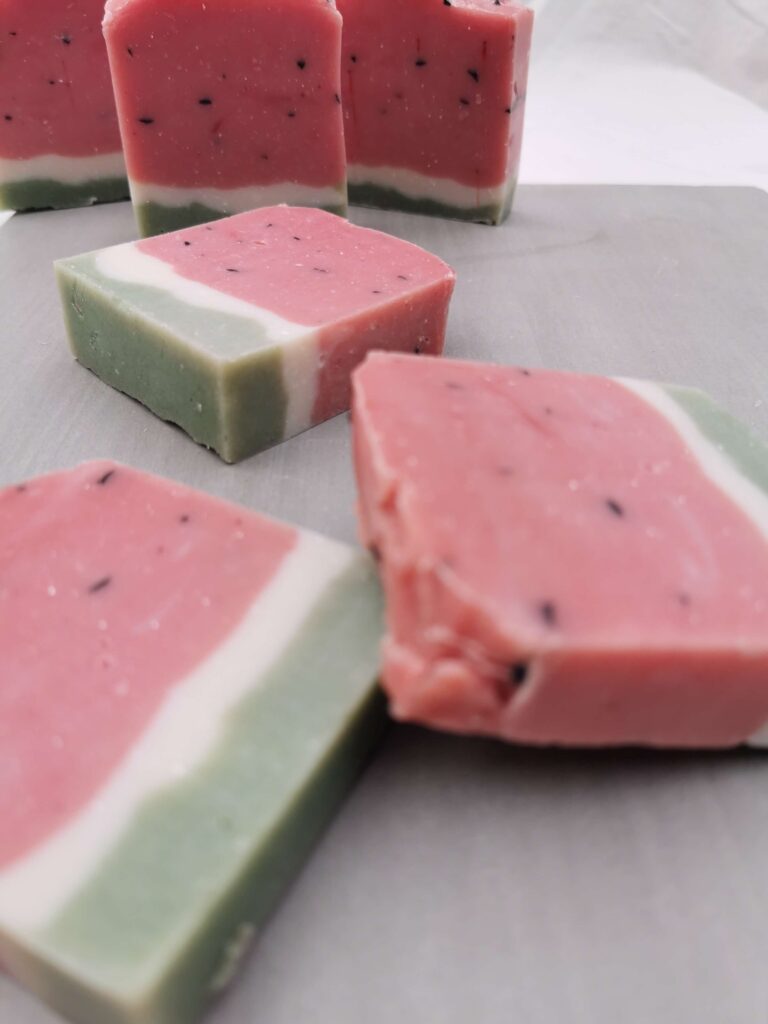
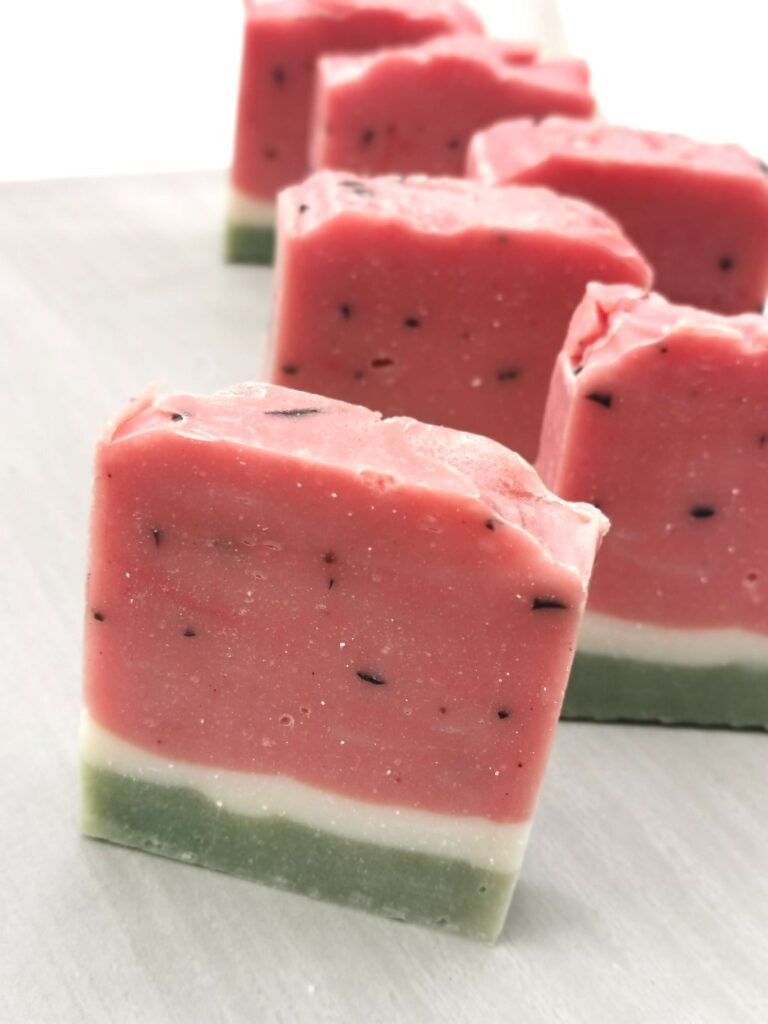
The only thing I like about summer are the tropical fruits that appear in my garden. Sunburn, sweating and mosquitoes are not my thing. But I love watermelon, mango and litchis. There’s no better way to feel fresh after a hot day, when you’re enjoying a cold shower with a watermelon inspired soap bar. This makes a fun gift too.
If you’ve never made your own soap bars from scratch (with lye), please stop right here. Please read my beginner soap bar recipe first, or enrol in my online soap-making course. That way, you will know all the safety precautions to take; and you’ll also benefit from the step-by-step visuals. This recipe is for advanced soap-makers, so it assumes soap-making knowledge. If you’re an inexperienced soaper, but you really want watermelon soap, then rather buy melt-and-pour soap and follow my recipe from step 8 onwards.
You will need:
Makes about 1.5 kg of soap, which works out to approximately fifteen 100g bars.
FOR THE SOAP:
- 466g Distilled Water (at room temperature)
- 155g Sodium Hydroxide
- 900g Coconut Oil
FOR tHE COLOURS:
- 3 teaspoons Zinc Oxide powder – divided (for the white)
- 1/2 teaspoon Red Iron Oxide powder (for the pink)
- 1/2 teaspoon Black Iron Oxide powder / or activated charcoal (for the black)
- 1 teaspoon Spirulina powder (for the green)
FOR THE FRAGRANCE (OPTIONAL):
- 5ml (4.25g) Mandarin essential oil
- 5ml (4.25g) Ruby Grapefruit essential oil
- 10ml (8.5g) Geranium essential oil
- 10ml (13g) Peppermint essential oil
EQUIPMENT & TOOLS:
- A kitchen scale
- Safety gloves and goggles
- A heat-proof glass bowl for the water (minimum capacity: 1 litre). Check that the bowl is microwave and dishwasher safe.
- Heatproof Glass or ceramic bowl for the sodium hydroxide (min. capacity: 250ml)
- Large stainless steel pot for the soap mixture (min. capacity: 2 litres)
- 3 x containers to divide the soap mixture into its separate colours (capacity: 350ml)
- Electric handheld blender (immersion, or whisk type will work)
- Glass tot glass to combine essential oils (plastic will corrode)
- 5 x Stainless steel spoons
- Non-serrated chopping knife to cut soap
- Soap mould for 1.5 litres of soap (ice-cream/ margarine containers work really well too)
- White vinegar for cleaning any spills
- A cloth soaked in white vinegar for cleaning
- Spray bottle with rubbing alcohol / pure ethanol / isopropyl alcohol
- Skewer stick, chop stick or thin paintbrush.
Preparation
Proper preparation is essential for this recipe to go smoothly. Since it is an advanced design, the more you prepare your work station beforehand, the less frantic you will be.
Prepare the soap ingredients:
- You must measure the soap ingredients with a scale. This is chemistry. You have to use a scale.
- Measure the sodium hydroxide into a heatproof glass or ceramic bowl.
- Measure the water into a heatproof glass or ceramic bowl. You can also use PP or HDPE plastic for the water, but make sure the container is clearly marked as PP or HDPE plastic, otherwise the lye will melt right through it, which is dangerous. If you are unsure, rather use microwave-safe / oven-safe glass or ceramic.
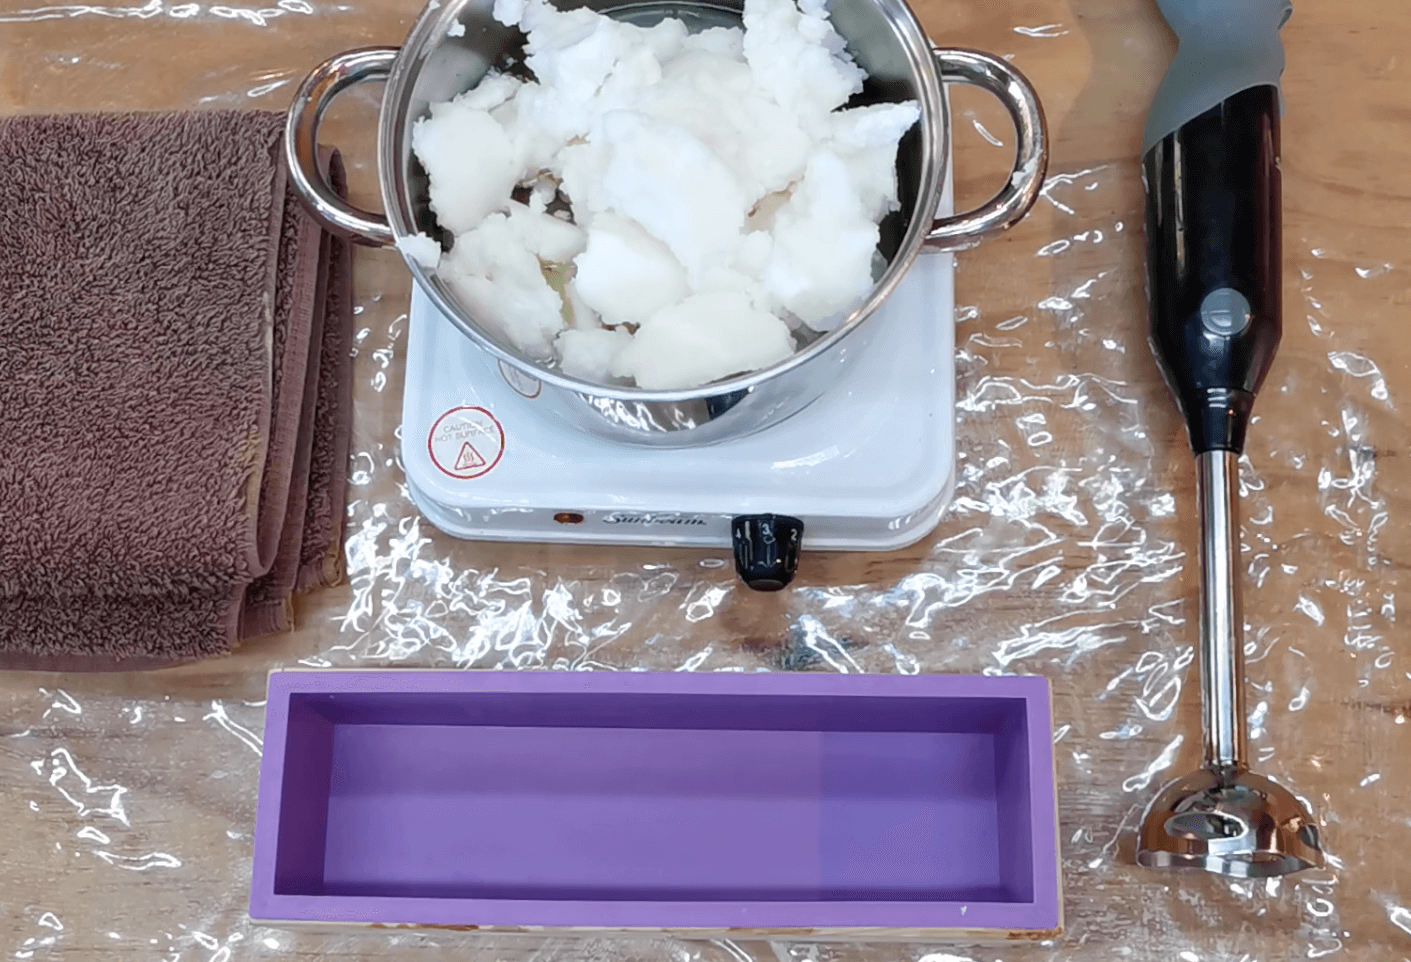
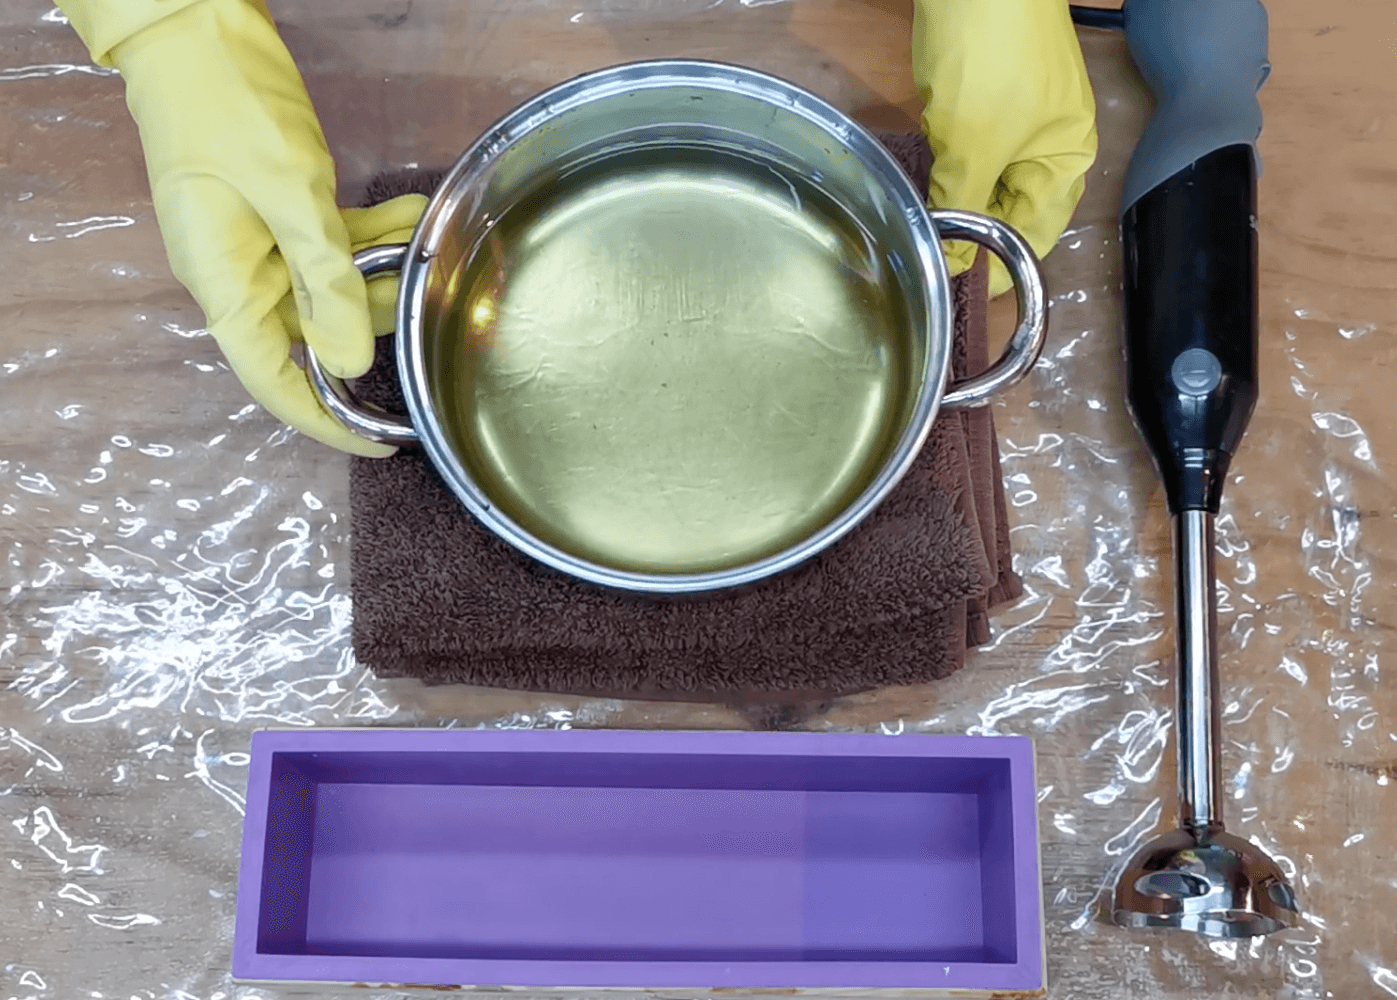
- Measure the coconut oil into the stainless steel pot.
- Ensure that you have 2 stainless steel tablespoons available, one for the lye solution and another for the oil.
- Plug in your blender, ensure that the switch is on at the wall, and have it ready.
Prepare the fragrance: Combine all the essential oils into a tot glass and set aside. Don’t use a plastic tot. The essential oils will damage it.
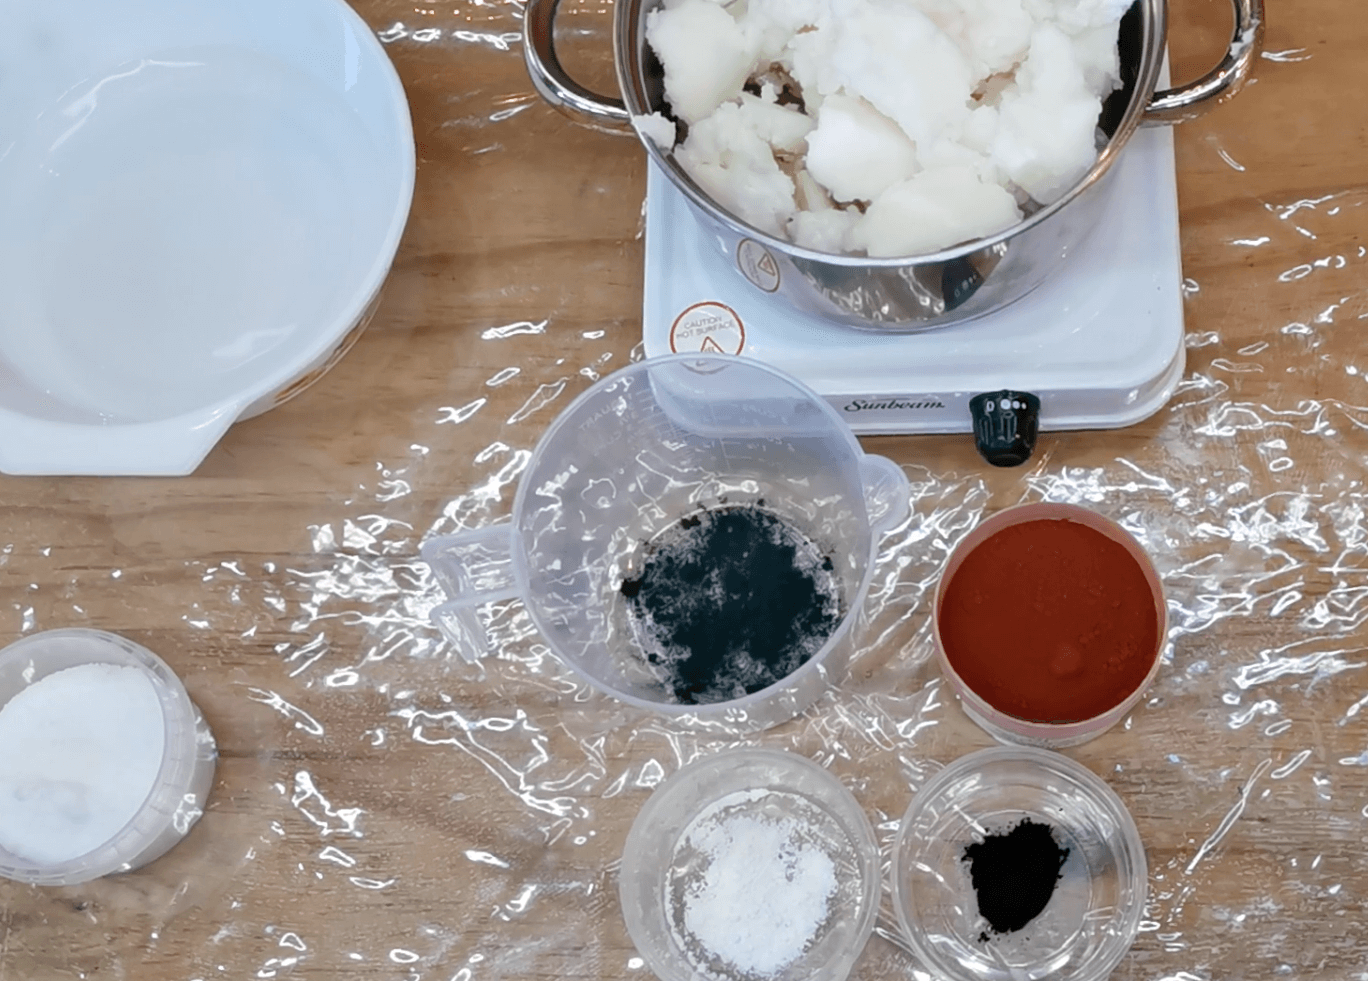
Prepare the colours:
- Add 2 teaspoons of the zinc oxide directly into the stainless steel pot along with the coconut oil.
- Allocate 3 containers to divide the soap mixture into different colours. Pouring jugs work best – either heatproof glass or PP / HDPE plastic. Don’t use plastic unless you know that it is the correct type.
- Container #1 (green): Place the spirulina powder in front of the first container, ready to be added later.
- Container #2 (white): Place the remaining zinc oxide powder in front of the second container.
- Container #3 (black): Place the black iron oxide powder (or activated charcoal) in front of the third container, ready to be added later.
- Set aside the red iron oxide, as this will be added into the stainless steel pot at a later stage.
- Have 4 stainless steel spoons available, one for each of the four colours (pink, black, green, white).
Mark the levels on the outside of the containers:
- Mark Container #1 (green) at the 350ml mark, so you know where to stop pouring.
- Mark Container #2 (white) at the 150ml mark.
- Mark Container #3 (black) at the 30ml mark. Or have a stainless steel tablespoon ready to measure the volume of two tablespoons later.
These amounts are to fill the mould pictured in this blog post. You can adjust these levels according to the mould you are using. Determine the thickness that you want each layer to be, and calculate the volume it will take up in your mould.
Put on your safety gloves: This is an advanced recipe, and you will likely get soap mixture on your hands. To prevent a chemical burn, please wear safety gloves.
Prepare for spills and splashes: Have a bottle of vinegar and a vinegar-soaked cloth available at your work station, ready to clean spills and splashes. Also fill the closest basin with cold water to rinse your skin in case of spills. Always rinse your skin with cold water first, before applying vinegar.
Method
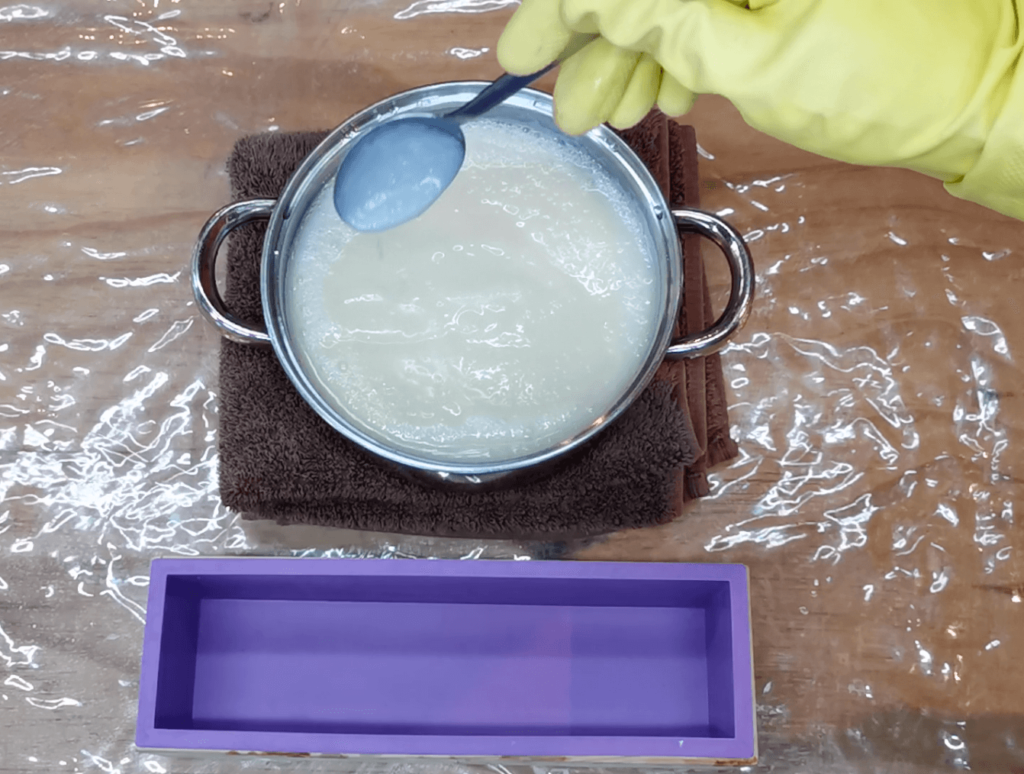
Make the lye solution: Slowly add the sodium hydroxide to the water (NOT the other way around). Do this step outdoors. Do not inhale any of the fumes from the reaction. Do not touch the solution. The solution will be murky and it will become hot, this is normal. Make sure that all the sodium hydroxide crystals are dissolved by stirring very slowly with a stainless steel spoon. Be very careful when carrying this HOT bowl back indoors. If using essential oils for fragrance, allow the lye to cool to 35°C.
Start heating the coconut oil: Heat the coconut oil in a genuine stainless steel pot. Do not let it get to boiling point, this is way too hot. If the oil is too hot, your soap will flop and volcano. If you have a thermometer, the ideal temperature for the oil is 50°C, which is warm (not hot). If using essential oils for fragrance, allow the coconut oil to cool to 35°C.
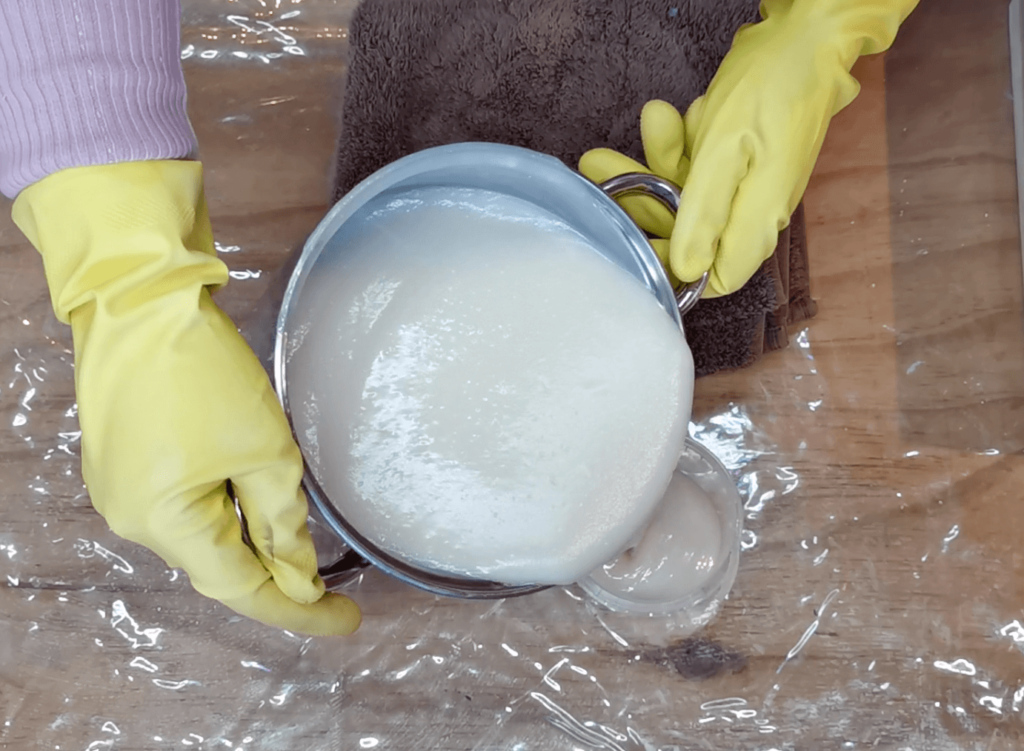
Take the pot off the heat: Switch the stove off, and take the pot off the heat. Don’t place the pot directly on a marble or granite countertop, as it will draw the heat out. Rather place on a wooden or fabric trivet.
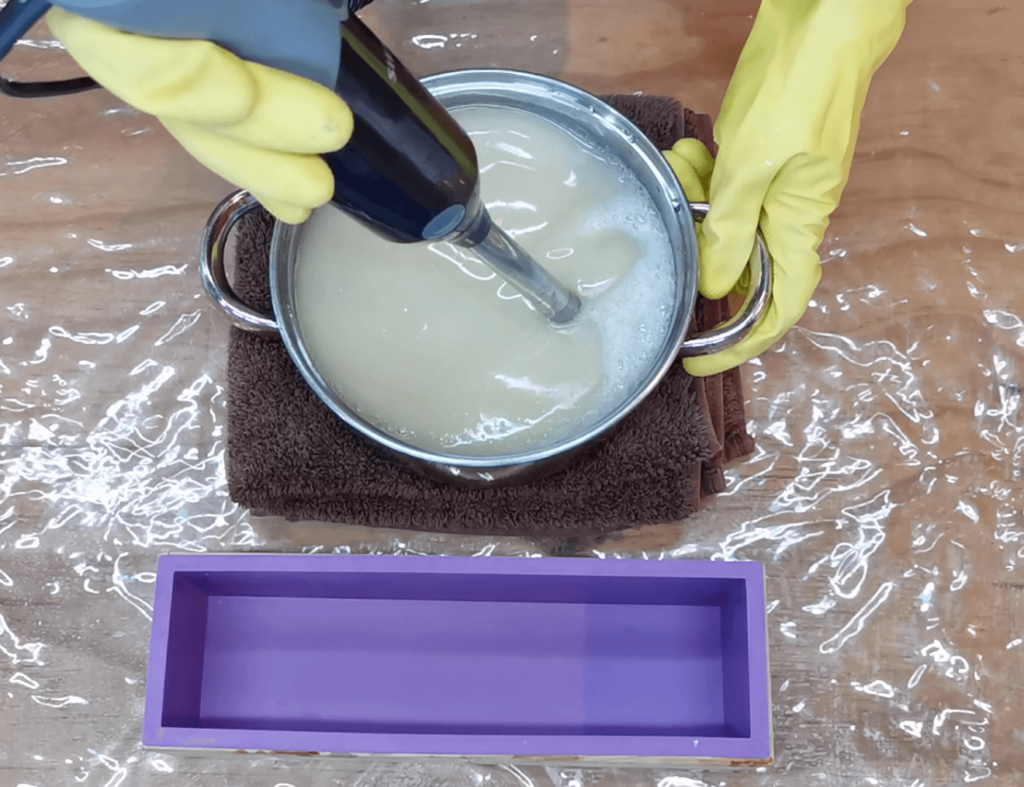
Blend the zinc oxide and coconut oil together: The coconut oil should be completely melted and warm at this point. To disperse the zinc oxide properly into the coconut oil, use an electric blender and blend for a few seconds until the colour is uniformly white.
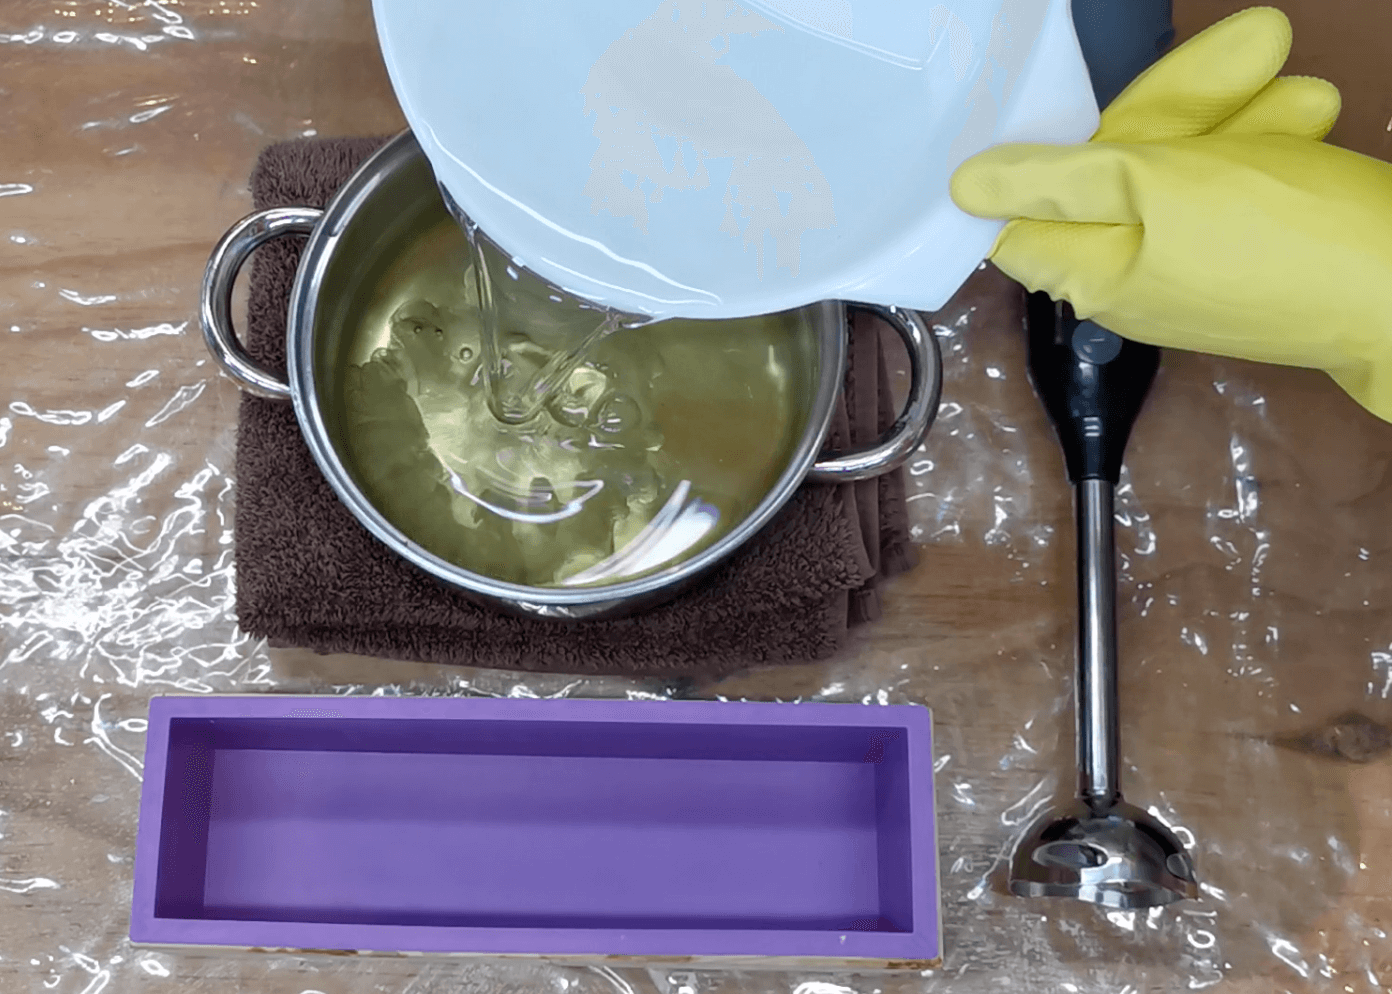
Combine the lye with the oil: Add the warm lye mixture into the oil. Again, please make sure that the stove is turned off at this point. If using essential oils for fragrance, you should only combine the lye and oil when both are around 35°C. If you combine when it’s too hot, the fragrance can cause problems (eg. acceleration).
Blend until you reach a very thin trace: Once the lye and oils are combined, start blending with an electric mixer or immersion blender. Stop blending as soon as you see the very first signs of trace, don’t continue blending until the mixture gets to a thicker trace, because you won’t have enough time to colour and layer your soap! The soap mixture continues to thicken even once you’ve stopped blending. If you see vague traces on the surface, stop immediately! You need a thin trace in order to have the time to play around with colour and patterns.
Add the fragrance: Pour all of the essential oils inside the tot glass into the pot, and stir them in gently. Don’t use your blender anymore.
Divide the soap mixture into four seperate containers:
- Container #1 (green): Pour approximately 350ml of soap mixture into the container allocated for the green colour.
- Container #2 (white): Pour approximately 150ml of soap mixture into the container allocated for the white colour.
- Container #3 (black): Pour approximately 2 tablespoons (30ml) of soap mixture into the container allocated for the black colour.
- Leave the remaining soap mixture in the stainless steel pot for the pink colour.
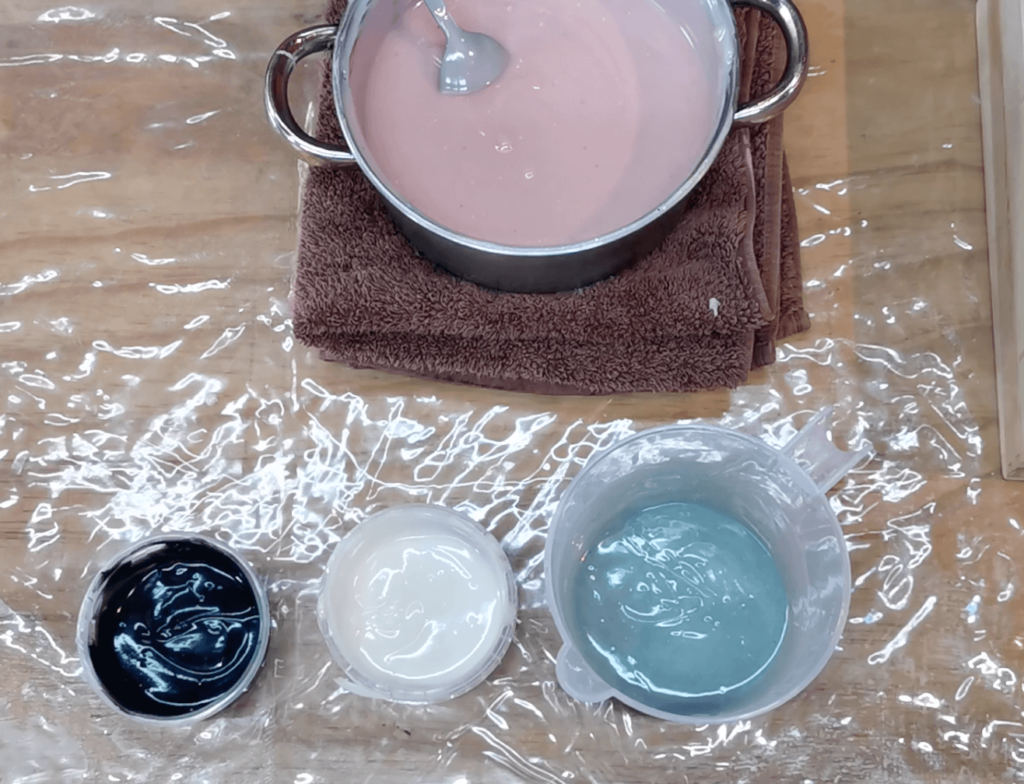
Colour each section of soap batter:
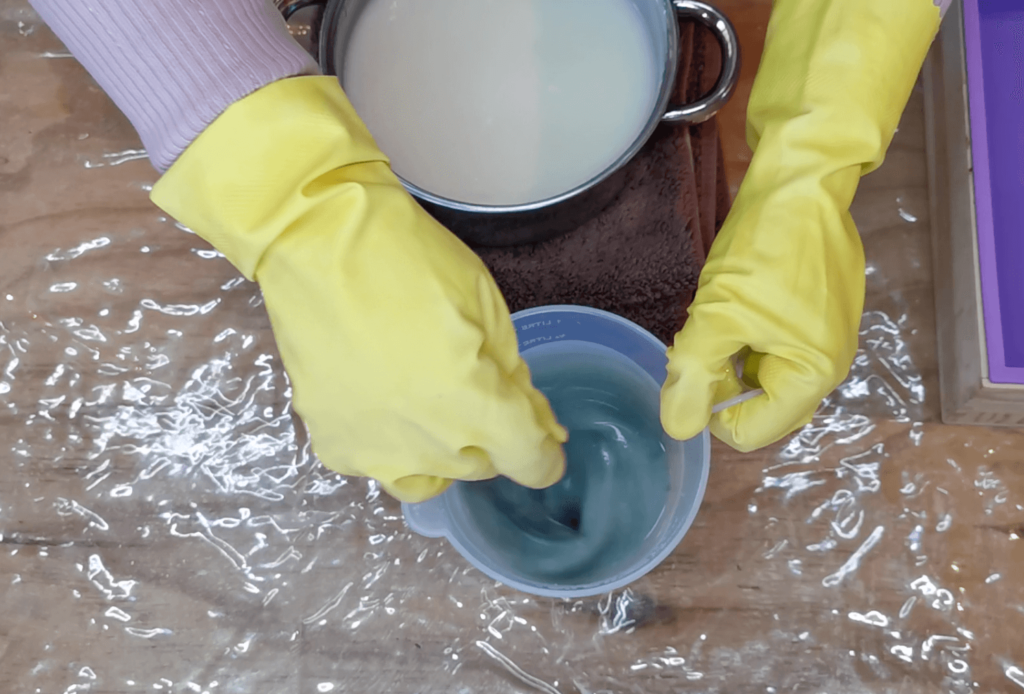
Container #1: In the first container, thoroughly stir in the spirulina powder to make green. Stir until the colour is evenly distributed. If you want a more vibrant/light shade of green, add zinc oxide.
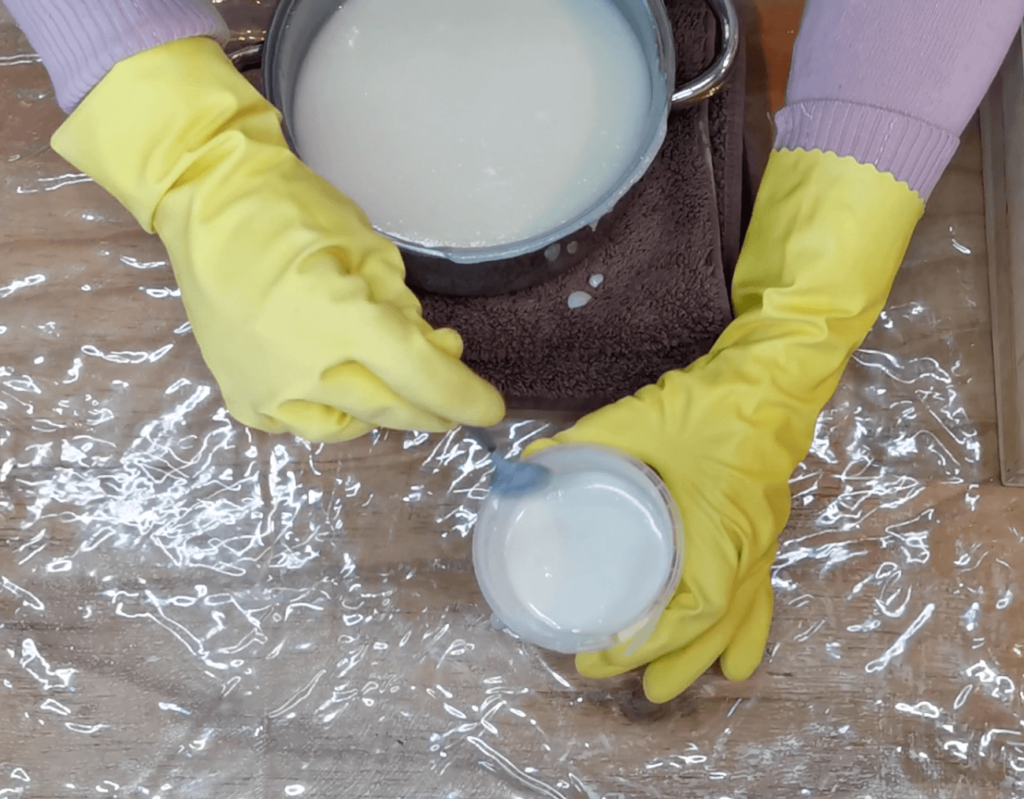
Container #2: In the second container, thoroughly stir in the remaining zinc oxide to make white.
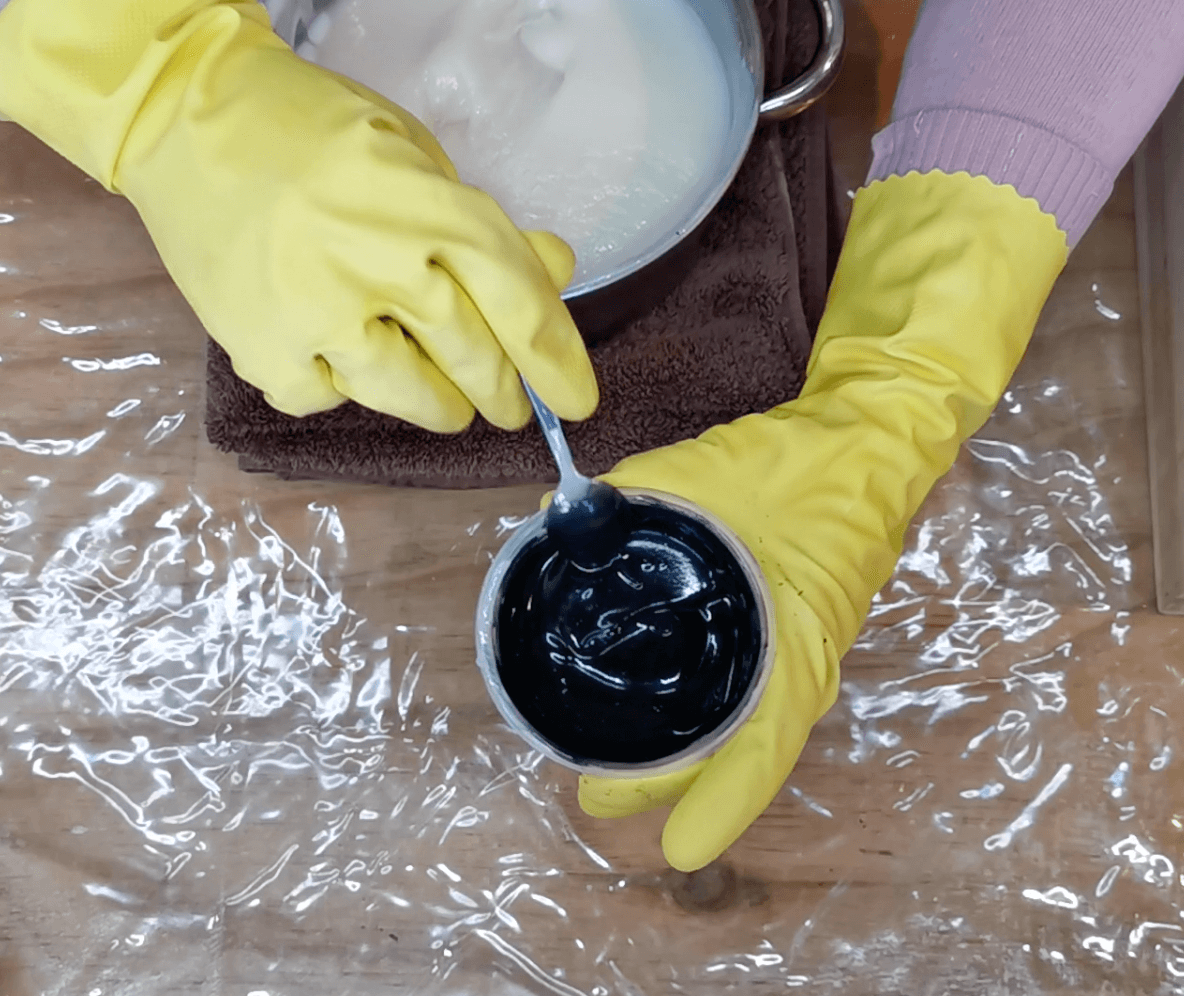
Container #3: In the third container, thoroughly stir in the black iron oxide to make black.
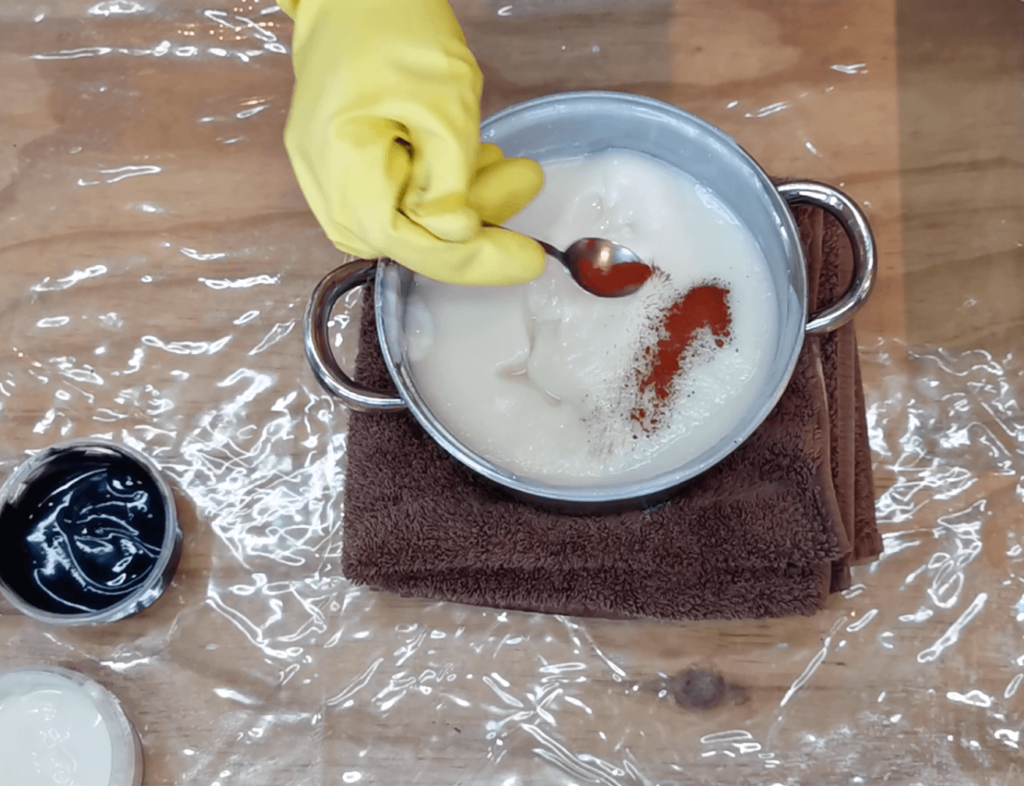
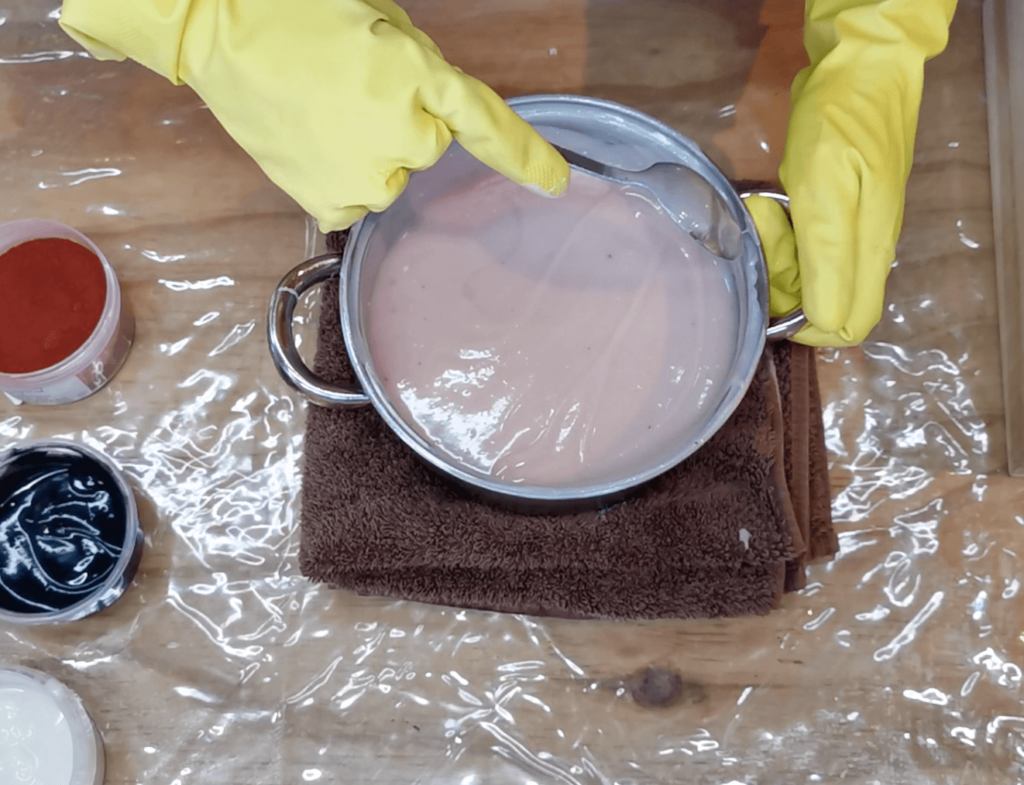
Add the red iron oxide into the stainless steel pot. Add a pinch at a time until you achieve the shade of pink that you want. Stir thoroughly until the colour is evenly distributed. For the shade of pink pictured here, I used half a teaspoon of red iron oxide.
Start layering the soap:
The soap mixture will keep getting thicker with time, so you need to work quite quickly before the soap becomes too solid to work with. If the mixture feels thick and becomes difficult to pour, stir vigorously with a spoon to loosen it up a bit.
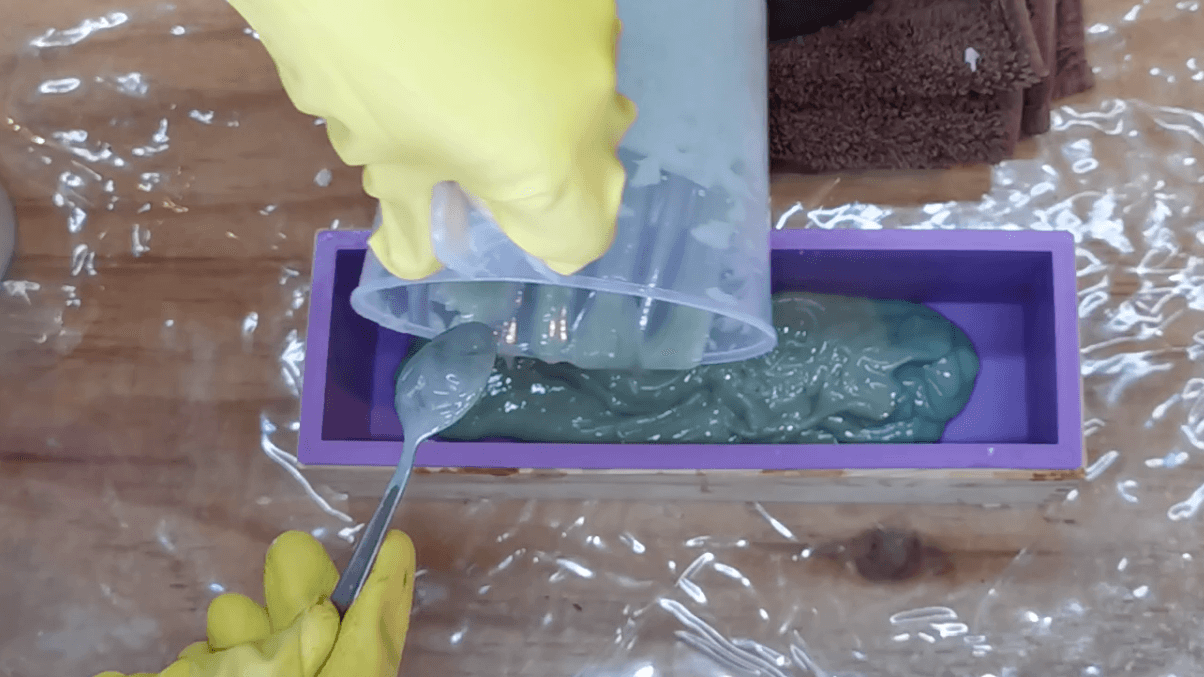
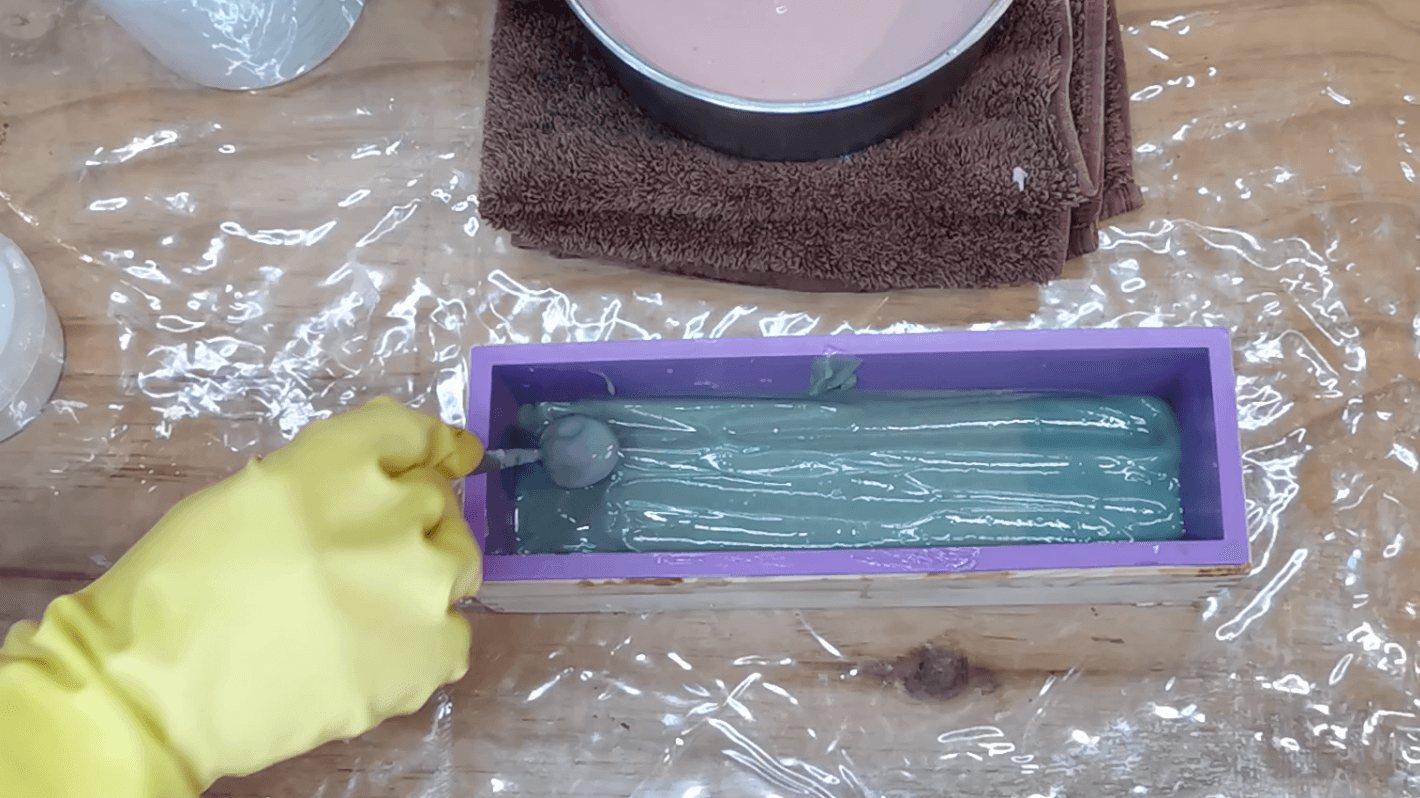
First, pour all the green soap mixture into the soap mould, so that it is at the bottom. Use your green spoon to flatten and spread the green mixture evenly across the bottom of the soap mould.
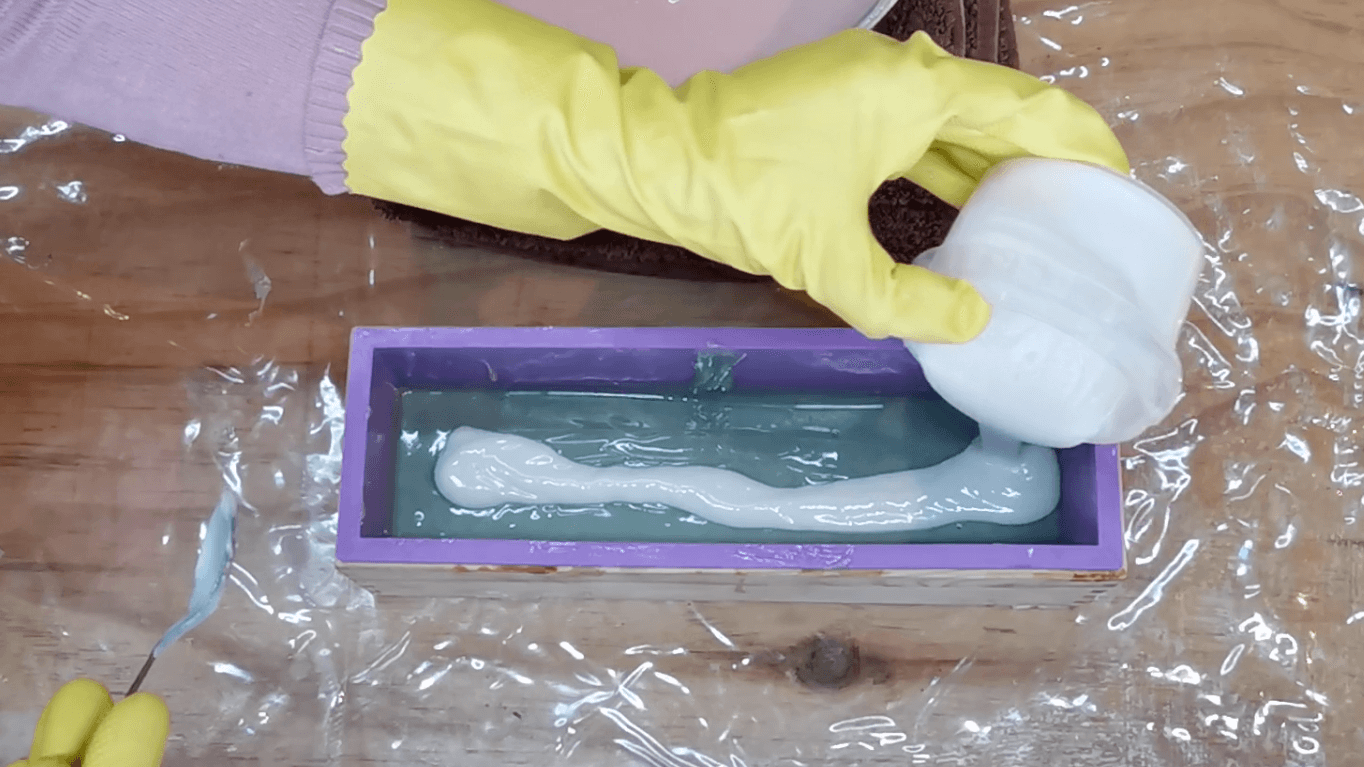
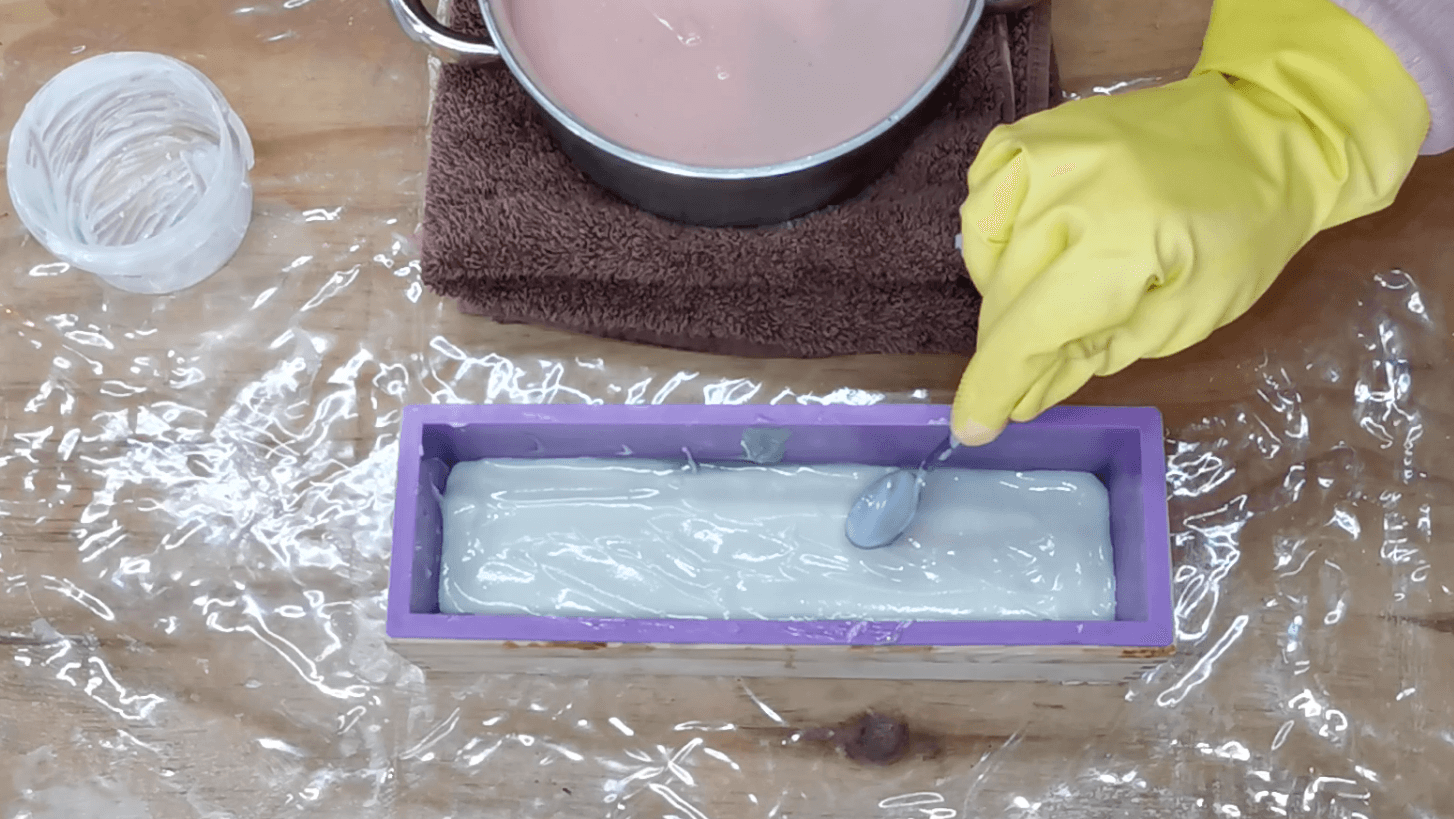
Second, pour all the white soap mixture into the soap mould using the back of a spoon, so that it forms a very thin layer above the green layer. Use the back of the white spoon to spread the mixture evenly. Do this carefully so that you don’t disturb the green layer below.
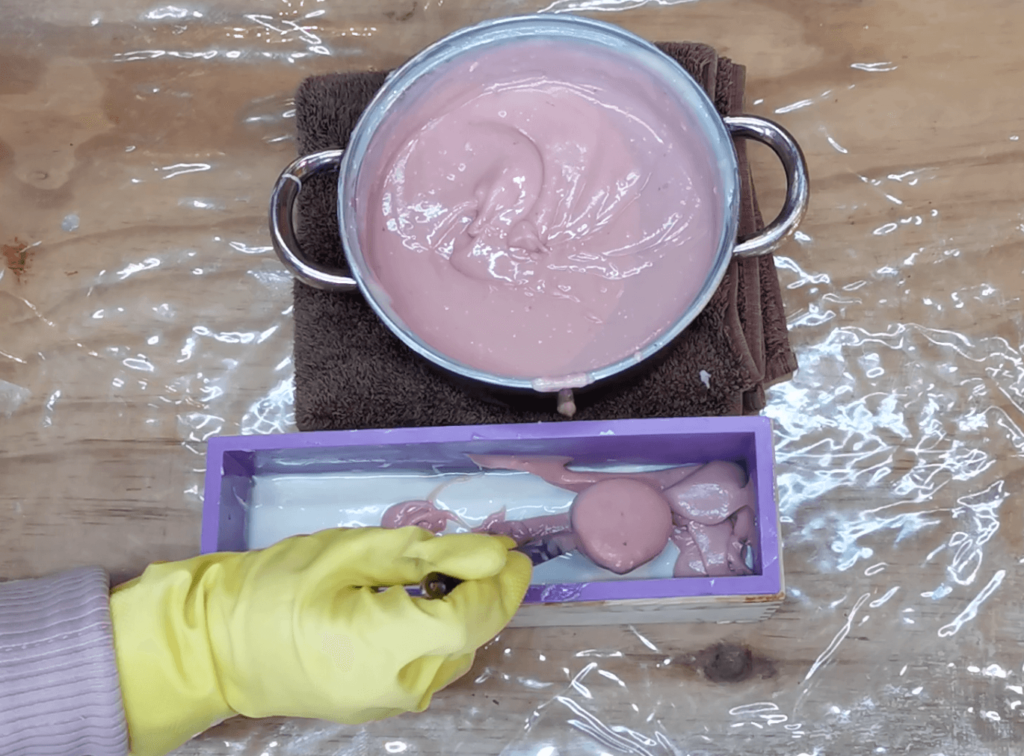
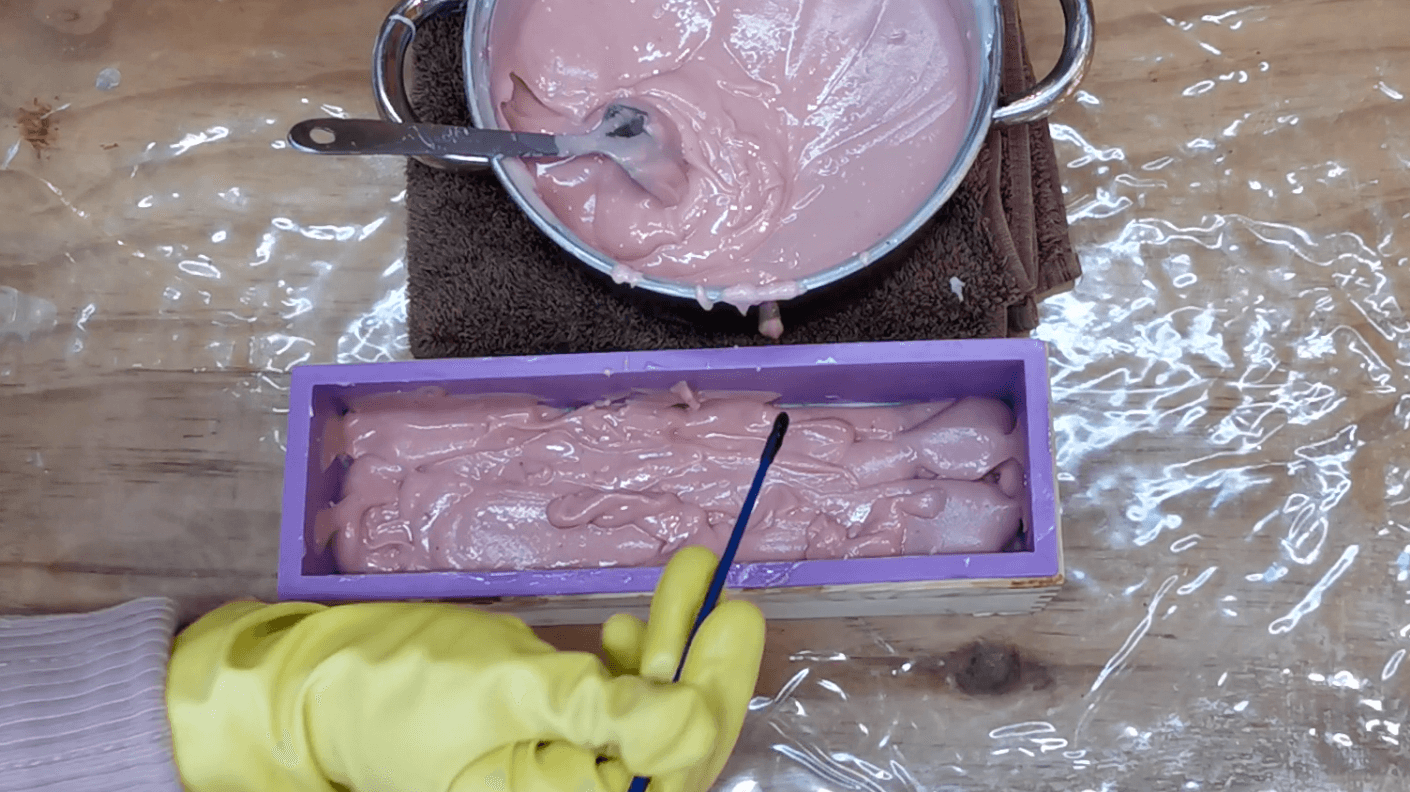
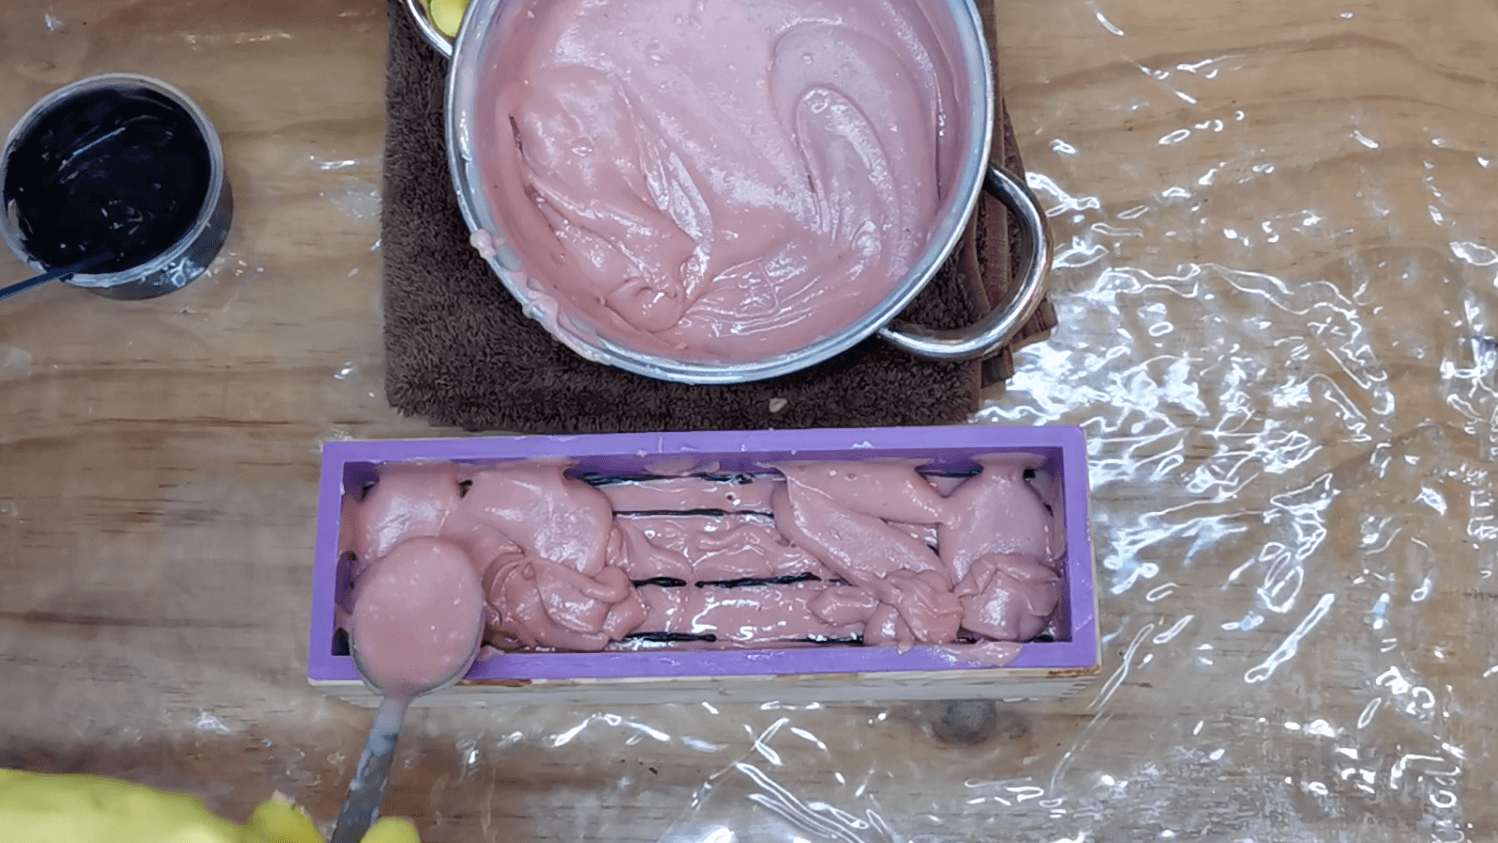
Using a stainless steel spoon, slowly scoop out about 1/4 to 1/3 of the pink soap mixture to create a thin layer on top of the white layer. Be careful not to disturb the white layer below. Flatten the pink layer carefully with the back of the spoon.
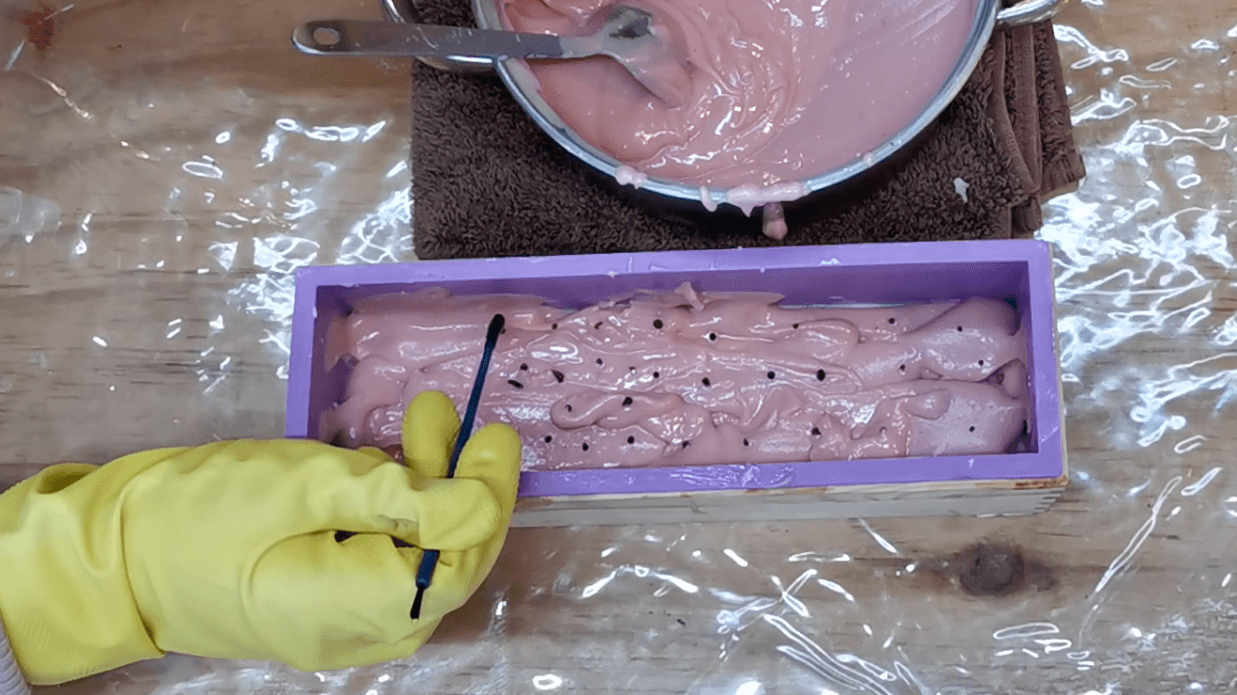
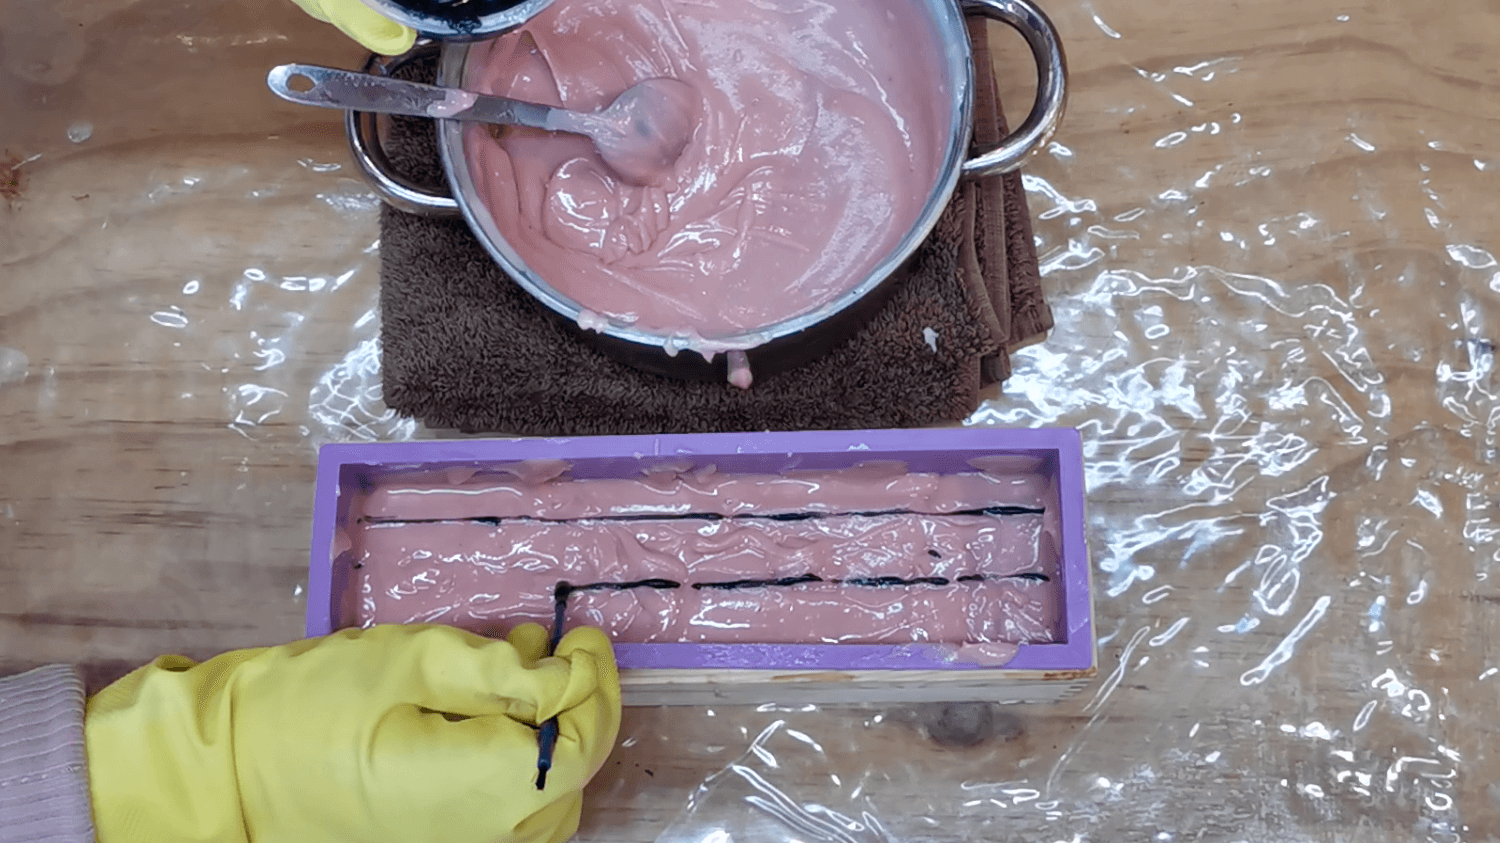
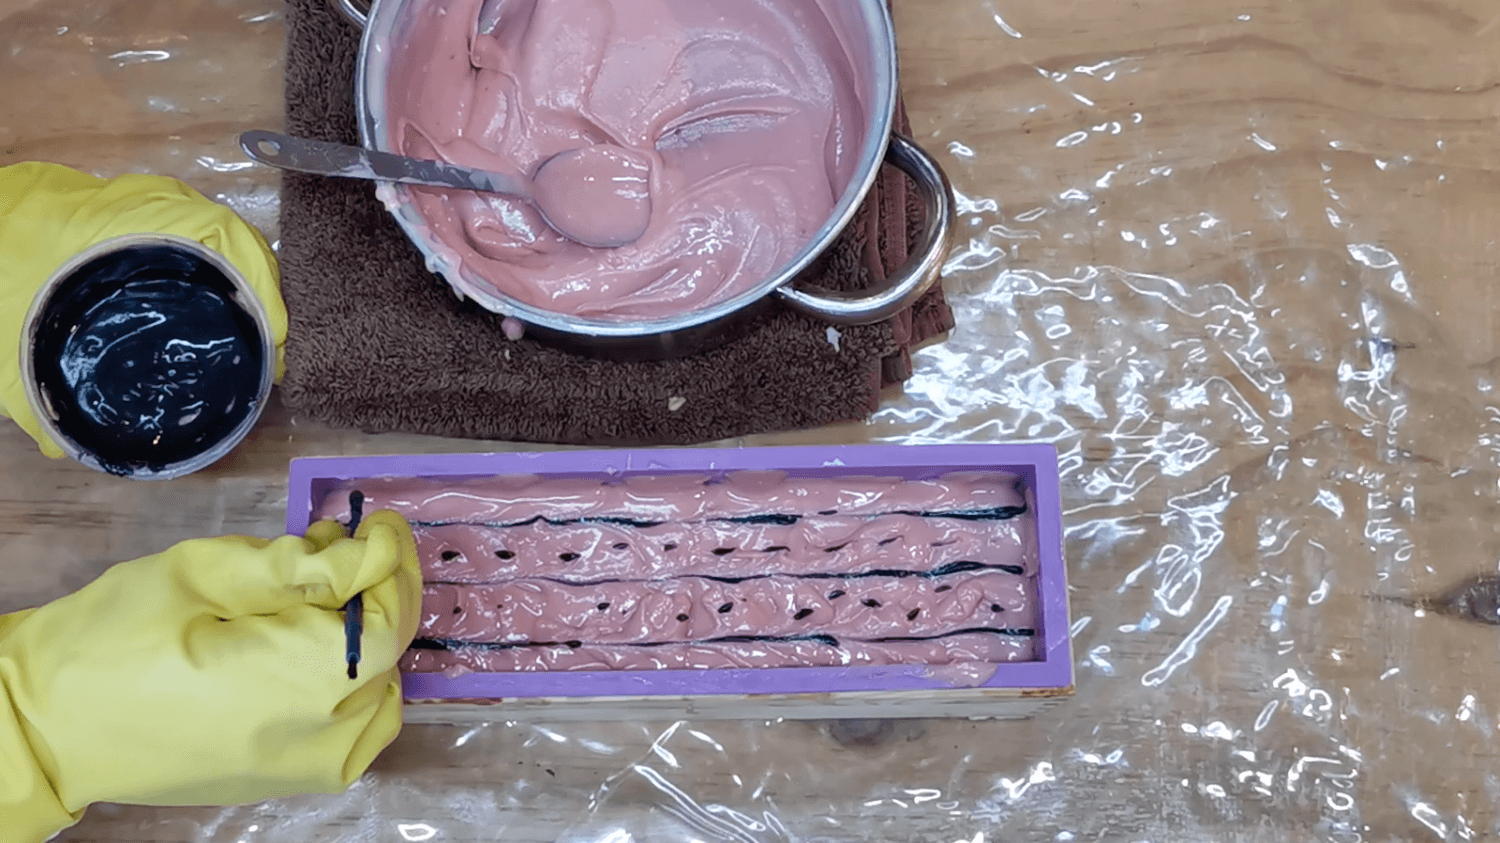
Draw a series of black lines or dots across the length of the soap mould, by dipping the tip of a spoon, stick or paintbrush into the black soap mixture. If you draw lines, make sure you draw them parallel to the longest length of the mould, so that when you cut, the cross-section will look like dots.
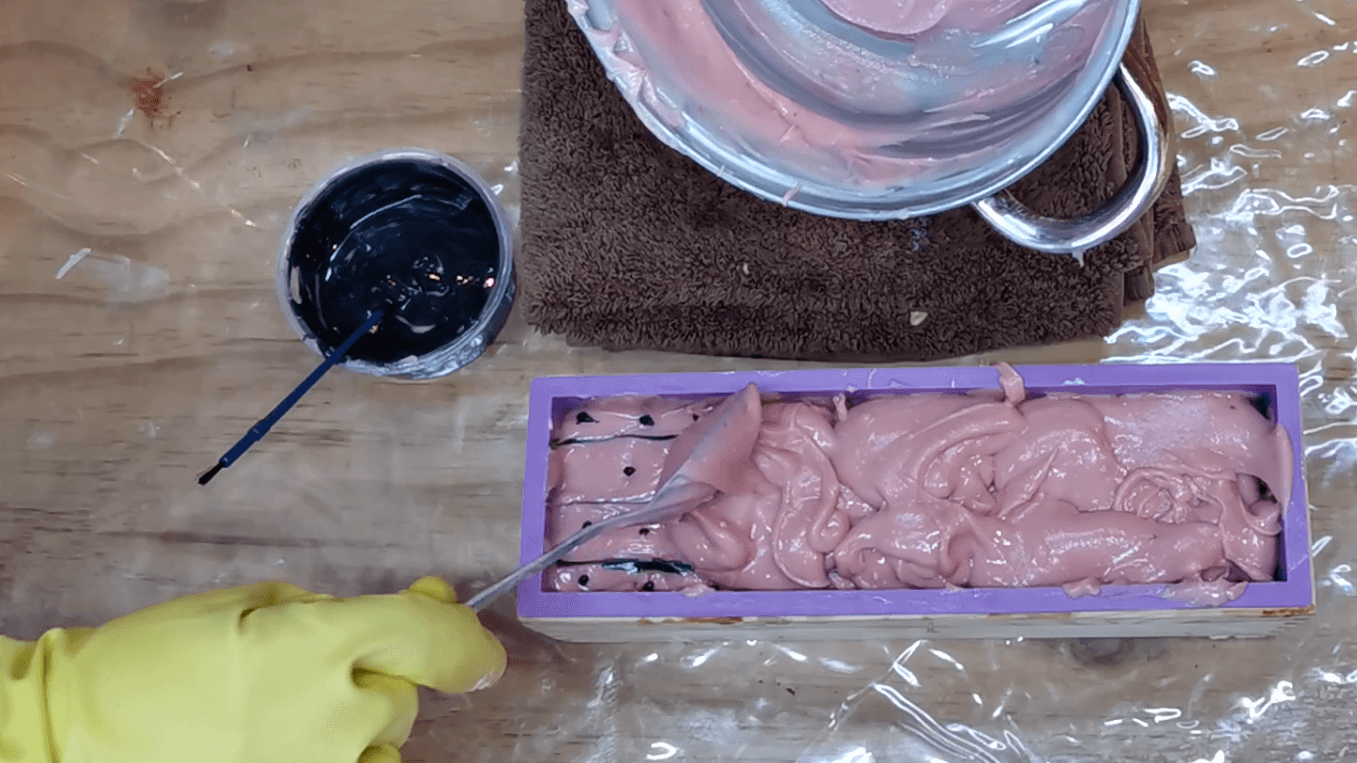
Scoop out more of the pink soap mixture using a spoon, and create another pink layer on top of the black lines or dots.
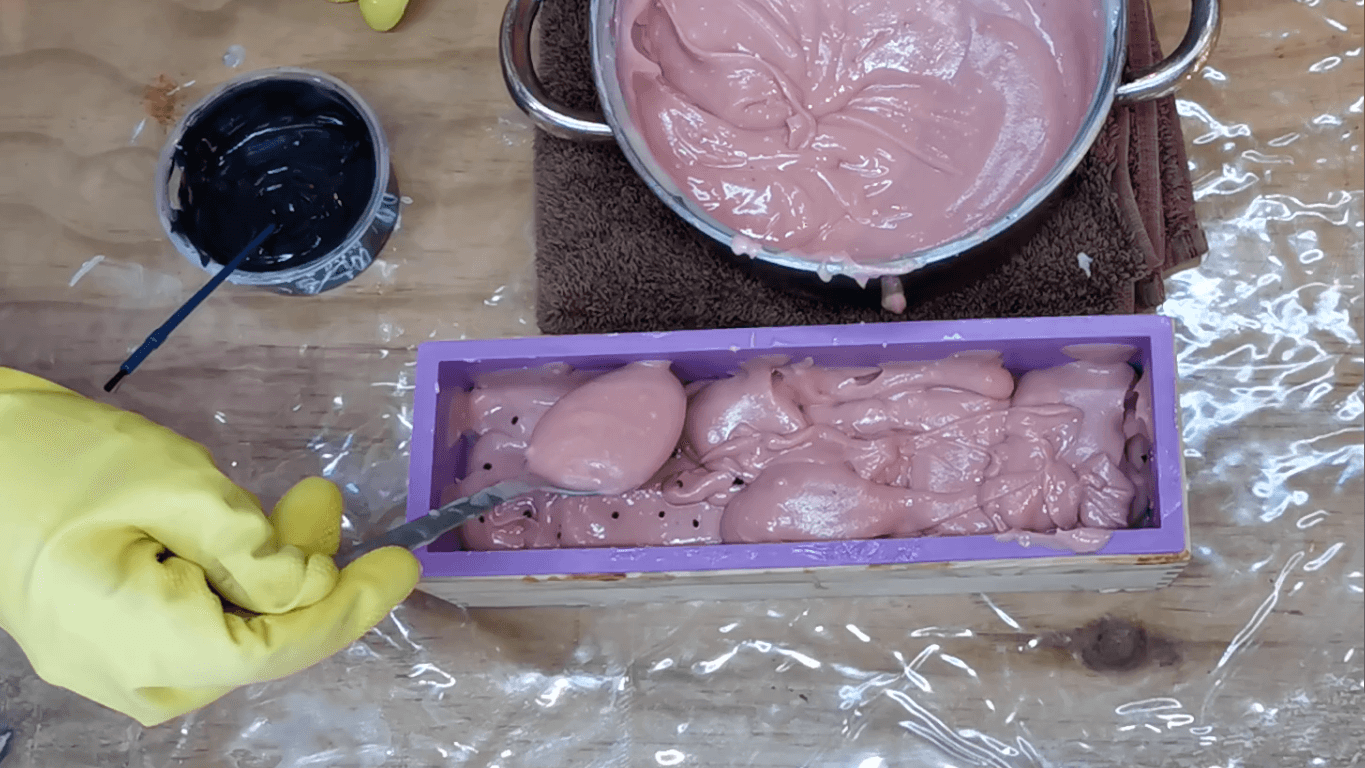
Draw another layer of black lines or dots with the black soap mixture.
Alternate between creating a pink layer and a layer of black lines/ dots until the pink soap mixture is finished.
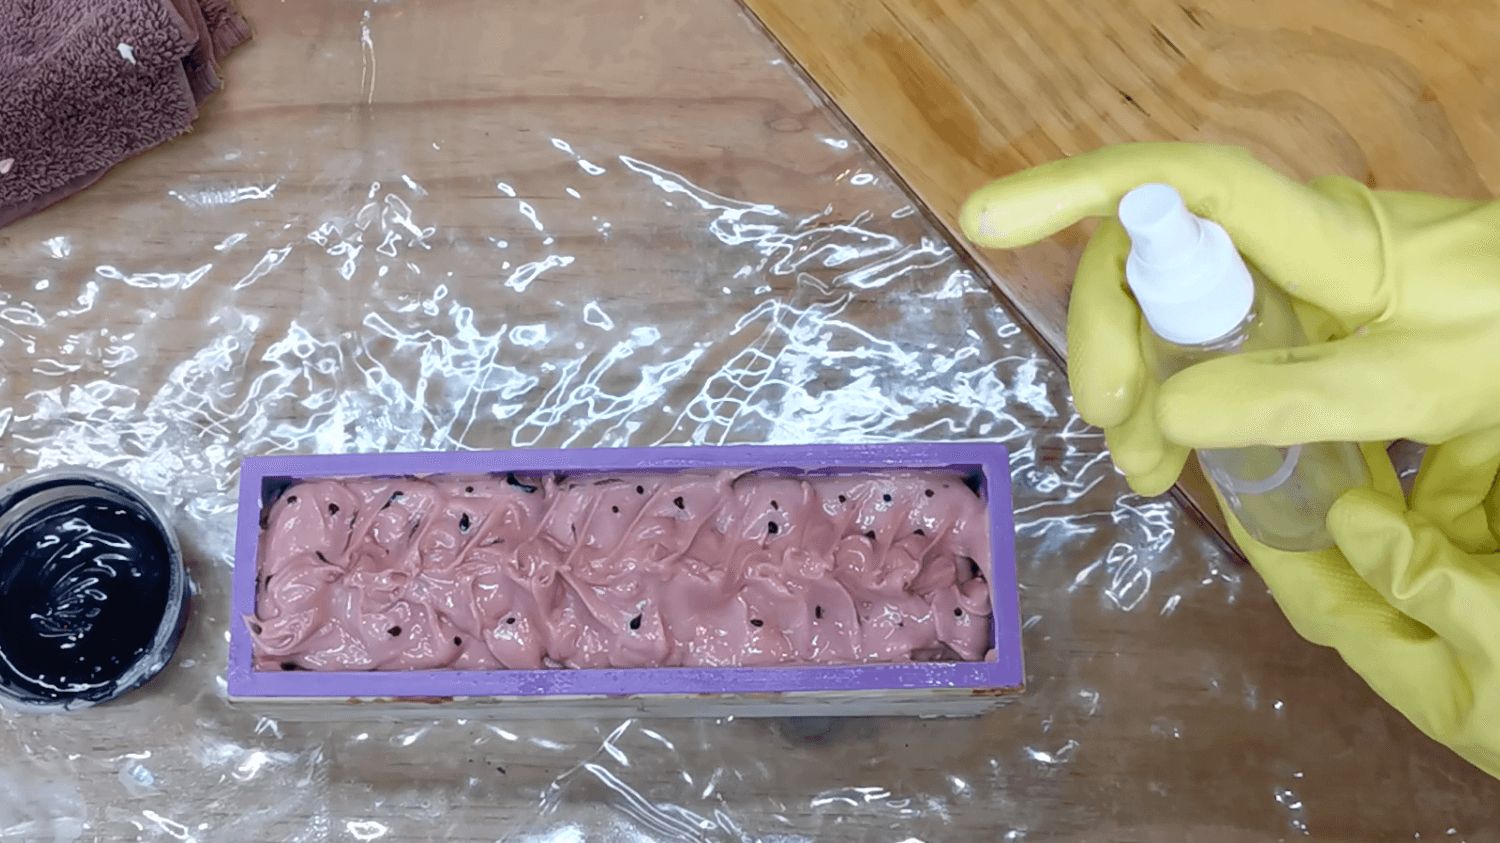
Create the texture or peaks that you want on top.
Draw black dots on the top surface so that it appears to be decorated with watermelon seeds.
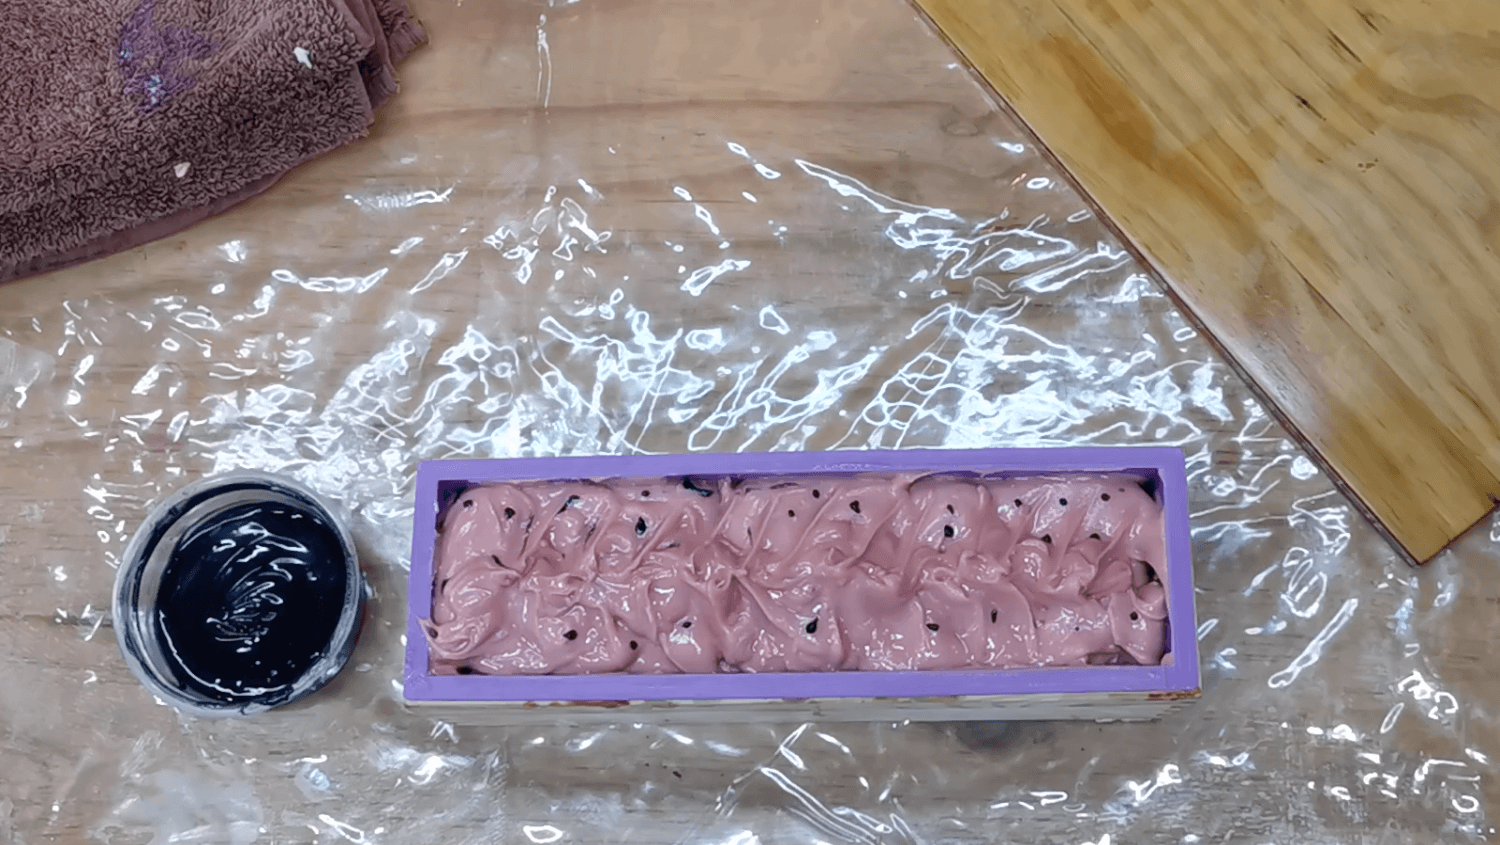
Spray with alcohol. You can use rubbing alcohol, hand sanitizer (alcohol-based), or pure ethanol / isopropyl alcohol to prevent the formation of white soda ash from ruining the colour on top.
Insulate your mould overnight: Cover the top with plastic or cardboard, then wrap your mould in towels or blankets for insulation and store on a level surface overnight. If you cannot cover the top of your soap with a lid or towel, because of peaks you’ve created, then just wrap the sides of the mould with a towel to insulate as much as possible.
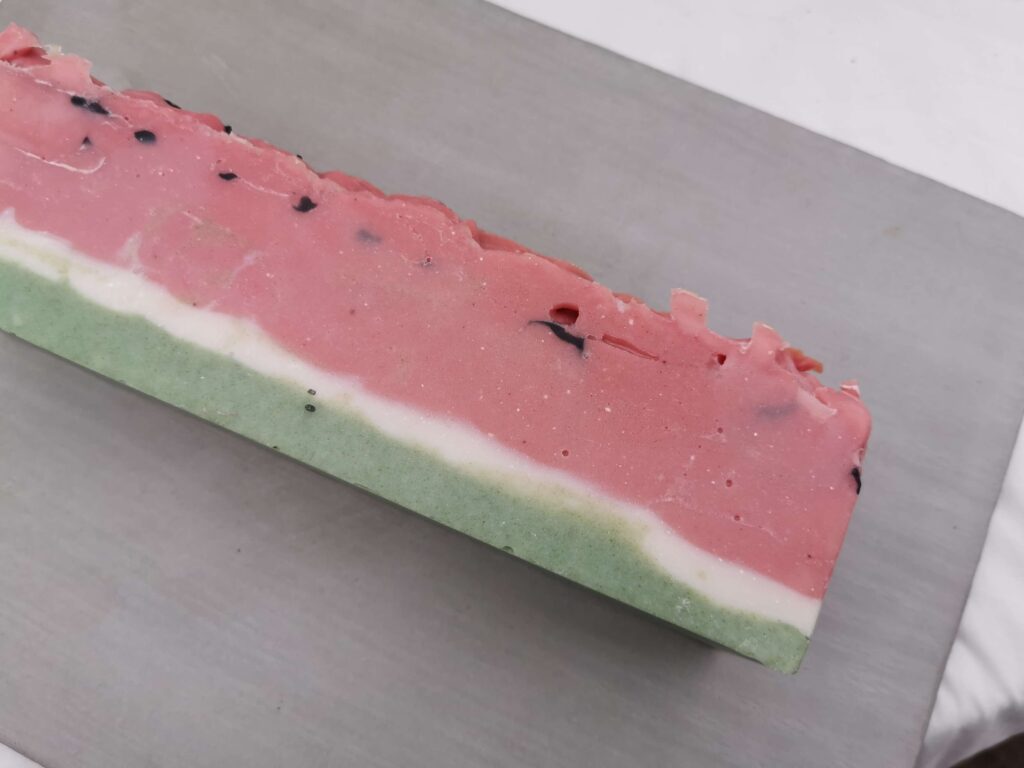
Unmould & cut soap into bars after 24-48 hours: After 24 hours your soap will have the texture of hard cheese, which makes it easy to cut. If you wait longer than 48 hours, it may be difficult to cut your soap, and it may crumble. Cut your soap with a non-serrated knife.
Let your soap cure: Place your bars in a well-ventilated area, away from direct sunlight and allow them to cure for a minimum of 1 week until it is safe to use, and between 4 – 6 weeks for best results. Remember to turn them occasionally, so that each side gets exposure to the air.
Cost & Shelf Life
Cost price: R4.50 per 100g soap bar (fragrance free), or R67.45 for the entire 1.5kg batch. With my essential oil blend, the price shoots up to R22 per 100g bar. (Calculated in 2020, based on best retail prices I’ve found.).
Lasted me about: 2 weeks using every day (one bar).
Shelf life: 2 years if stored away from direct sunlight.
Challenge
- This recipe is challenging and not recommended for beginners, but it is a good challenge for advanced soap-makers.
- Unfortunately, the fragrance of pure essential oils often fade in soap. If fragrance is important to you, then consider using synthetic fragrance oils instead. If natural soap is more important, choose essential oils that are considered to be base notes instead.
Cherry on Top
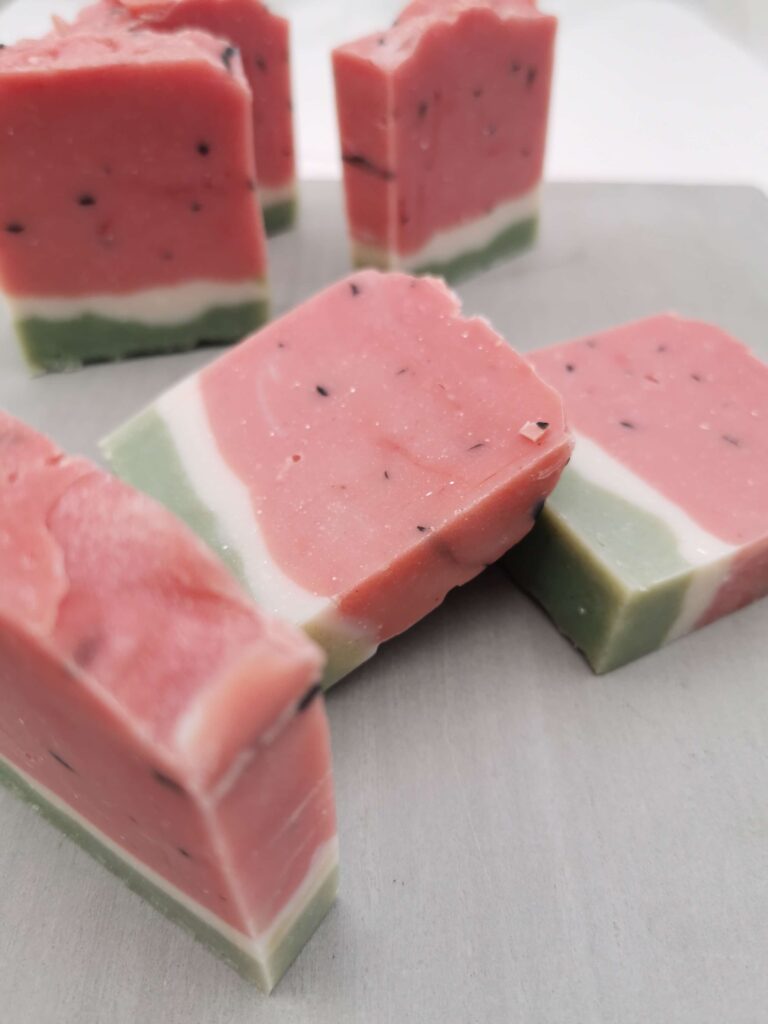
- Makes a great gift.
- It’s like a piece of art. Pulling off a creative soap design like this is something to brag about.
Ingredient Information
- Iron oxides: are naturally occurring minerals composed of iron and oxygen. They are natural pigments which are commonly used as a colouring agent. For example, rust is iron oxide. Iron oxides are non-toxic, and not irritating to the skin. (buy here)
- Zinc oxide: occurs naturally as the rare mineral zincite, but most zinc oxide is produced synthetically. It is widely used and considered safe in natural and organic cosmetics. It is a white powder, which is often used to whiten cosmetic products. It is also used to treat a variety of skin conditions such as nappy rash and eczema. (buy here)
- Sodium hydroxide: is also known as caustic soda (NaOH), which most people know as drain cleaner. It is a highly alkaline substance (pH 14) used to dissolve fats in drains, and saponify oils into soap. Although it is a hazardous chemical, in the soap-making process it is necessary to convert all oil into soap. When measured accurately, there will be zero caustic soda in your final soap bar. The final products of the chemical reaction are sodium salt, glycerine and soap. This is why it is safe in natural soap, but it should be used with caution. i.e. Water + Caustic Soda + Oil —> Salt + Soap + Glycerine. (buy here)
- Coconut oil: is used to create a hard, cleansing bar of soap with good lather. Since all the oil turns to soap in the chemical reaction, I recommend using the cheapest and most refined coconut oil. Remember, it also washes down the drain anyway. (buy here)
Let me know how your watermelon soap turns out in the comments below. Photos are welcome too 🙂