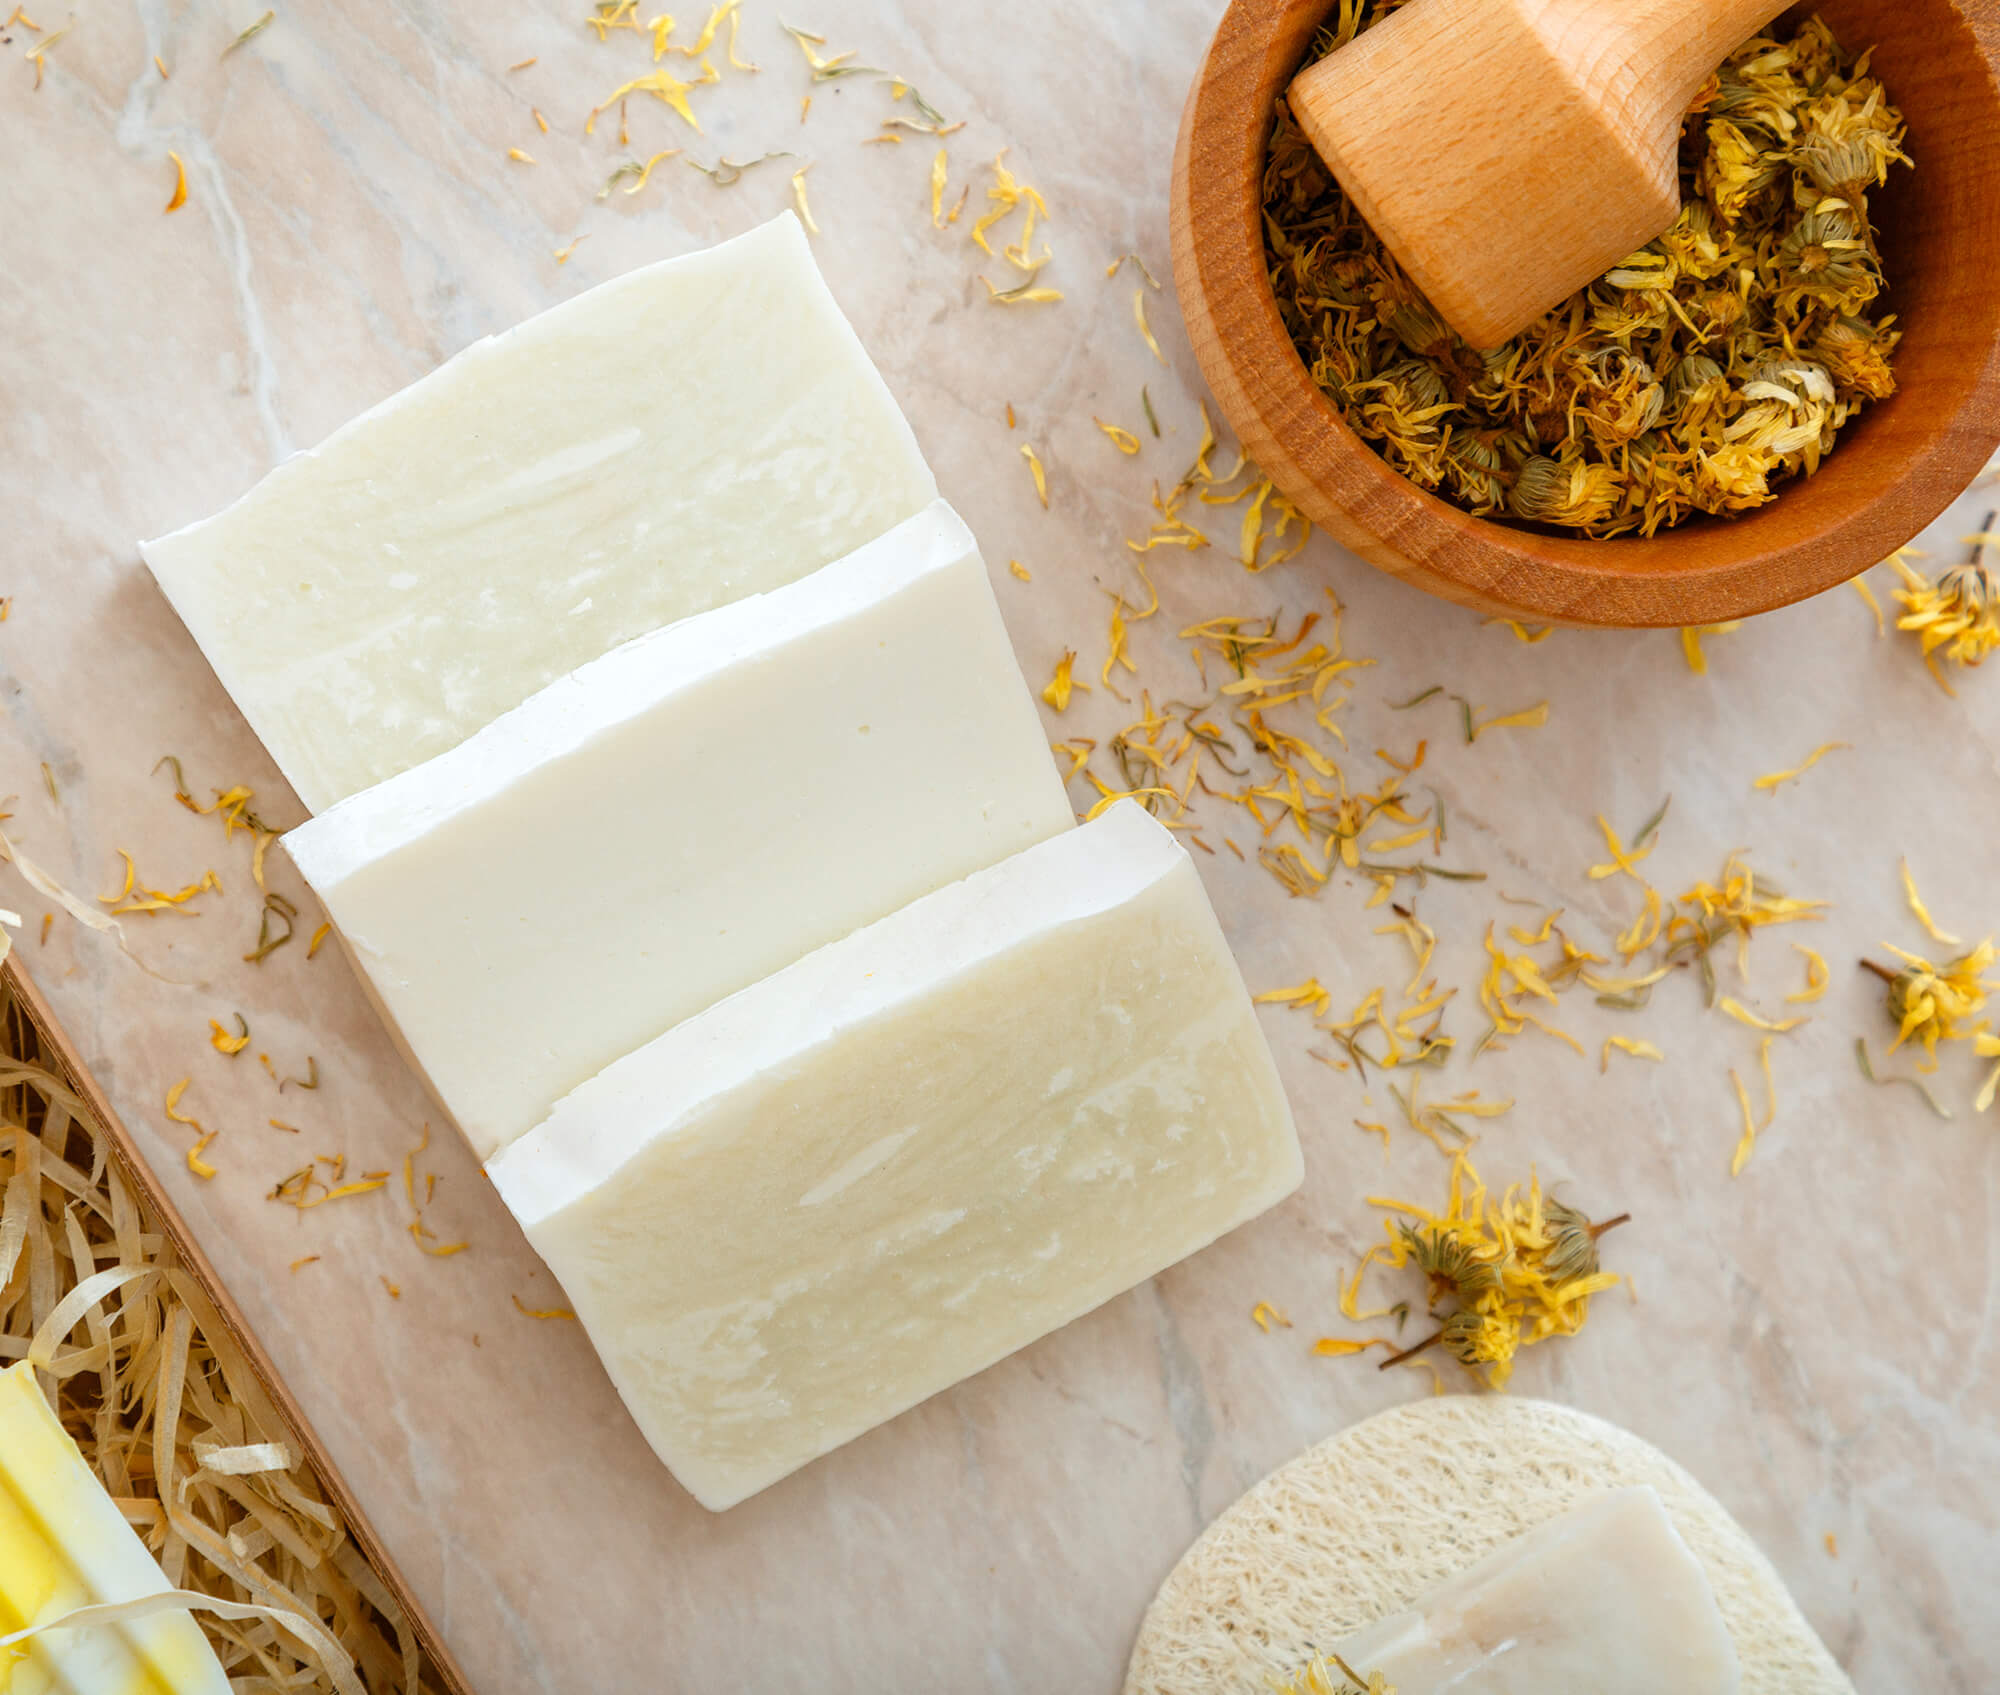
This recipe is great if you have never made soap before. It is the same difficulty level as my basic soap bar for beginners, the only difference is that this soap bar has been formulated to be very hard, bubbly and cleansing. It’s perfect for household cleaning.
My other recipe is better suited for skincare – it is still bubbly, but it is softer and more moisturising. Whereas, this super cleansing and fragrance-free soap can be used for everything from washing dishes, laundry to bathing. Although I’ve recommended using my beginner soap bar recipe for your skincare, this soap bar is still perfectly safe to use on your skin – drying but safe.
If you’re not confident enough, you can always enrol in my soap-making course. Alternatively, you can sign-up to be notified when I host a soap-making workshop in your area. Before we lather up, let me deal with a few FAQs…

Frequently Asked Questions
Soap Bar Recipe: Step-by-Step
This makes just over one litre of soap, which is roughly 10 bars. That’s enough to last one person six months or more!
This recipe has been formulated to be used for household cleaning purposes. It is a hard & bubbly bar of soap that will leave no greasy residue on dishes, clothes etc. In other words, it is not moisturising at all. However, it is technically safe to use for skincare, but it may be drying. If you are looking for a bubbly soap bar that is a bit softer and moisturising for your skin, I recommend using my basic soap bar recipe instead.
Multipurpose Soap Bar
Ingredients
For the Soap:
- 330g Water (distilled water is best, but not necessary)
- 164g Caustic Soda
- 900g Coconut Oil
Equipment & Tools:
- Kitchen Scale
- A heat-proof glass bowl for the water. Check that the bowl is microwave and dishwasher safe.
- Large stainless steel pot for oils & water (minimum capacity: 2 litres)
- Immersion blender, or electric two-prong whisk
- Stainless steel spoon
- Stainless steel chopping knife
- Soap moulds for 1.5 litres of soap (ice-cream/ margarine containers work really well too)
- White vinegar for cleaning any spills
- A cloth soaked in white vinegar for cleaning
Instructions
- Measure out the quantities exactly with a scale: This recipe is like chemistry. Unfortunately, there’s no compromise and you have to use a scale, and follow all instructions to a tee.
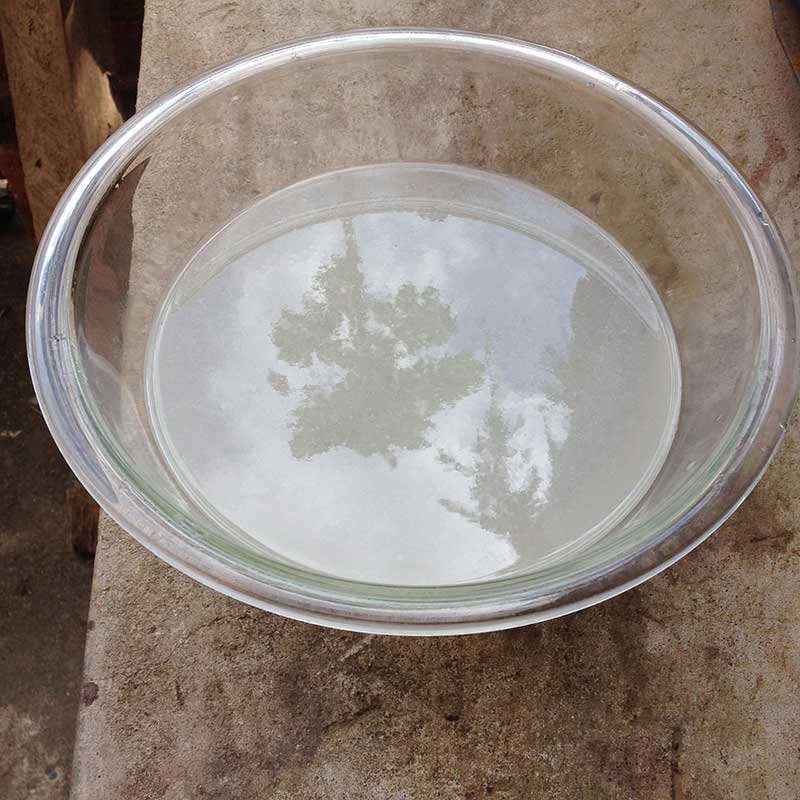
- Make the lye solution: Slowly add caustic soda to water in a glass mixing bowl (NOT the other way around). Do this in a well-ventilated area. Outdoors away from any pets is best . Do not inhale any of the fumes from the reaction. The solution will be murky and it will become hot, this is normal. This solution is known as lye.
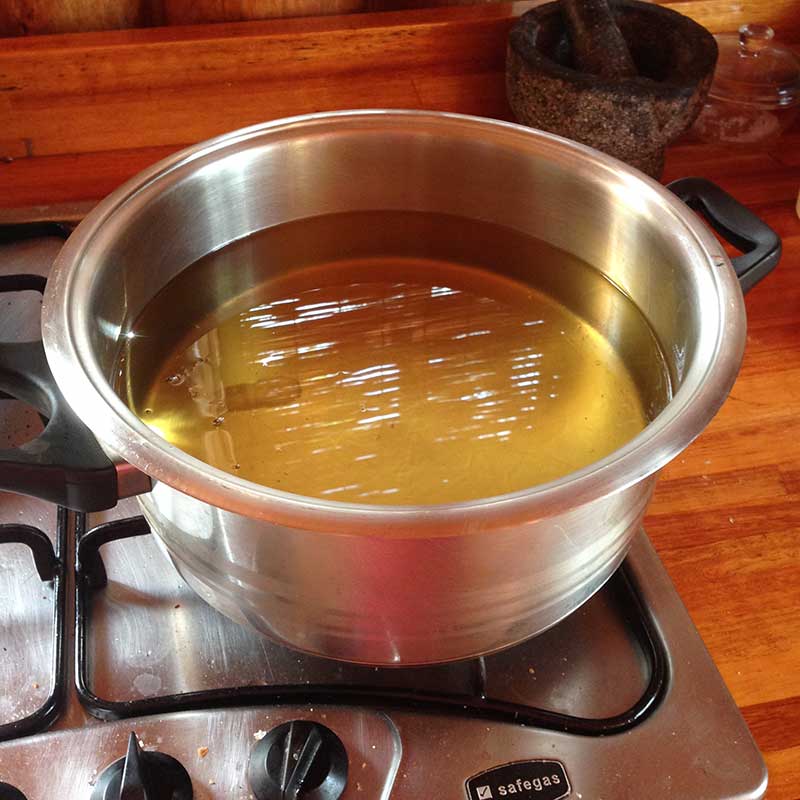
- Start heating the oil: Heat the oil in a genuine stainless steel pot. Do not let it get to boiling point, this is way too hot. If the oil is too hot, your soap will flop and turn into a volcano. If you have a thermometer, the ideal temperature for the oil is 50°C. You should be able to touch the oil and not burn – not that I’m encouraging you to touch hot oil, this is just to give you an idea of what 50°C feels like. The oil is hot, but nowhere near boiling. While the oil is heating up, your lye solution will be cooling down. The lye should start looking more clear (less murky) with time. Make sure that all the caustic soda crystals are dissolved by stirring with a stainless steel spoon.
- Combine lye with the oil: First switch the stove off. Once both the oil and lye solution are roughly the same temperature (approximately 50°C), add the lye mixture to the oil. Do not touch the lye mixture to determine the temperature please – you will suffer a chemical burn. Rather touch the side of the glass bowl, or use a thermometer. Once combined, start blending with an electric mixer or immersion blender. Mixing by hand can take hours! Again, please make sure that the stove is turned off at this point.
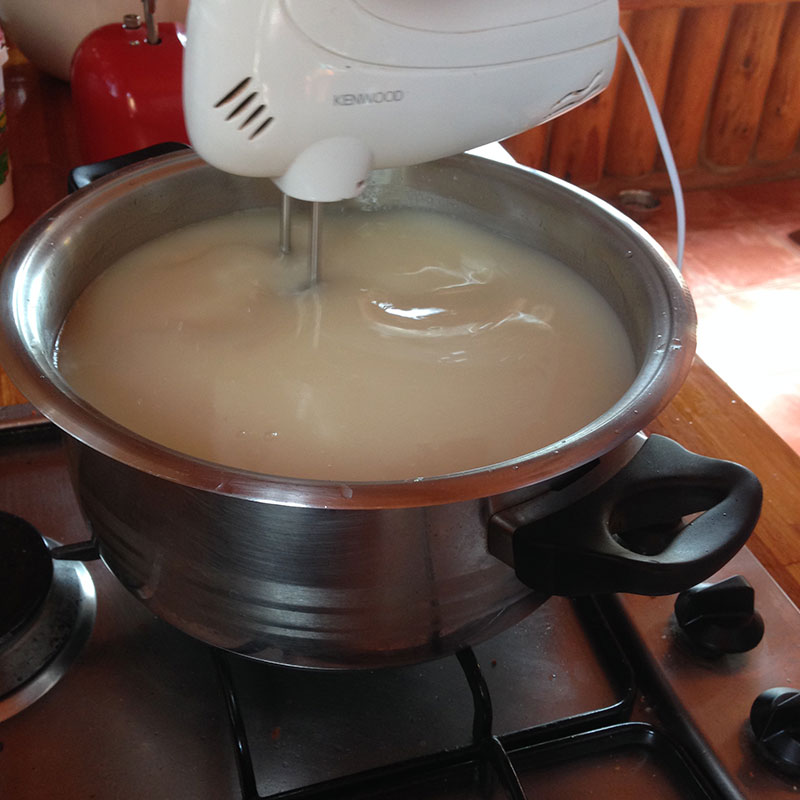
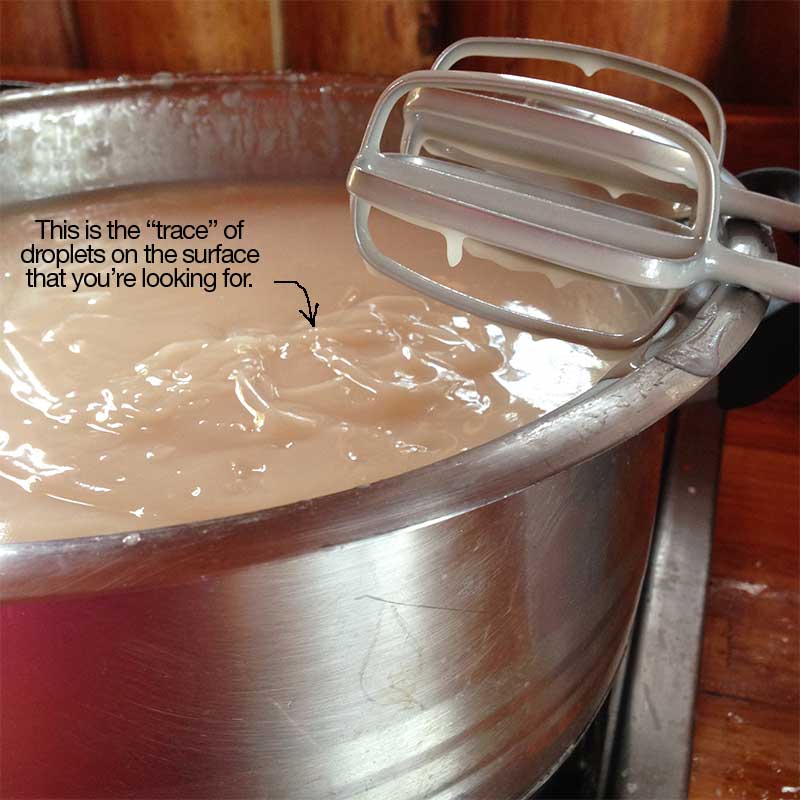
- Blend until you reach “trace”: Trace is basically the state when the soap mixture is ready to be transferred into your moulds. You know you’ve reached trace once the mixture has the texture of instant pudding. When drops of the mixture fall back into the pot and show a visible trace of themselves on the surface, this is trace. The droplets shouldn’t sink back in quickly, or disappear immediately. The time it takes to reach trace depends on your oil and the speed of your electric beater. It takes me about 5-10 minutes to reach trace with this recipe when using an immersion blender, and 10-15 minutes using a two-prong electric beater (the one in the image below). If my description has just confused you more, I do hope the picture helps!
- Add your additives (optional): If you’d like to add essential oils, fragrance oils, spices, herbs, clays, iron oxides or a few drops of liquid colouring – Now is the time. Don’t add too much, as you can upset the soap formula and end up with oily or crumbly soap. I’d recommend about 5-10ml of essential oils, 5ml of fragrance oils, and up to 2 tablespoons of herbs and powders. Since this soap is meant for household cleaning, you shouldn’t need to add any extra herbs or oils etc. But you might like to add a bit of fragrance.
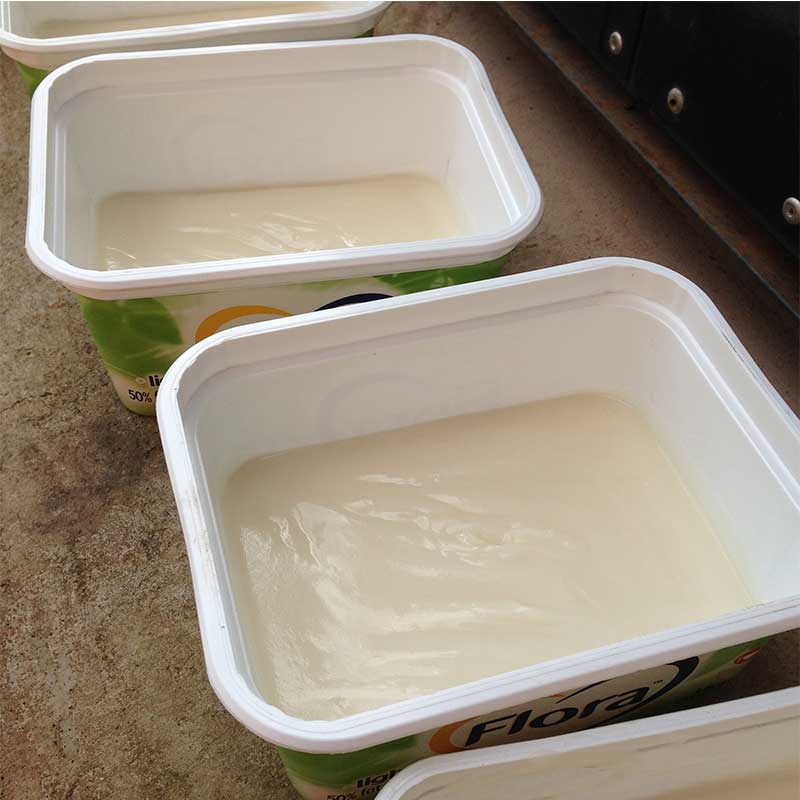
- Transfer the soap mixture into your mould: I like to use empty ice-cream and margarine containers, because the plastic is thick enough not to melt, yet flexible enough to get the soap out easily once it hardens. Some people use proper wooden soap molds lined with freezer paper, or even silicone baking molds. Do not use tin foil to line your moulds, and do not use your metal baking tins or Tupperware as moulds – you will destroy both the soap and the tins/ Tupperware.
- Insulate your mould with a towel or blanket, and store in a warm and dark place overnight: I put the lids on my ice-cream/ margarine tubs, wrap the containers in towels for insulation and store in a cupboard overnight.
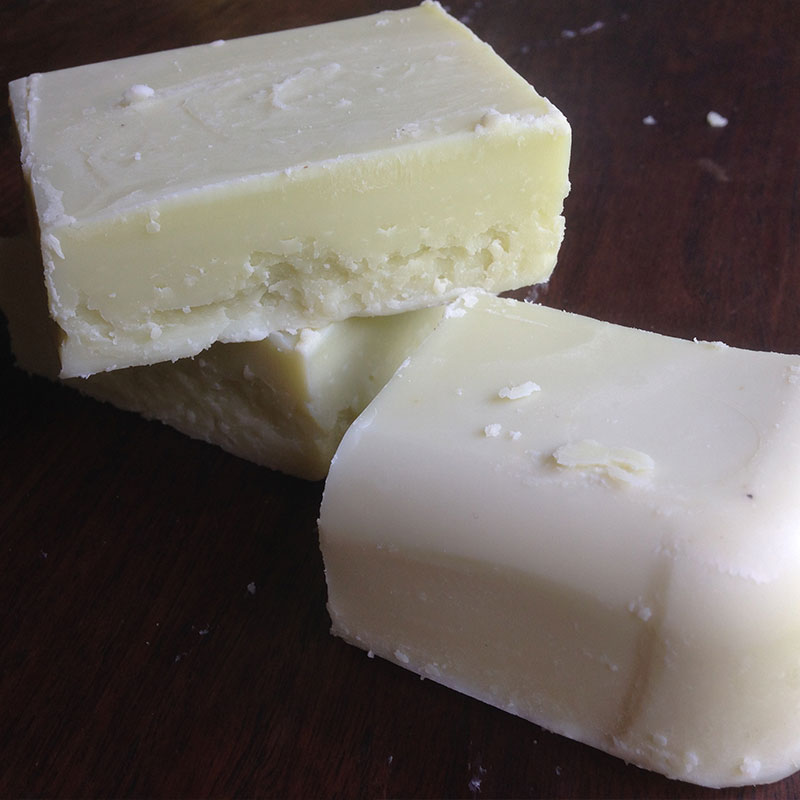
- Cut soap into bars after 24-48 hours: The soap is firm enough to remove from the mould, yet soft enough to be cut into bars. If you wait longer than 48 hours, it may be difficult to cut your soap, and it will crumble. Cut your soap with a stainless steel knife. It will be like the texture of a hard cheese. Do not use your soap at this point, it still needs to cure. If you use it, your skin might suffer from a chemical burn. The lye is still reacting with the oil, only once this process is complete (curing), then you can use your soap.
- Let your soap cure: Like good wine, good soap needs time to cure. The saponification process is still taking place, and your soap is still not safe to use. Place your bars in a well-ventilated area, away from direct sunlight and allow them to cure for a minimum of 1 week until it is safe to use, and 3-6 months for best results. I let my soap cure on an open shelf that doesn’t get direct sun. The longer the cure, the better (but not more than 10 months). Remember to turn them occasionally (every week is good), so that each side gets exposure to the air.
- Lather up! You can use this soap in the bath or for the dishes. You can even grate it up and use it for laundry. It’s that versatile.
Notes
- Plastics that are safe for soap-making: HDPE and PP (look for these codes on the label/ packaging).
- You cannot substitute the oils in this recipe. If you do, you’ll have to run it through a lye calculator again to make sure you have enough caustic soda for the oils you want to use.
- You may multiply the quantities in this recipe to make a larger batch.
- Consider enroling in my soap-making course to learn how to use soap calculators to formulate your own, unique soap recipes using the oils that you want.
- Coconut oil is less dense than water, so when you buy a 1 litre coconut oil tub, you will probably only get about 920 grams of coconut oil, hence this recipe asks for 900g of coconut oil which is approximately what you will get when you buy a 1 litre bucket. But you must still use a scale to double check the weight!
Cost & Shelf Life
Cost price: R6.97 per 100g soap bar.
Lasted me about: 1 month using every day for dishes (one bar).
Shelf life: 2 years if stored away from direct sunlight.
*Costs accurate at the time of writing, and based on the best retail prices I’ve found.
Challenge
Long curing time: One week is not necessarily a long time, but when you’ve just made your first batch of soap, you will obviously be eager to try it out, so one week may seem like forever. This recipe uses the room temperature/ cold process method (CP), but if you’d like to cut the curing time substantially, then you may want to consider the hot process method (HP). This method requires you to be much more precise with temperatures, you need a crock pot/ slow cooker and the method is much longer (2 hours to the mould step), but the curing stage is much shorter. Whereas, the cold process method is quick (30 minutes to the mould step), but the curing stage is longer.
Cherry on top
- Customisable: You can completely customize this soap recipe. You add essential oils/ scents, colouring and textures according to your preferences.
- Cost-effective: You can make organic soap in bulk, and save the cost of purchasing it all the time.
- Many uses: This soap bar can be used as dish washing soap, laundry soap and as part of a laundry powder recipe. You can also melt it down to make a basic liquid soap. Alternatively, you can learn how to make liquid soap from scratch.
- Eco-friendly: this recipe contains only what you need, and is biodegradeable.
Recommended Retail Option
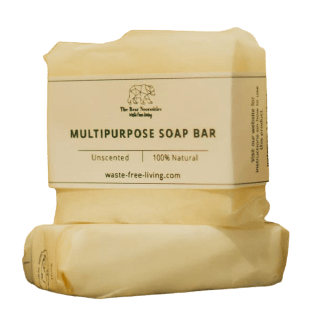
I highly recommend the multi-purpose soap bar made by The Bear Necessities, if you don’t have the time or interest in making soap. I have personally reviewed and approved their formula, and I can confidently say that their multi-purpose soap bar is the best retail substitute for my recipe. It is a pure coconut oil soap bar. I also support The Bear Necessities, because they make every effort to reduce waste, and their handmade products contain safe and simple ingredients.
I‘d love to know what you use this multi-purpose soap bar for and how it works for you? Please share in the comments below.

Can I add lemon juice to the soap mix as an additive?
Lemon juice is known to make soap seize, and if you add too much, the acidic nature of lemon juice will cause the soap reaction to occur backwards, because lemon juice will neutralise the lye and make it ineffective. In other words, your soap will turn back into oil. Even if it did technically work, you would still lose the beneficial properties and the natural fragrance of the lemons. Rather add dried lemon zest or lemon essential oil, but again, not too much. I recommend adding about 5ml lemon oil to every 1kg soap. Also, lemon essential oil’s fragrance has a reputation for fading. If you like the fresh fragrance, it would perhaps be better to use a fragrance oil (which is not natural), or an essential oil that has a similar fragrance profile like lemongrass or lemon verbena.
I’m interested in laundry bar soap how do I get hold of u
I see you say you melt down this bar to make the liquid soap. But how is that done because in the recipe it calls for KOH instead of NaOH. I love your blog. Thank you
Hi Laura. Yes, to make a true liquid soap, you require KOH. When I suggest melting it down, that is to make a product that isn’t a true liquid soap, but functions as one. You can grate / chop soap bars and melt them over a low heat and then add an equal part (or less) of distilled water. The soap bar will dissolve, and you will be left with a diluted soap bar essentially, which works as a liquid soap for personal use for those who are not ready to tackle KOH yet. I have written more about this in another blog post: “How to make liquid soap from a soap bar”.
I really appreciate your post it’s simple and understandable,I would like to ask if making soap for commercial purpose how long can one leave the soap to cure before sale when one has to meet up the demand
Hello Stella
Thank you for your encouraging feedback about my posts. The minimum amount of time for a 100g soap bar is one week (for safety reasons), but the ideal amount of time in terms of soap quality (hardness and lather) is 6 weeks. Depending on the soap recipe, you can often get the hardness and lather quality sooner than that. For example, this multipurpose soap bar will be perfectly hard, bubbly and safe in 2 weeks, because it’s coconut oil based. Whereas, my beginner soap bar would need the full 6 weeks for best quality, because of the sunflower oil. And an olive oil soap would need 6 months for best quality! So it really depends on the recipe. All these soaps will be safe after 1 week, but not necessarily at an ideal quality. If you package too soon, they will be too soft and have poor lather. I hope that helps you.
Can I substitute the coconut oil to palm kernel oil.
That’s a good question, thank you for asking 🙂 . To answer, no, you cannot just substitute oils in soap recipes, because each oil has a different saponification value. If you want to use palm kernel oil instead, you must change the quantities of the recipe to the following:
Hi Christina,
What can I substitute caustic soda for? As I struggle with terrible sensitivity.. I think it must be the caustic soda in soaps causing the problems perhaps. TiA
Hello Morgain,
Thanks for your question. Unfortunately, there is no substitute for caustic soda when it comes to making soap bars. It’s impossible to make soap without the chemical reaction between oils and caustic soda. So, every soap bar out there has been made with it. However, when soap is made correctly, there is no caustic soda present in the final product. All of it reacts to form soap, salt and glycerine. Therefore, I don’t think it’s caustic soda that’s causing your reactions.
But it’s very likely the pH of soap that is causing problems for you. Natural soap is between pH 8-10 (alkaline), and human skin is actually acidic between pH 5-5.5. This pH difference is fine with most skin types for rinse-off products. But it’s obviously not suitable for your very sensitive skin. You probably need a pH-balanced product. Soap cannot be pH balanced, because it will seize to be soap. But you can make a solid cleansing bar – it’s just like soap, except it’s pH balanced and doesn’t contain caustic soda either. Here is my recipe for my beginner-friendly solid cleansing bar. I hope that helps you. Let me know how it goes.
Regards,
Christina